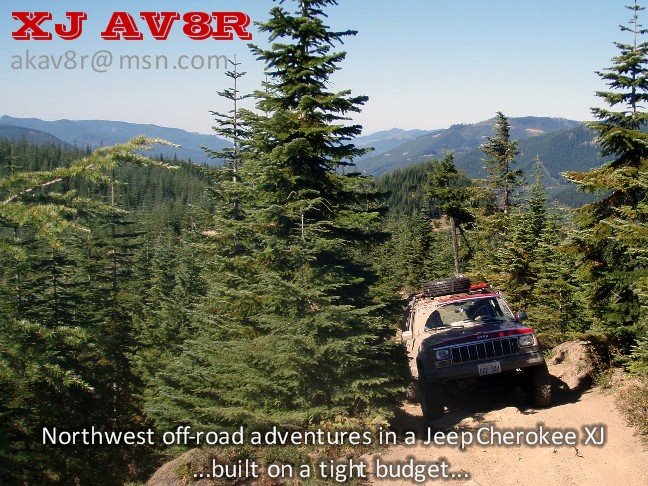
After obsessing over this trail run for the better part of a year, it was finally time to actually do it! The Naches Trail was first crossed by Longmire in 1853 and has since been kept open as a 4x4 trail. Our plan was to cross from west to east starting at the Lower Naches part of the trail at FS7065 and ending at FS19. We then planned to retrace our steps but, due to time constraints, it became necessary to save the east to west crossing for another day. This trail is one of many on my list of trails to do before the Jeep dies. The anticipation was finally over!
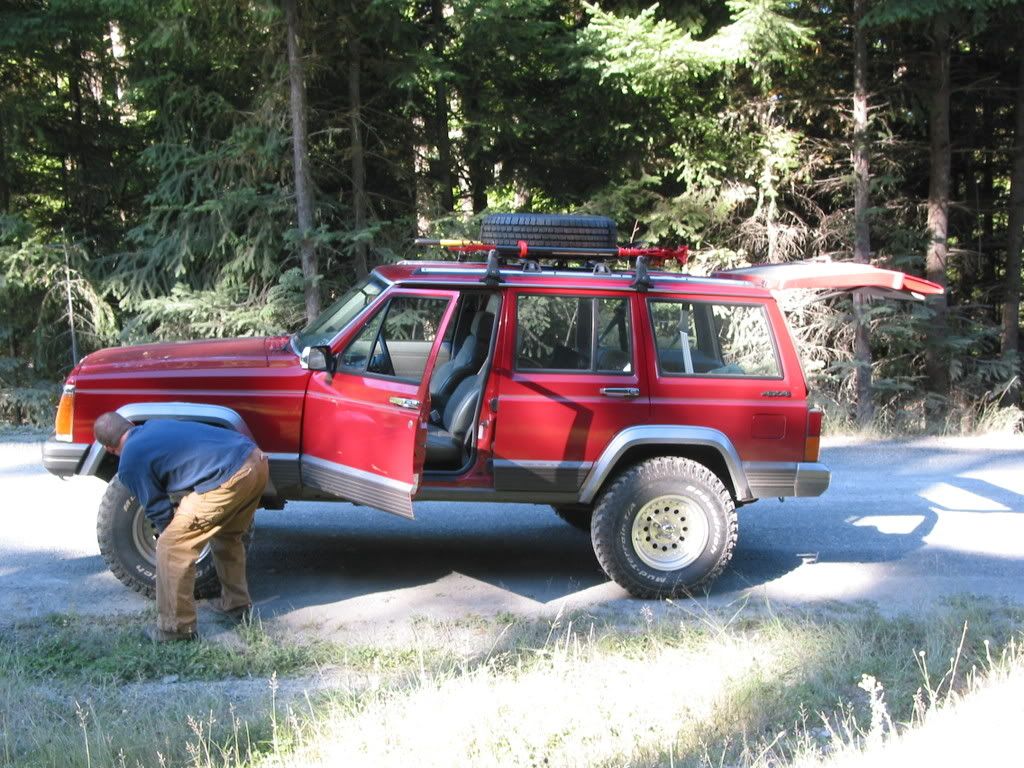
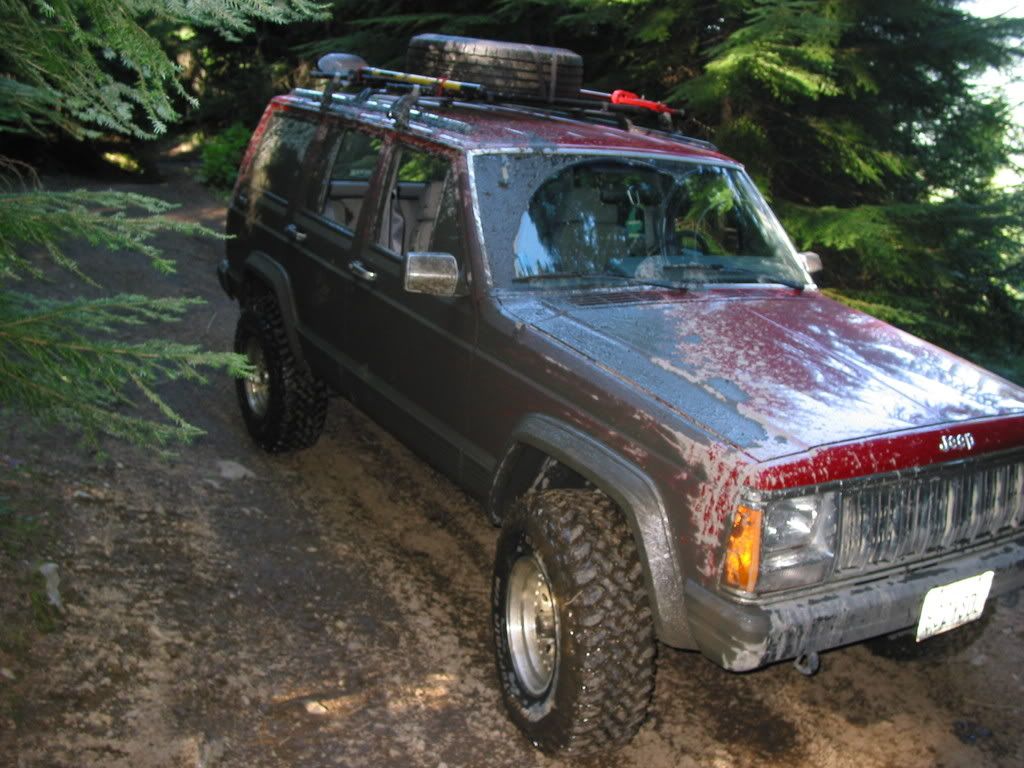
Just prior to our trail run I had a 4 day trip to fly that wouldn't return me home until 11pm. We were due to depart at 7am the morning following my return. As a result I did as much packing as possible so I could just get some rest the night before. I put my spare tire on the roof to conserve space inside, as well as the Hi-Lift jack and a shovel. In the cargo compartment went enough tools to completely assemble and disassemble the Jeep in case we got bored. Also included was plenty of water, food, warm clothes, First Aid kit, air compressor (in case Jeff's fancy Warn PowerPlant Dual Force winch refused to air up the tires), and recovery gear. I also included some axle u-joints, driveshaft u-joints, and various other miscellaneous parts most prone to failure. I really didn't want to be stuck in the middle of nowhere with a broken rig!
Although we had printed out all of the maps contained in the sidebar of this blog (to the right under Northwest Trails) I had spent countless hours piecing together a GPS track for the trail based on Garmin's MapSource software. I wasn't sure of the accuracy before we set out because the software didn't really have a good depiction of the westernmost and easternmost parts of the trail. I wasn't really concerned with getting lost, but I did want to know how much distance we had covered and how much we had to go during the trip. It would also be nice to verify that we hadn't taken a wrong turn somewhere, just in case. Upon uploading the coordinates from the computer to my GPS, I found that the waypoints had been corrupted...argh. With no apparent way to correct the problem I set to entering all of the waypoints by hand in to my Garmin GPS III Plus while I was on my 4 day trip.
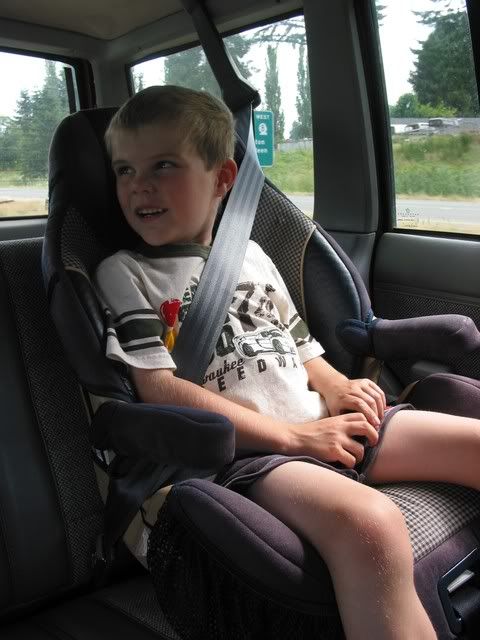
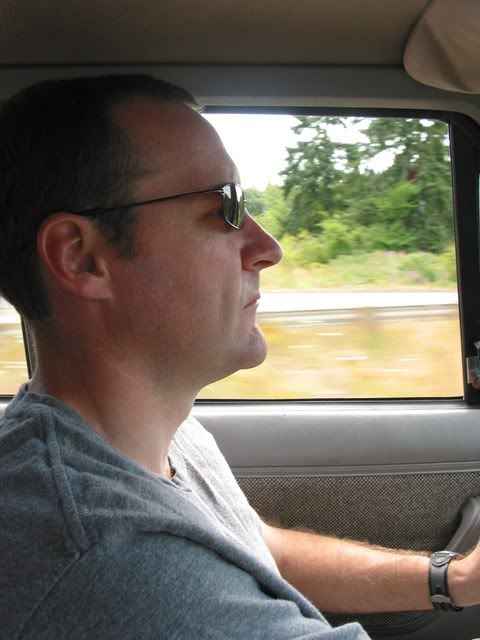
While I was away, my lovely wife rounded up the few remaining items on our list, along with lunch and snacks for the trail. Sunday morning arrived, we loaded up the last of the gear, and we were off at 715am. Not bad! We started off with my wife Heidi, my father-in-law Gary, and myself in the XJ. Jeff's Jeep JK Rubicon was carrying the notorious husband and wife team of JD and Becky, and of course Jeff himself.
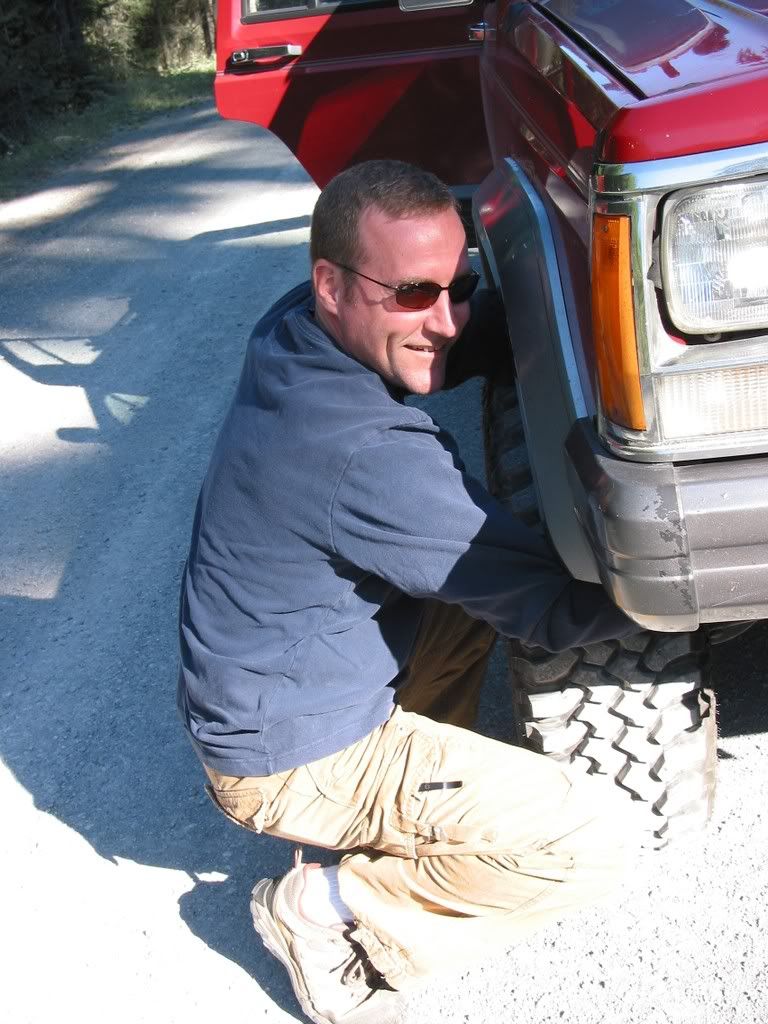
After a brief stop for breakfast we arrived in Greenwater, continued south to the FS70 turn off, and made our way to FS7065. The road splits here at FS7065 and we took the opportunity to air down the tires, secure loose objects, disconnect sway bars, and spool up for some fun!
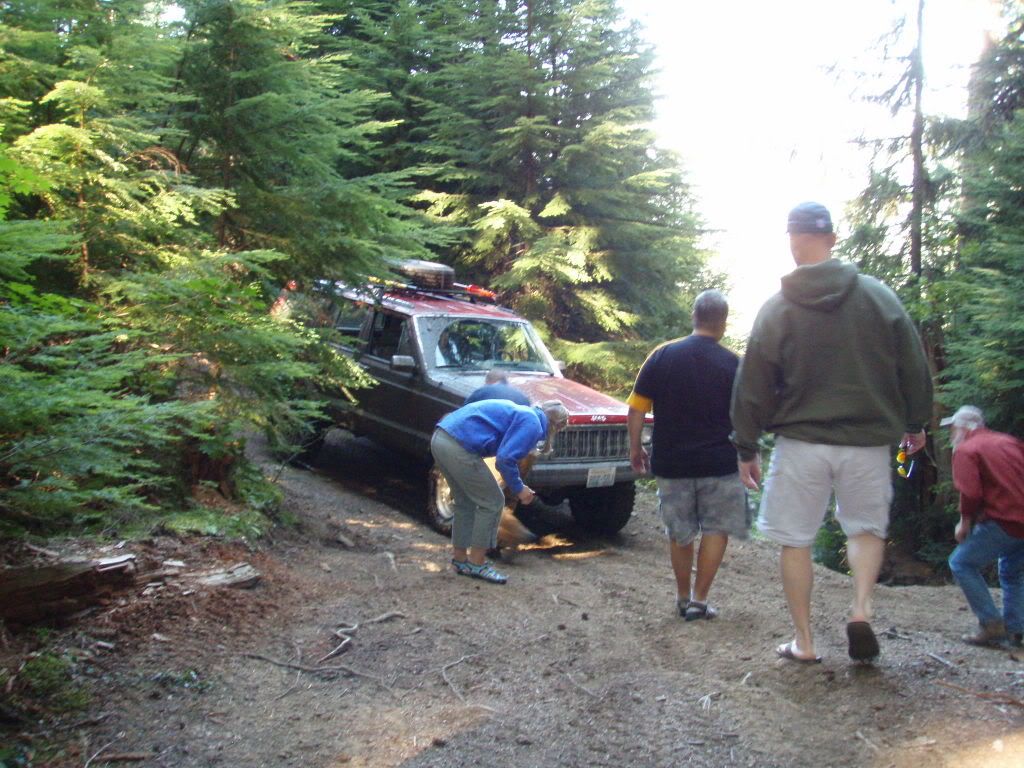
Me, disconnecting the front sway bar. The Jeep is riding low in the back with all of that crap onboard. Time for some stronger springs? OUCH, my wife just hit me.
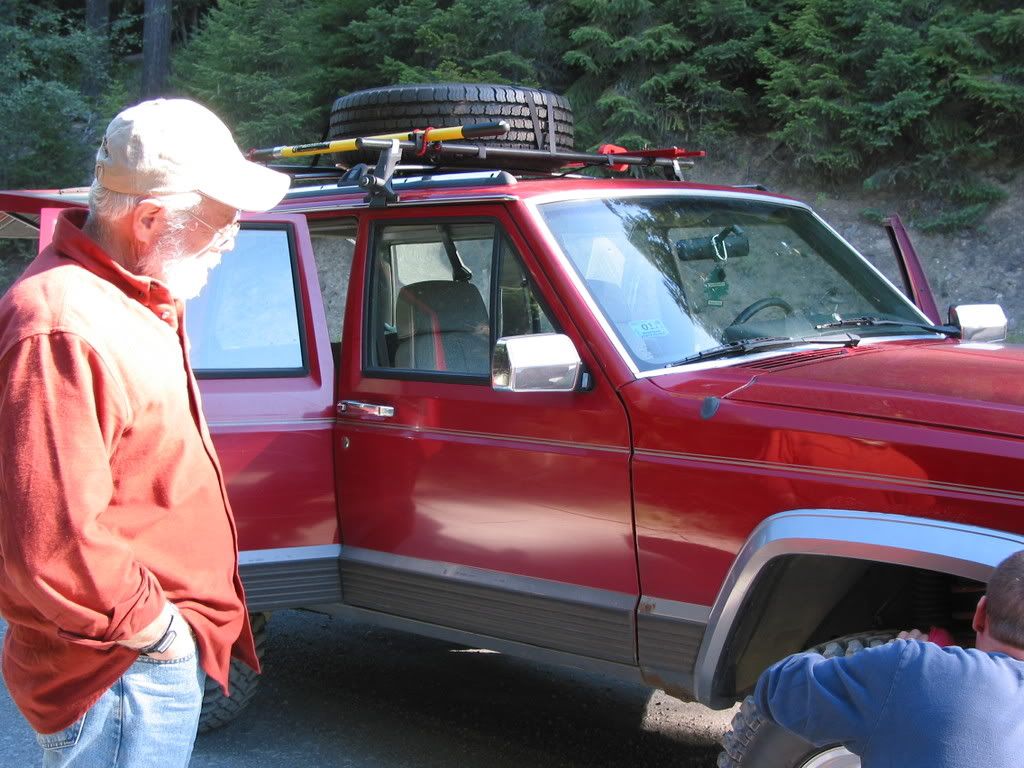
Gary watching...I'm still trying to talk him in to lifting his Jeep Liberty CRD. He's warming up to it...I think.
Jeff, right, taking the top off of his Jeep while JD plays service monkey...just kidding JD:)

After setting up, we travelled down FS7065 for a short distance until we reached the start of the trail.
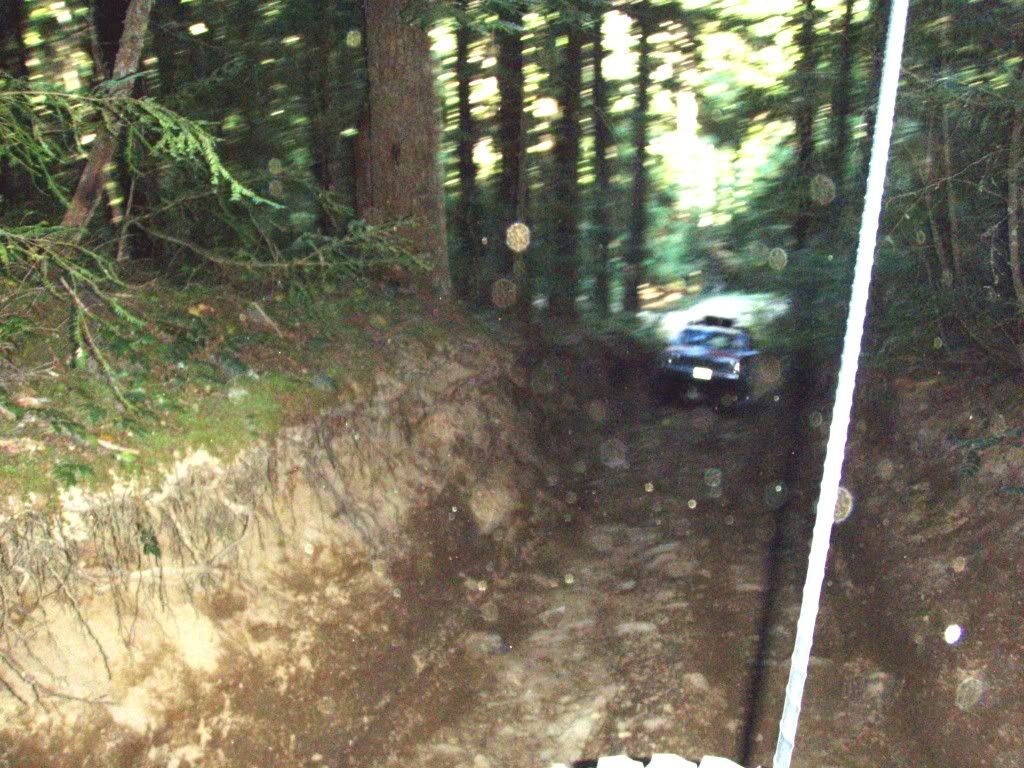
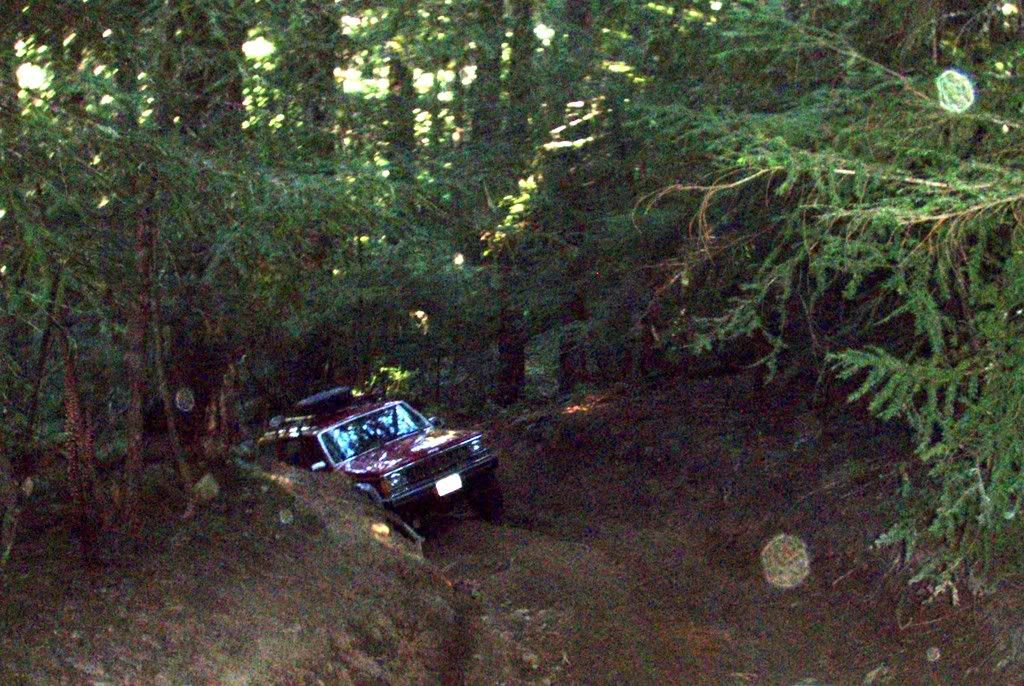
The first section was rather steep so the pictures didn't come out good. The two designated photographers, Heidi and Becky, were too busy holding on to be framing good shots! Here are a few of them anyway!
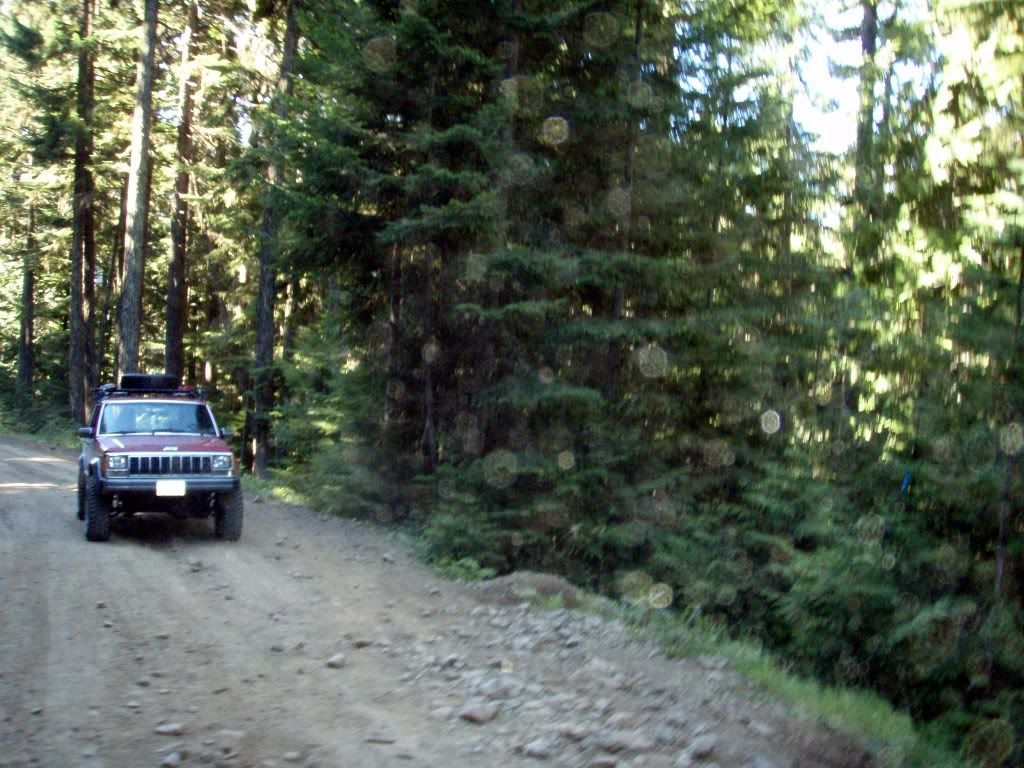
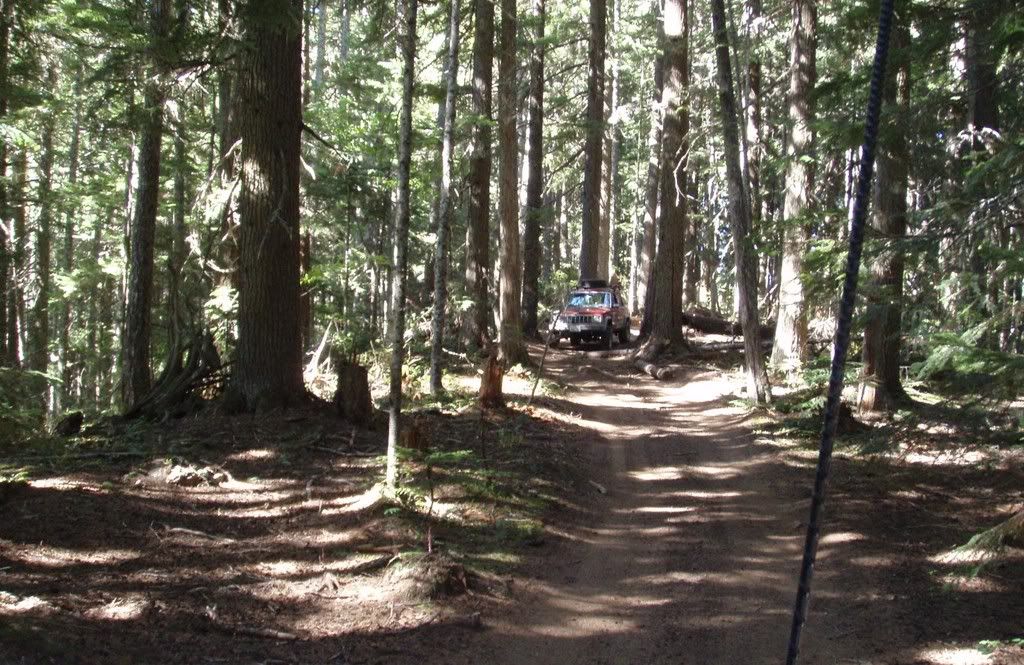
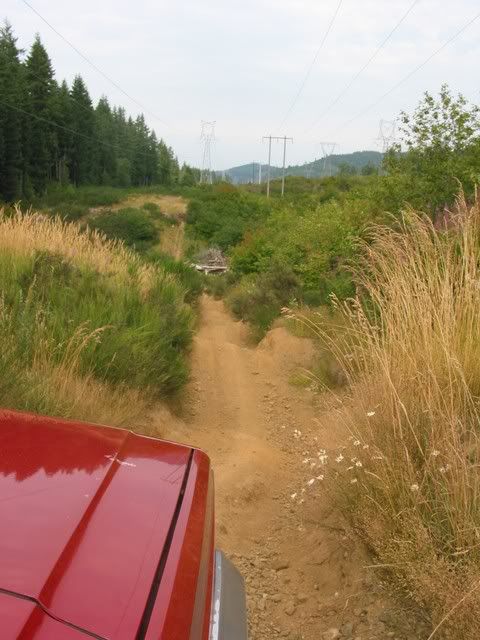
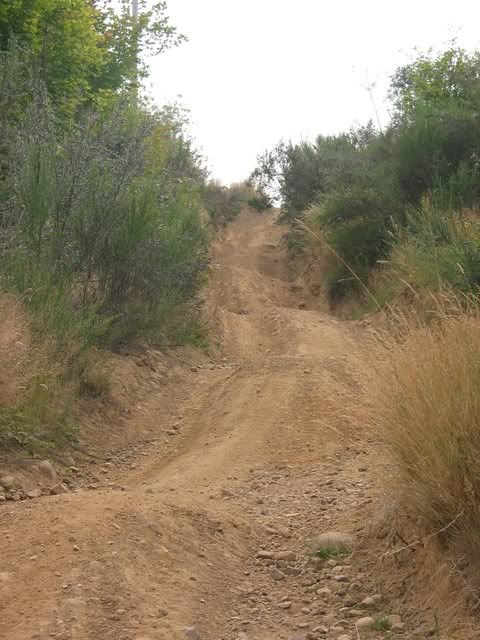
You can see FS7065 in the background. This is the start of Lower Naches.
It is a good thing that the trail was rather dry. A little bit of water would have made the Lower Naches section much more difficult. We'll have to try it in the rain sometime!
After reaching the top of the steep section we paused briefly to recap the uphill thrill ride and lamented over the inability of pictures to capture the magnificence of the trail.
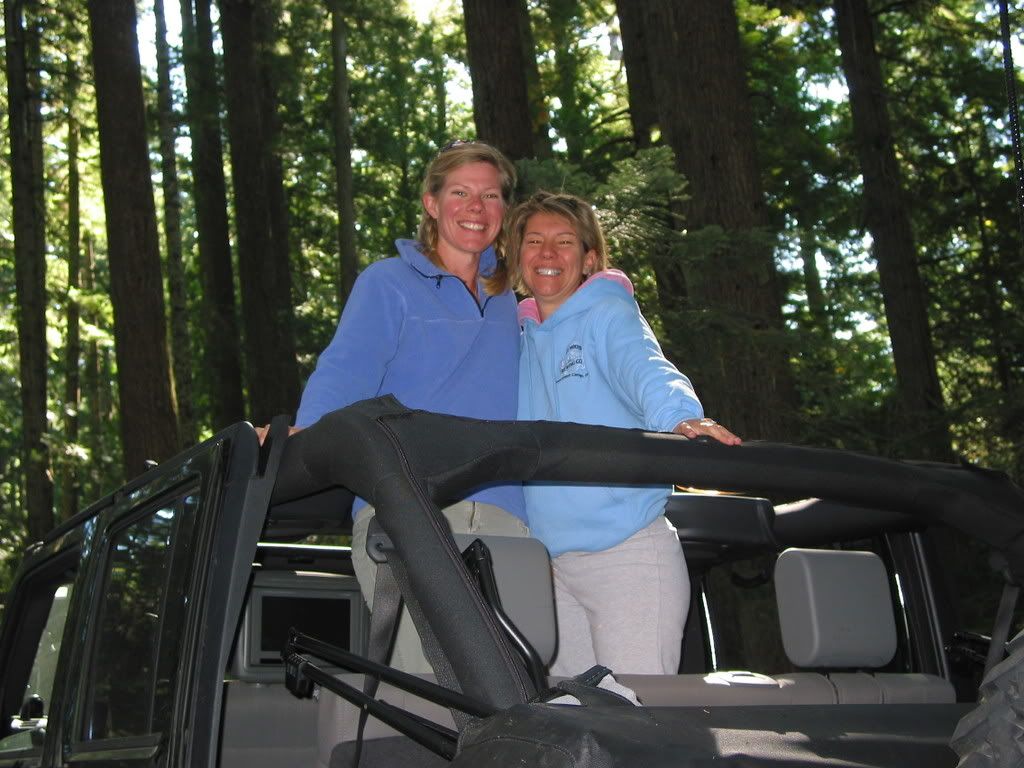
Heidi and Becky on top of Jeff's JK celebrating their survival:)
Jeff and JD.
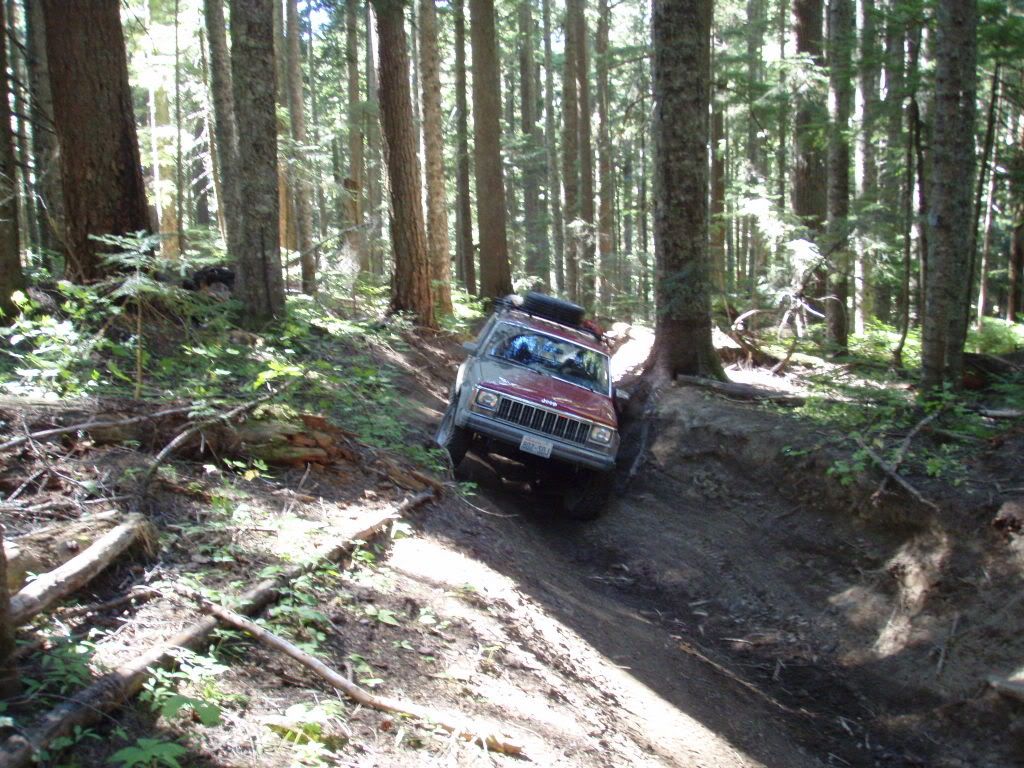
We then continued along the trail, winding through the trees. Jeff was in the lead and, as he rounded a corner, I lost sight of him. As I came around the corner I saw him on the other side of a "puddle" of water. I edged up to the water to have a look.
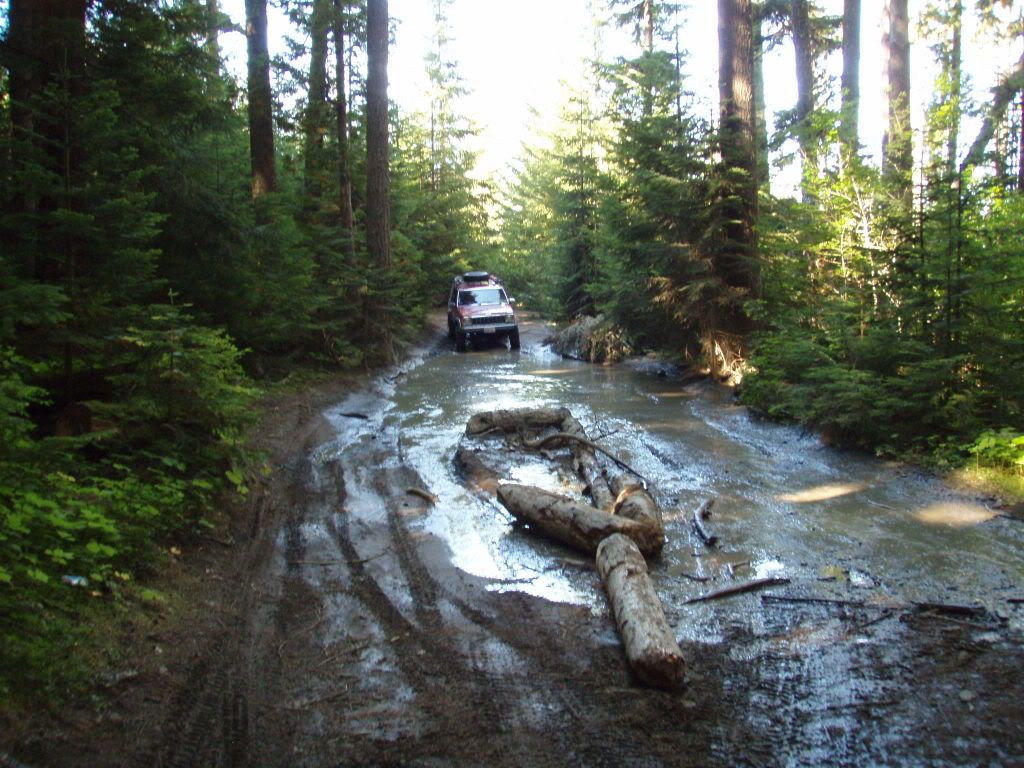
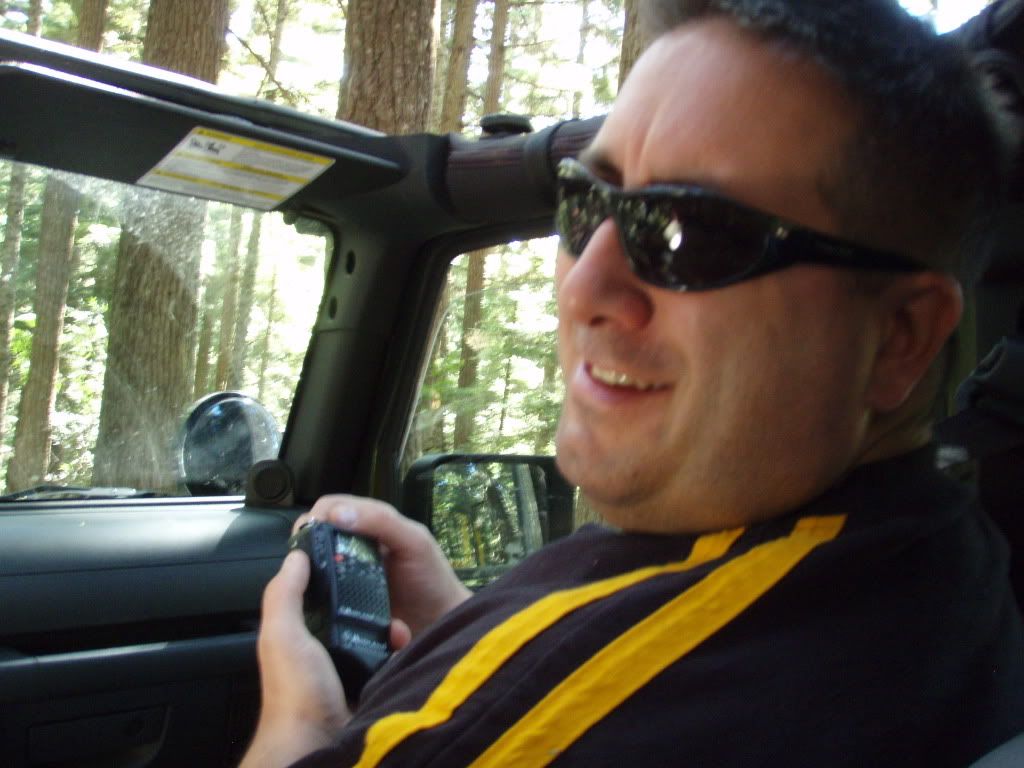
I got on the CB and asked how deep the water was. JD replied, "It's too soon to tell...hehe" I then looked a little closer and saw Becky perched on top of Jeff's Jeep, on the other side of the "puddle", with the camera poised and ready to record events that only they had knowledge of. I asked the question again and received no reply this time. I was obviously being set up. It didn't look that bad so I elected to give them what they were looking for.
Not too bad, right?
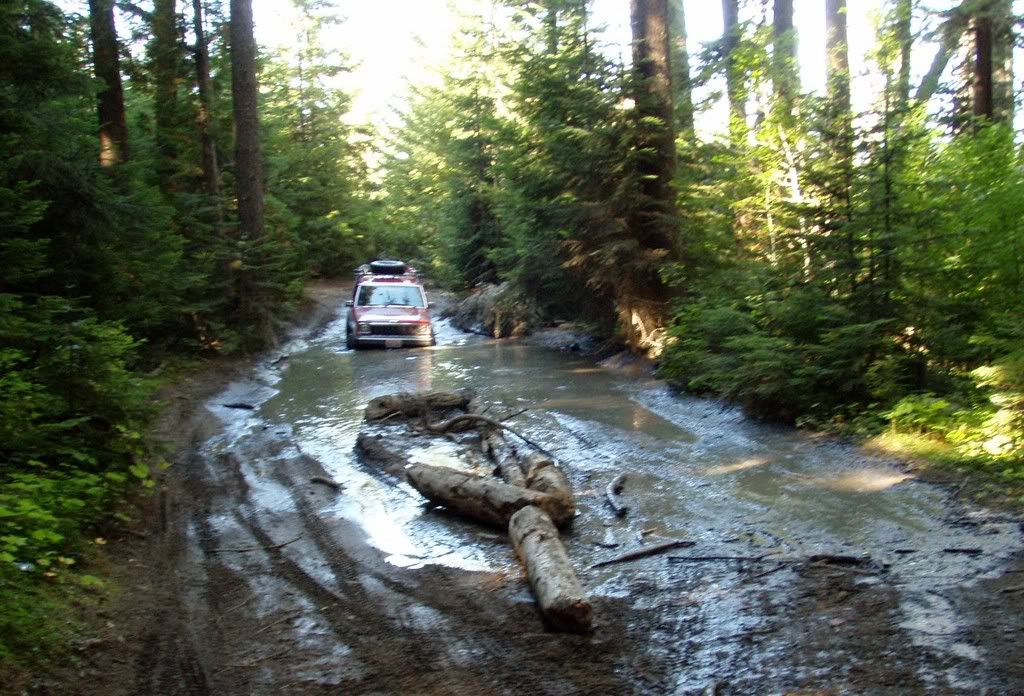
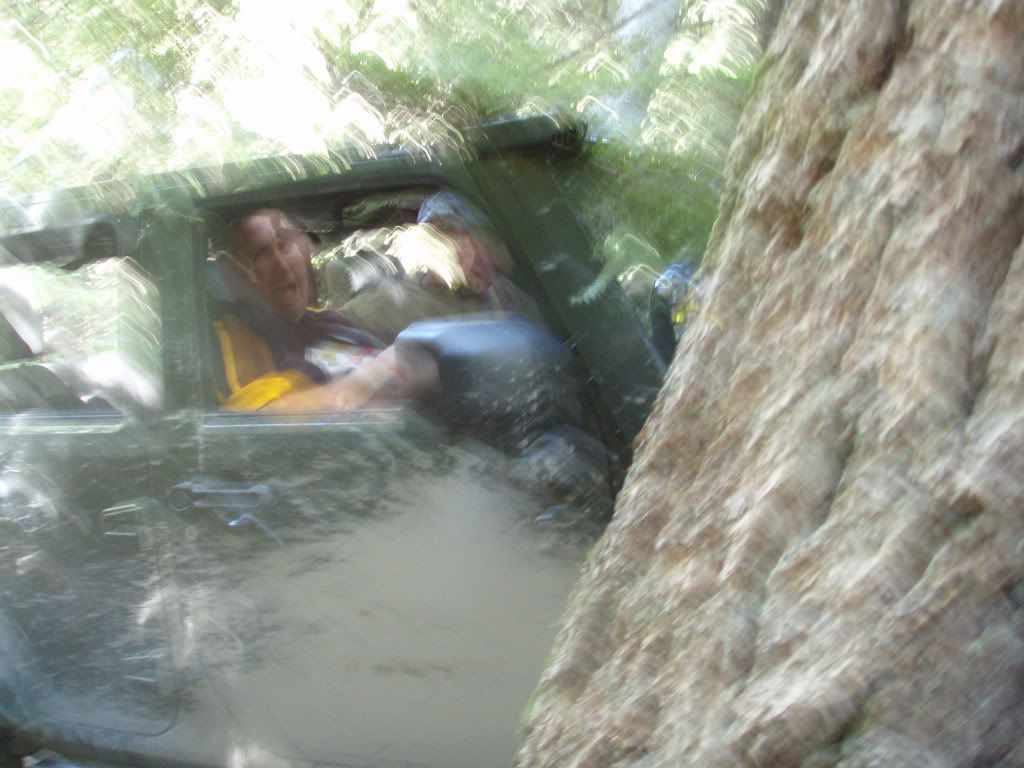
I can only describe the frame between the picture above and the picture below since it is missing. Right after the previous picture the XJ's nose dipped in deeper and slid into some ruts. I gassed it but forward progress was slow and we were headed directly for the logs in the middle of the water. I pressed on hoping that the mudders would bite and pull me up and out of the ruts. Just as I was thinking "stop!" to keep from hitting the logs, the XJ jumped up out of the ruts, out of the water, and around the logs. Perhaps next time I will wait for a proper response!
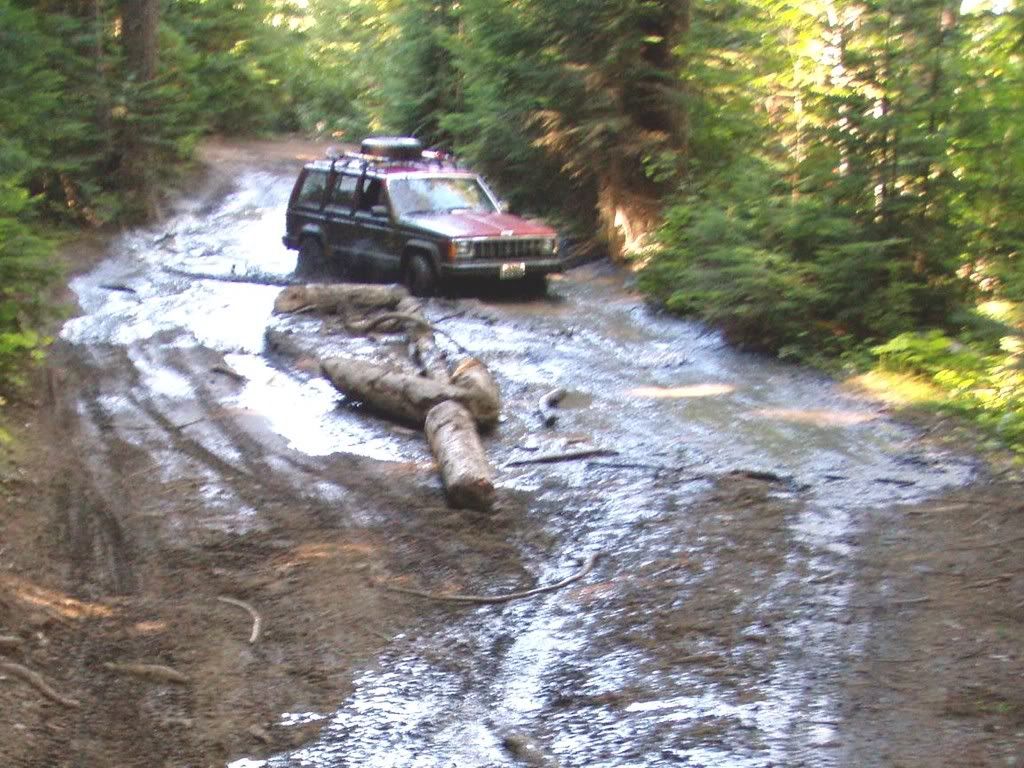
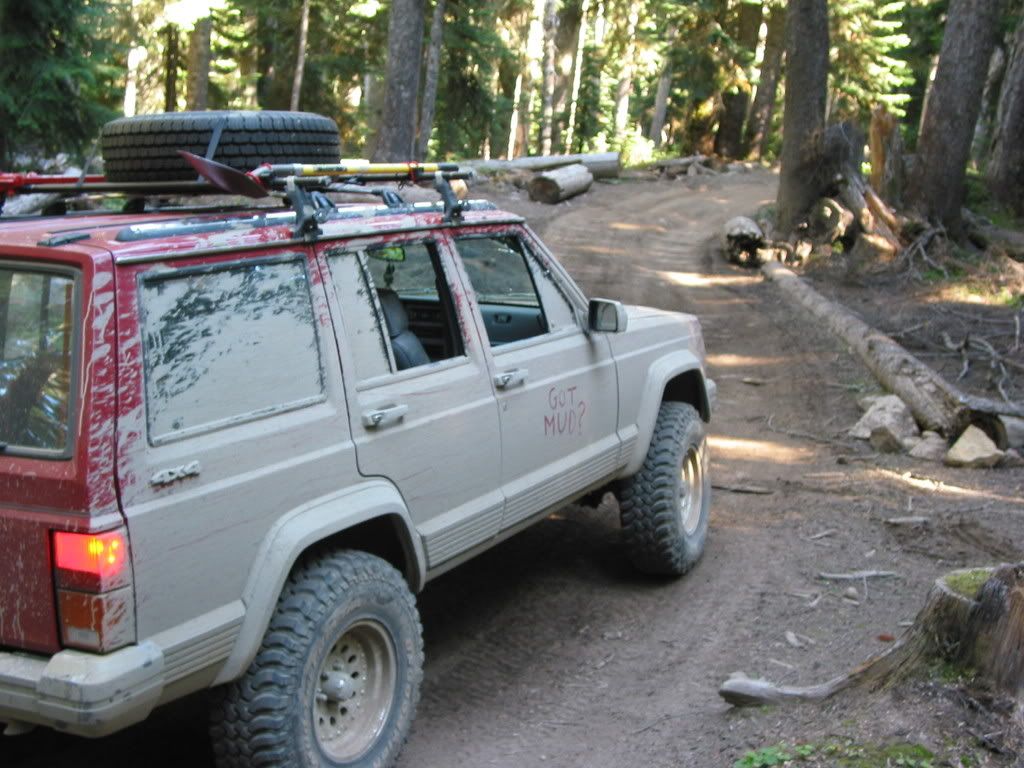
The aftermath, muddy interior and all. What retard didn't fix the window switches so the passengers could roll up their windows? Oh yeah, that was me...
Uh oh. Mechanical trouble after the puddle. Debris? Broken axle? Transfer case damage? To my relief, it was just a cranky brake caliper that was sticking after the water crossing. Evidently it didn't like getting wet. It didn't know what it was in for. It's new, it'll get used to it:)
Jeff is all smiles.
JD in the driver's seat for a while...
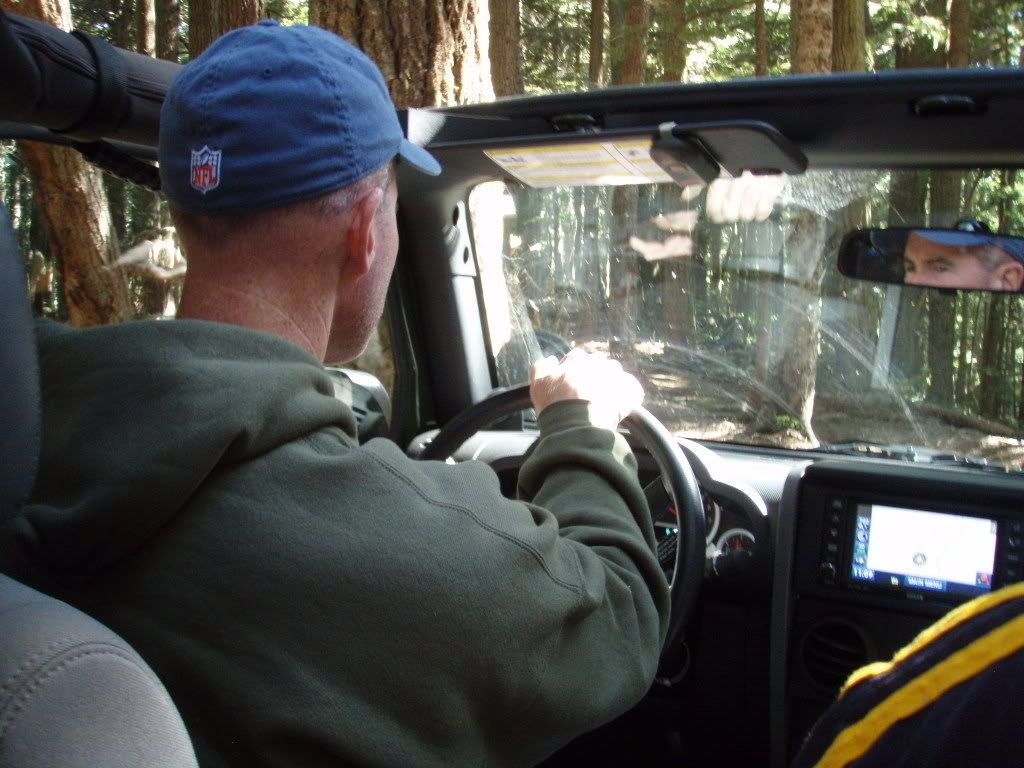
...and Jeff ridin' shotgun...and nervous, but masking it well for a picture.
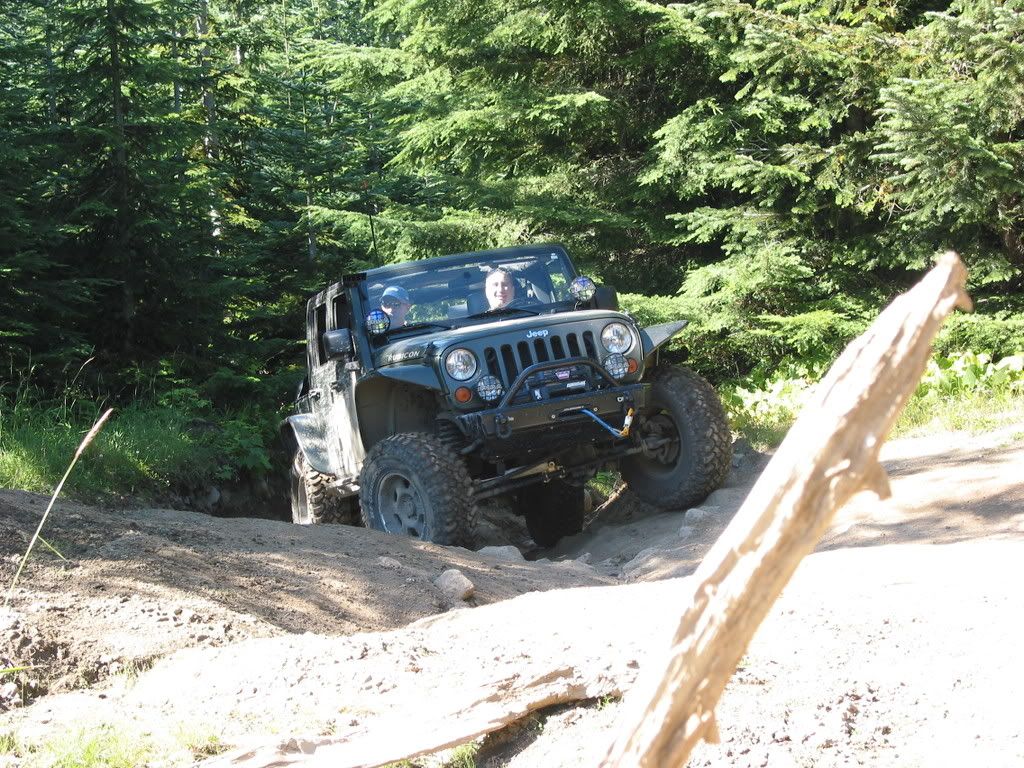
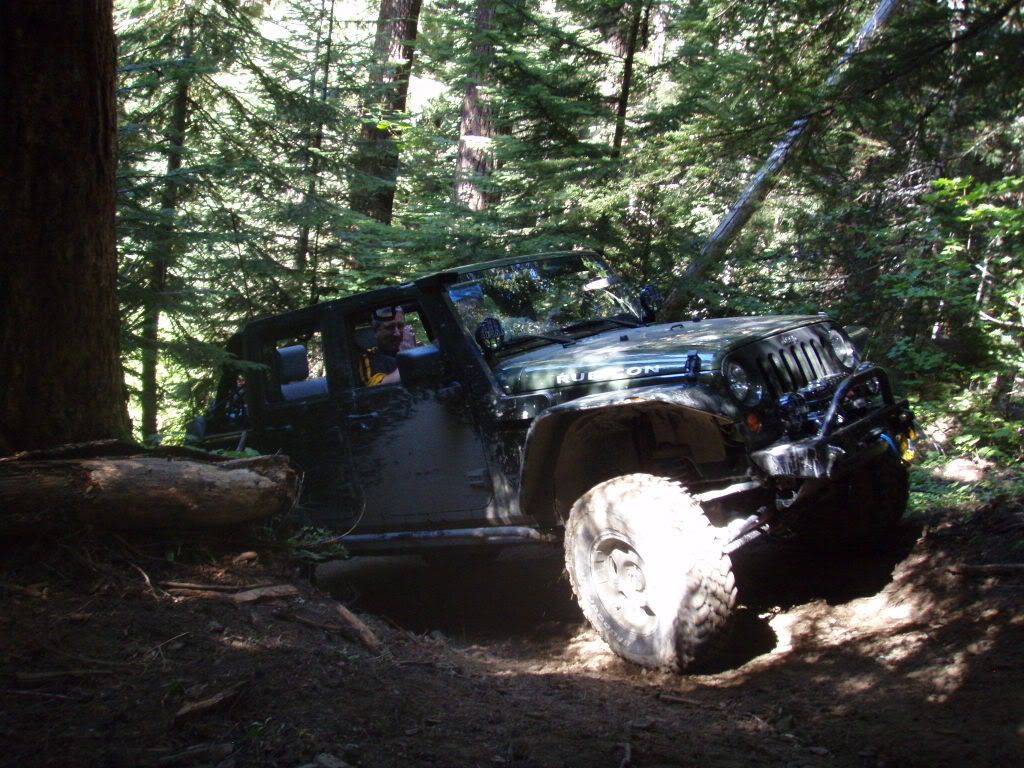
Here we are past the more difficult sections and enjoying the scenery of the forest.
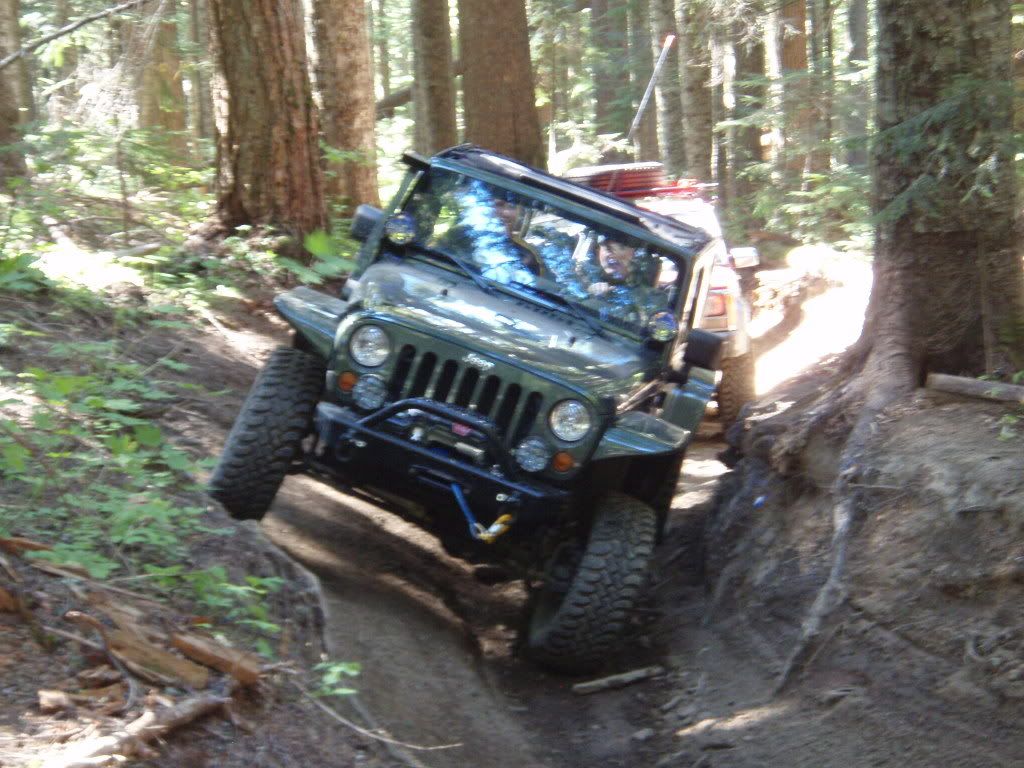
JD having some more fun with Jeff's Jeep. Can you see the anxiety on Jeff's face? If you can't see it, you can feel it! Jeff likes his Jeep and will likely beat JD if he messes it up. We would have liked to see that but, alas, there was no damage.
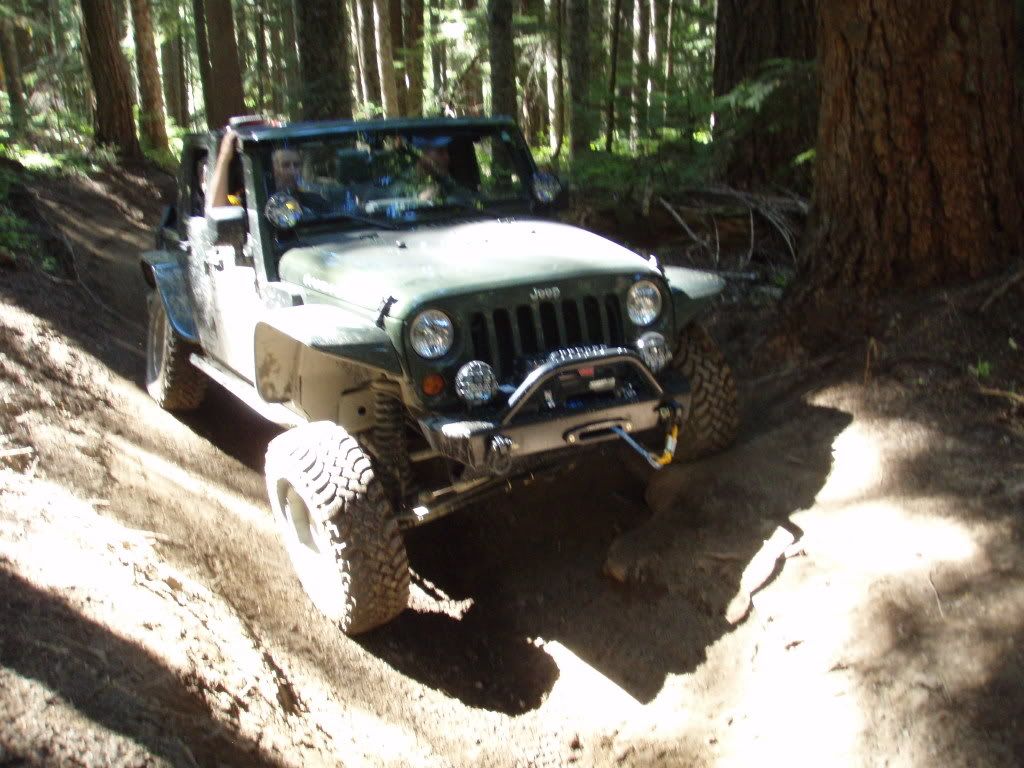
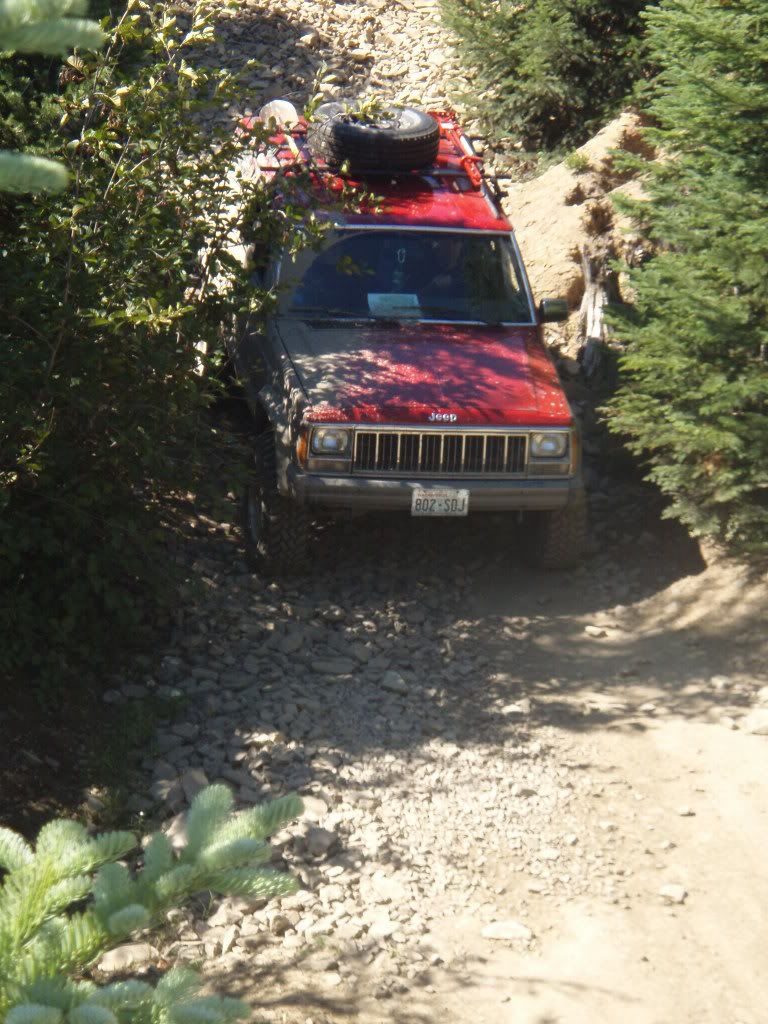
My turn...much easier when your Jeep is skinny.
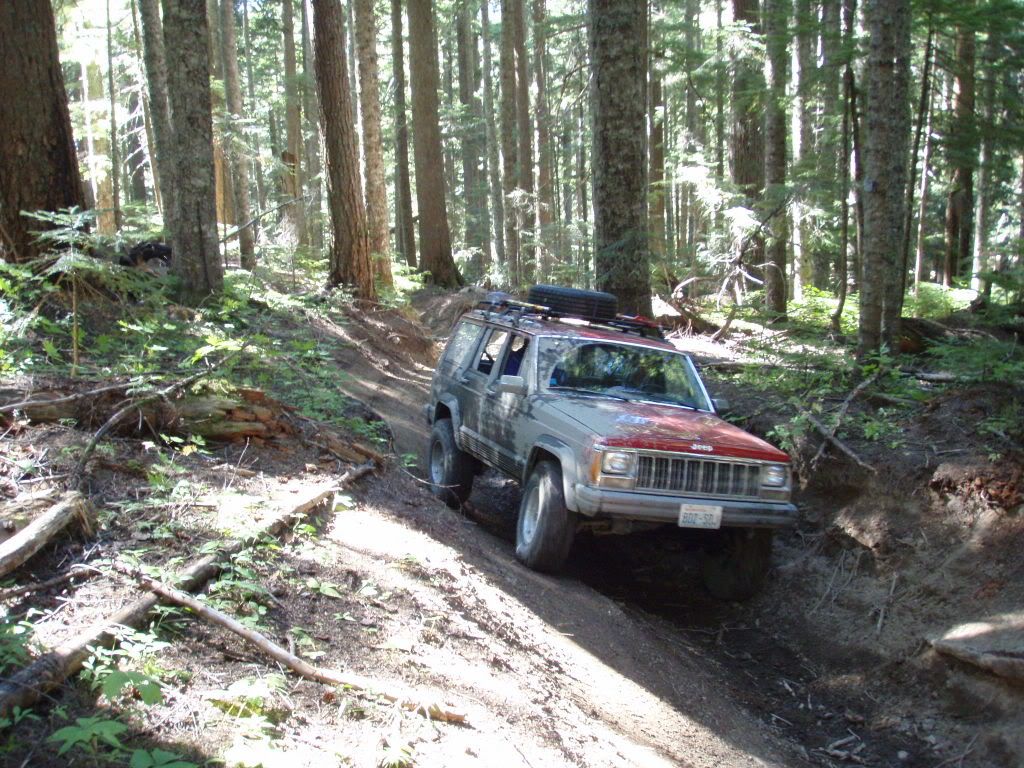
More tree navigation.
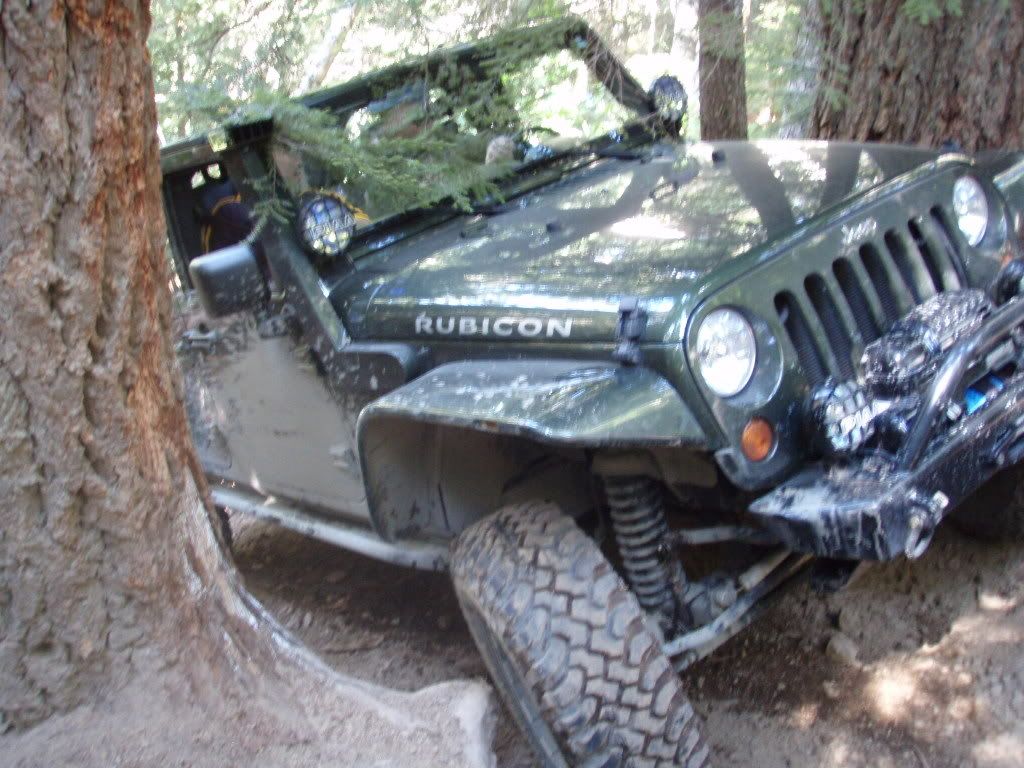
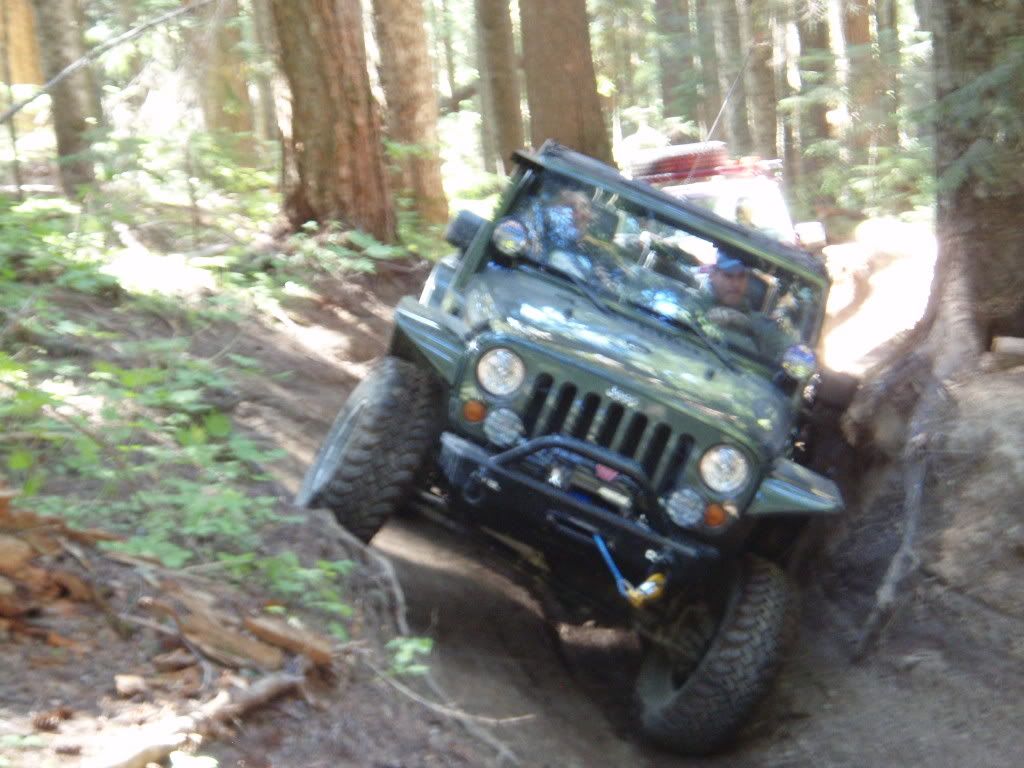
AHHHHH! Don't hurt my Jeep!
Can you see Jeff praying in the right seat? Click and look closely.
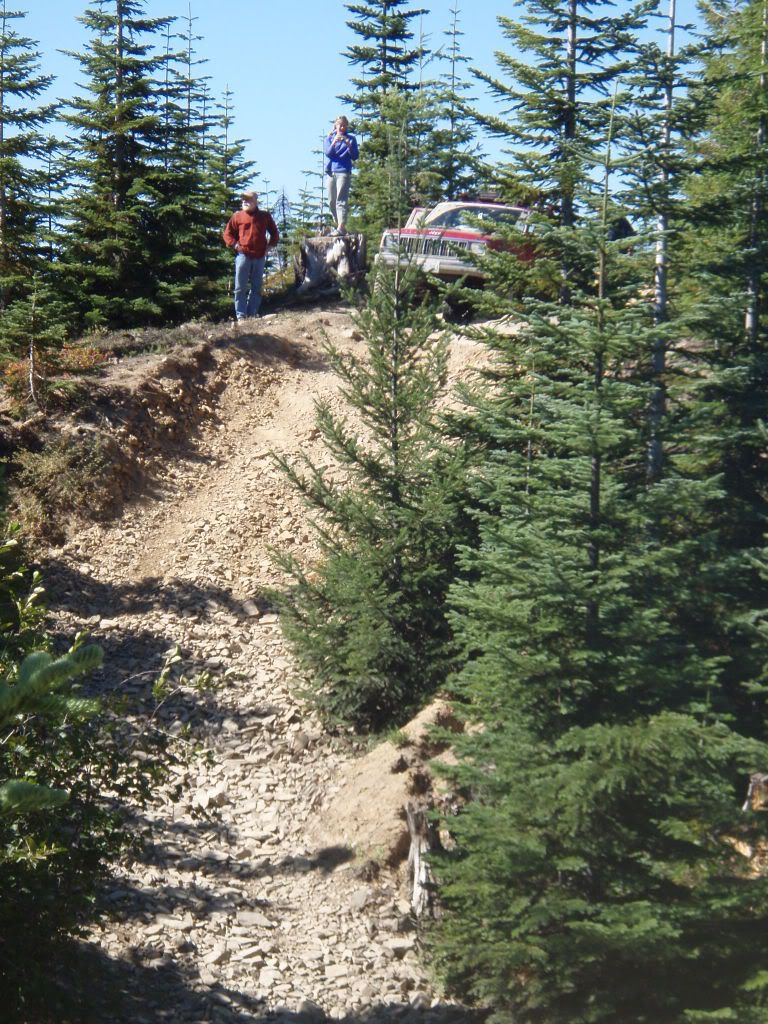
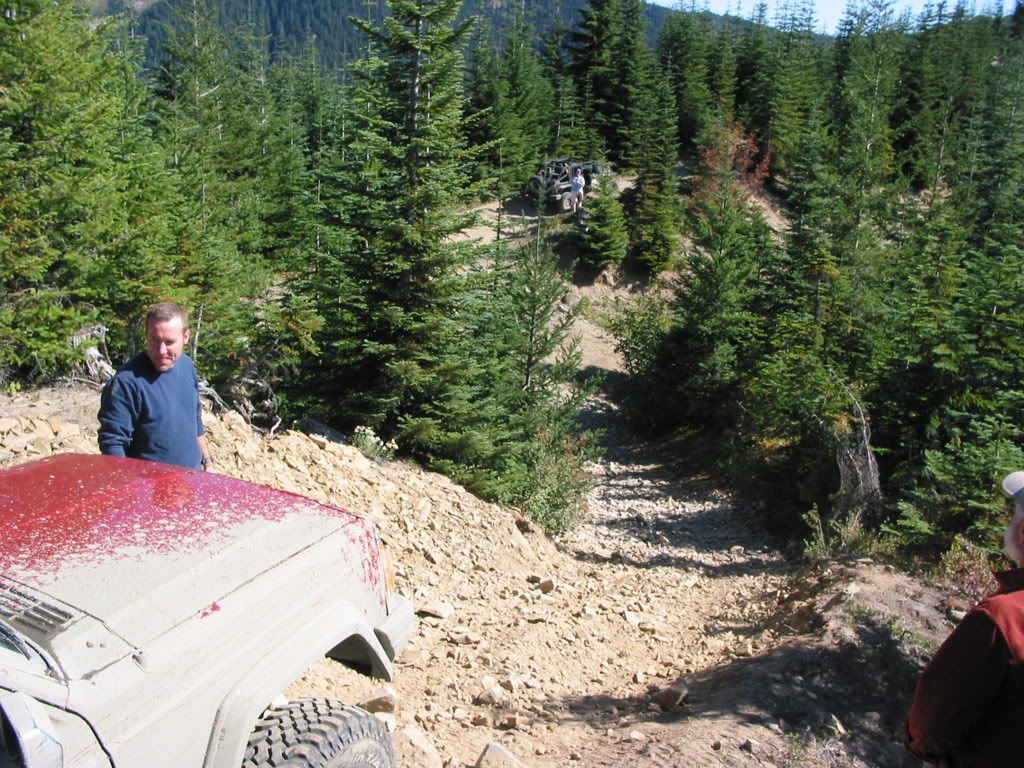
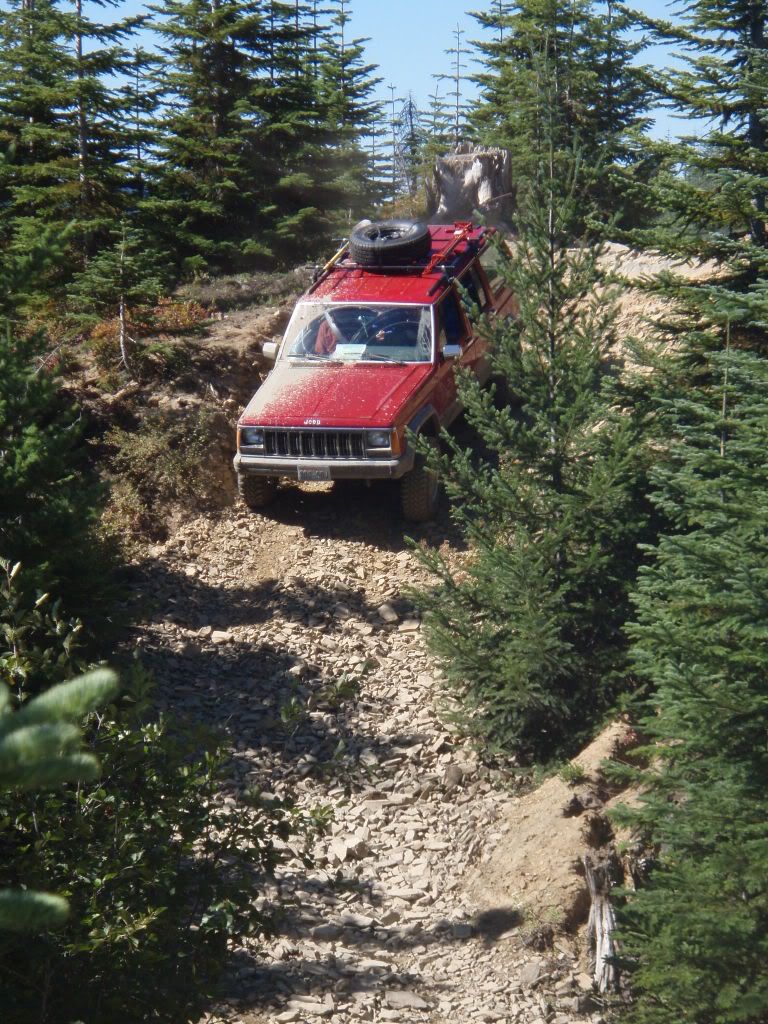
A little bit of recon to make sure we can get by the log at the top of the hill...it is steeper than it looks.
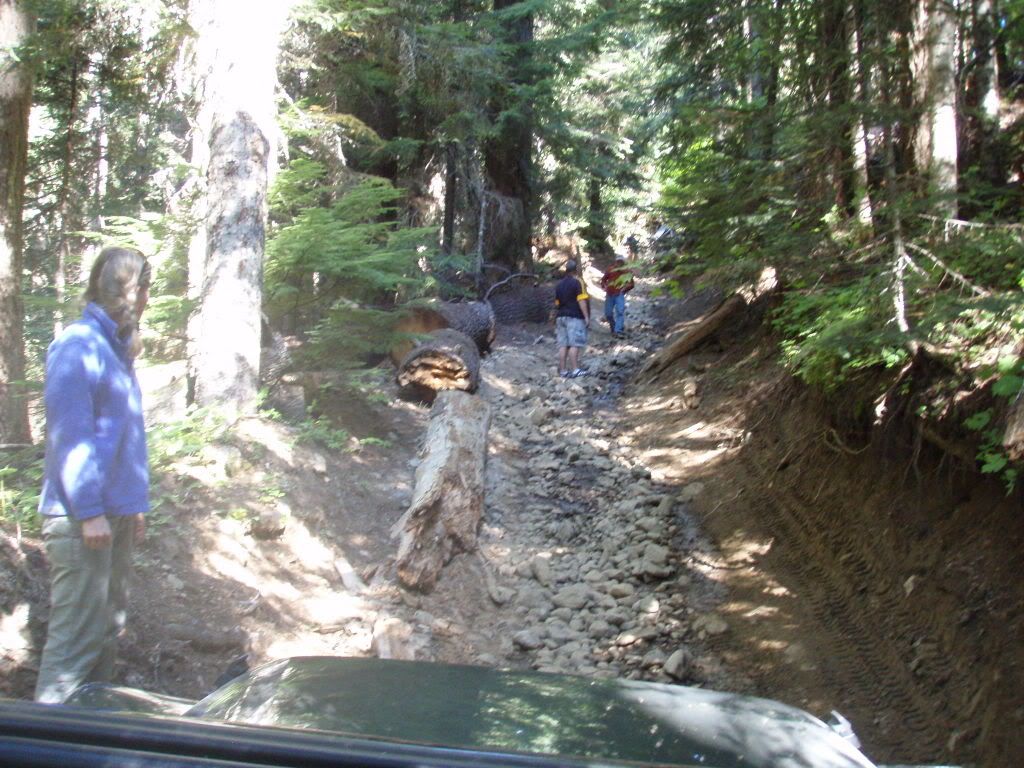
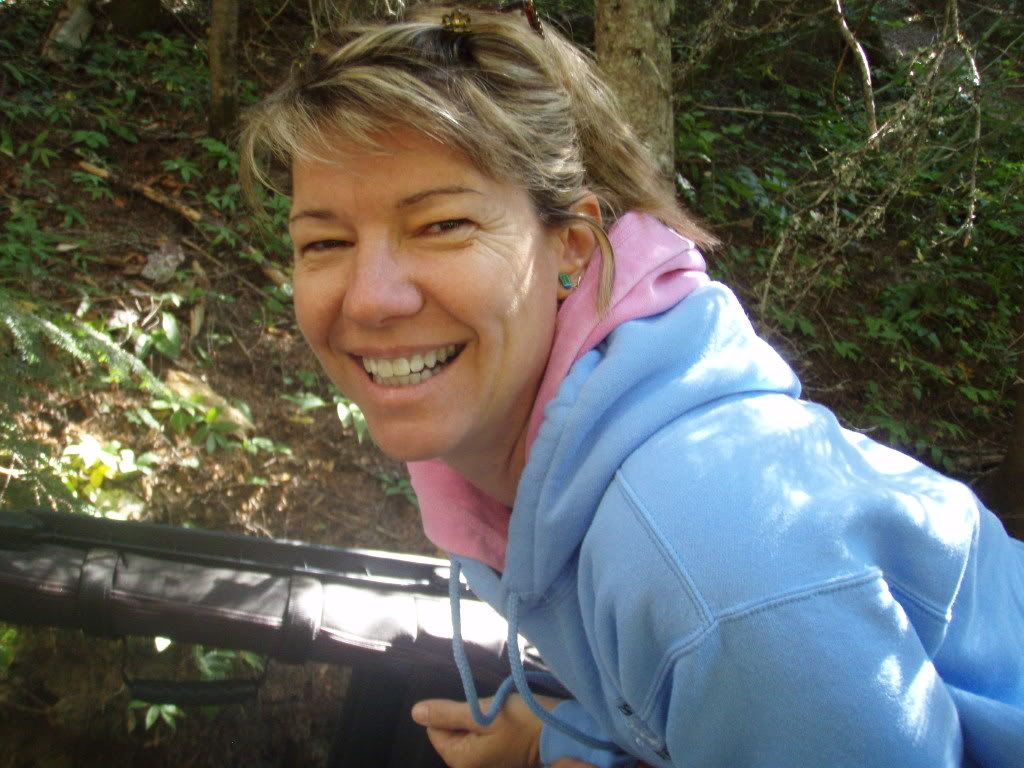
Becky hamming it up while we recon the hill.
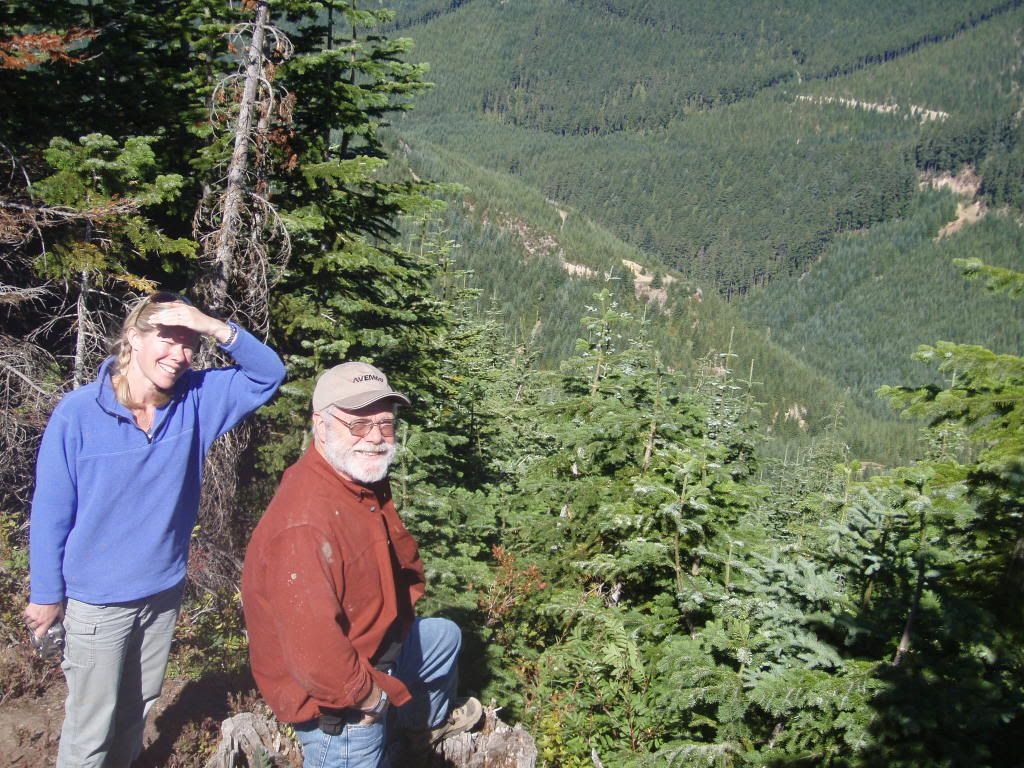
Heidi taking pictures atop a stump...
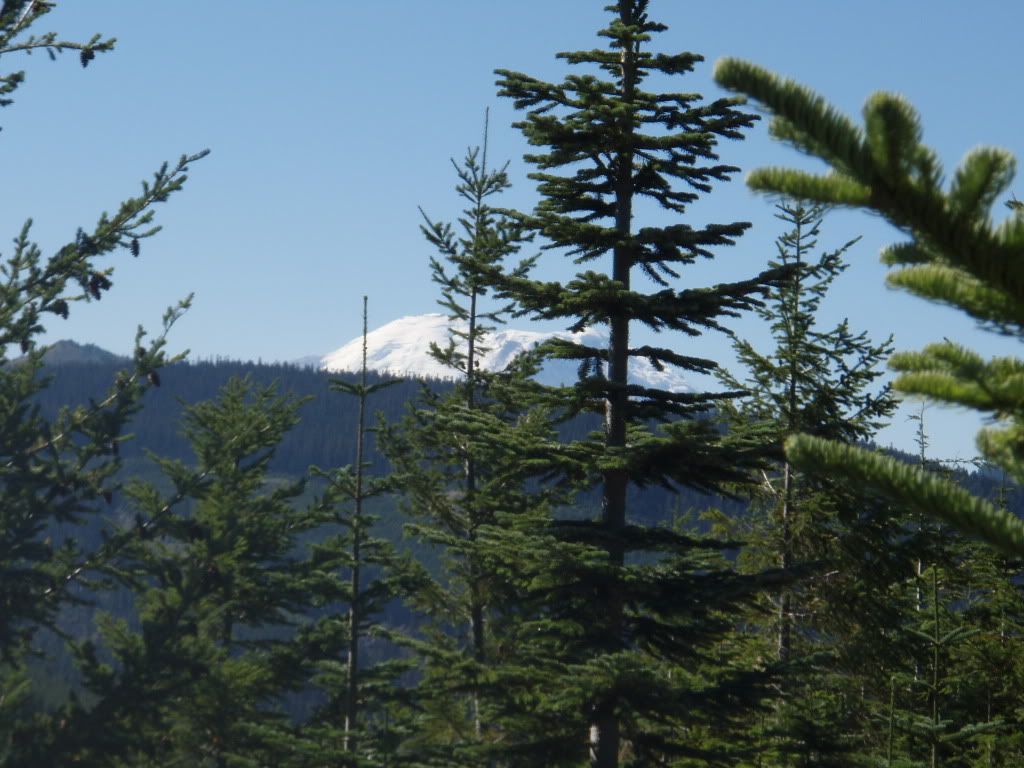
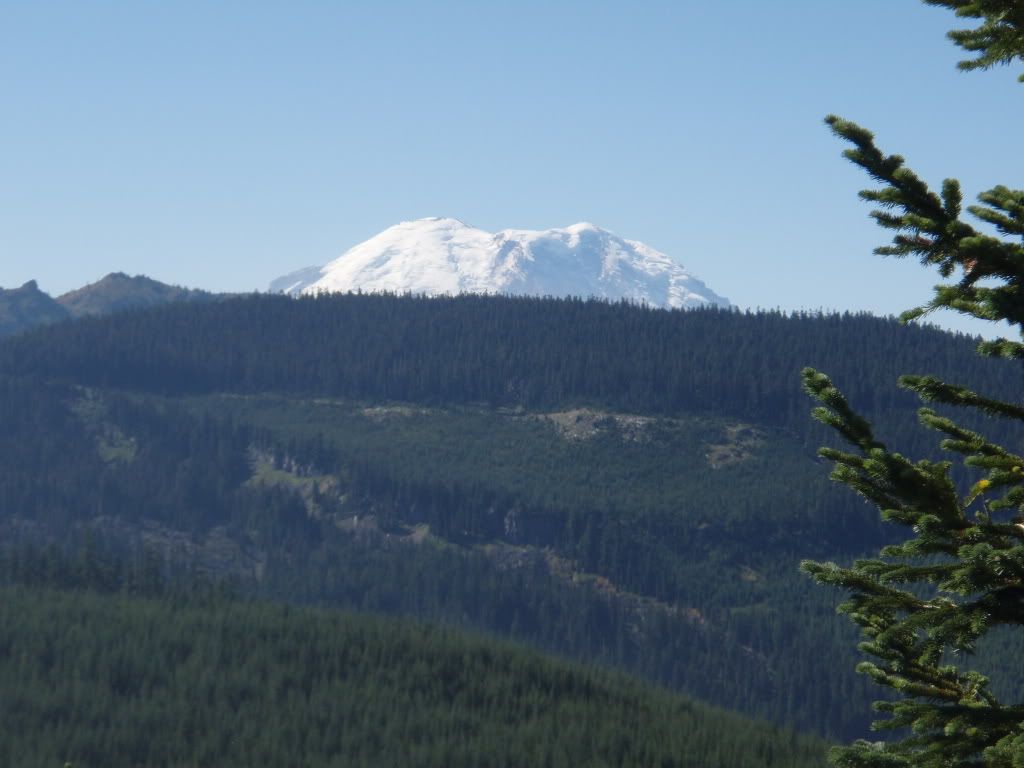
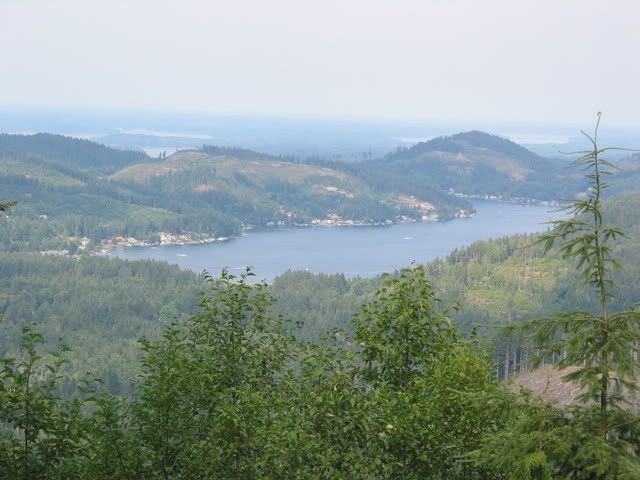
...and what she was looking at.
Mt. Rainier peaking from behind the ridgeline.
Time to catch up.

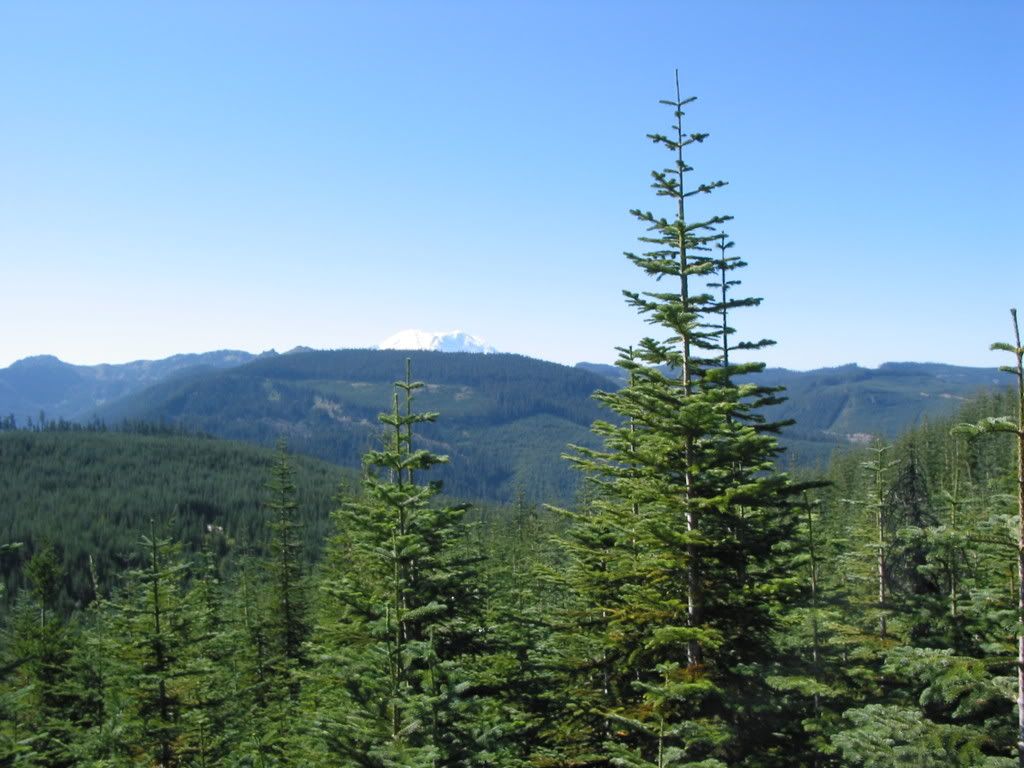
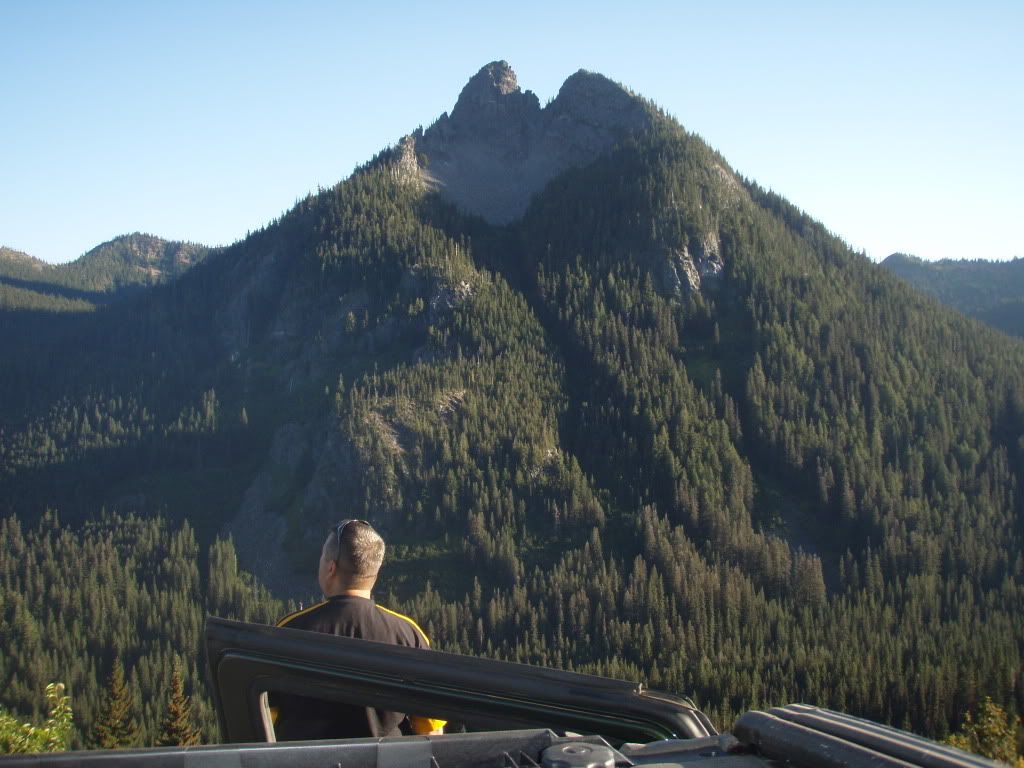
Jeff enjoying the view.
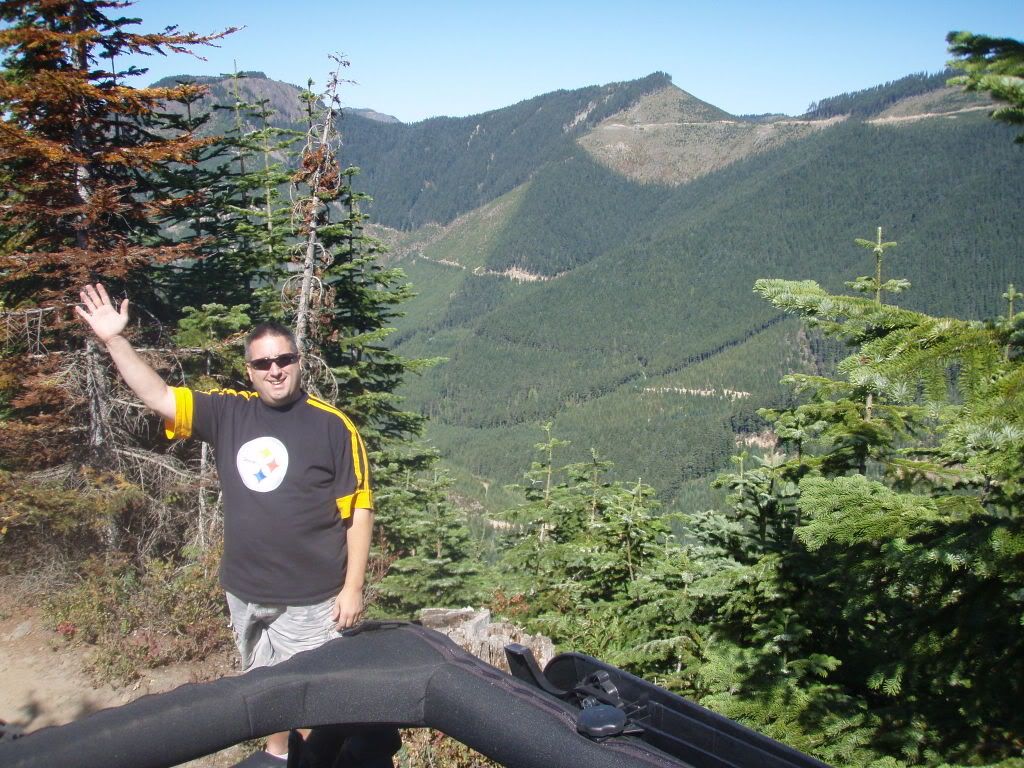
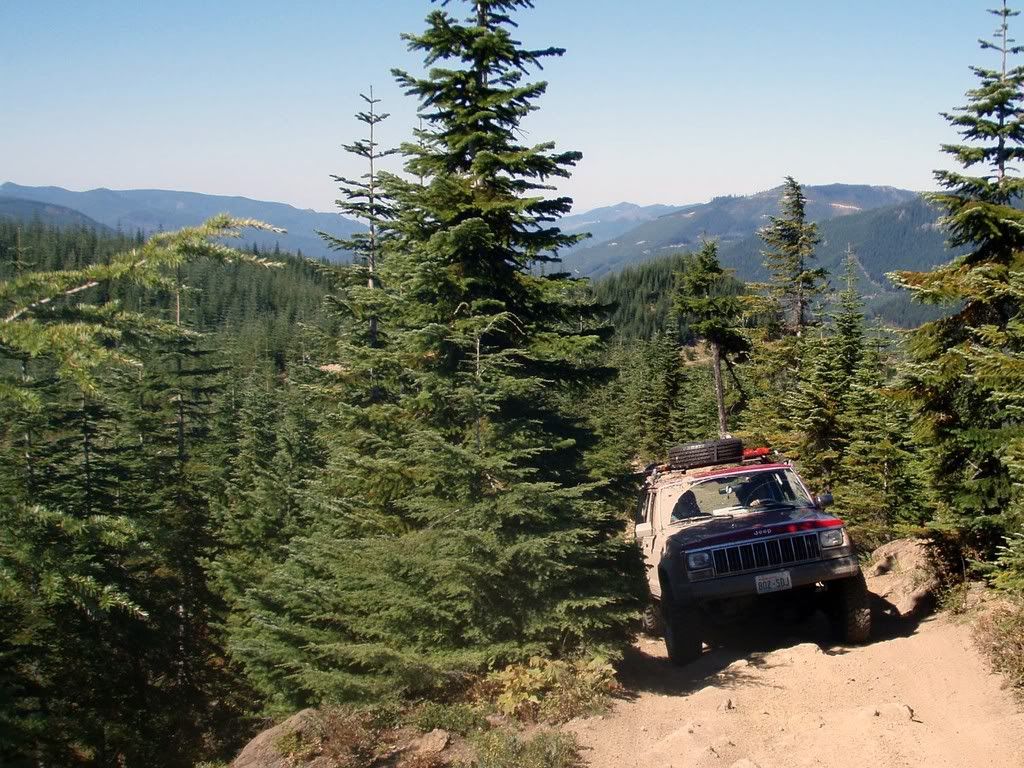
I love this picture! Here we are driving along a ridge, approaching an area where we can stop to enjoy yet another spectacular view.
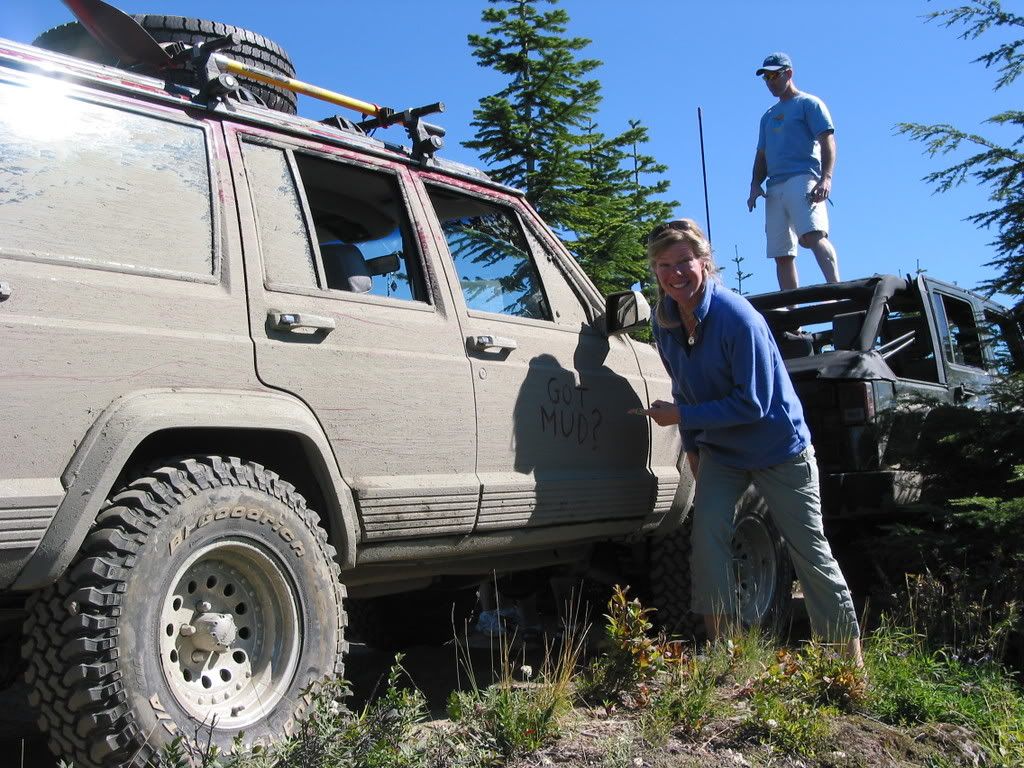
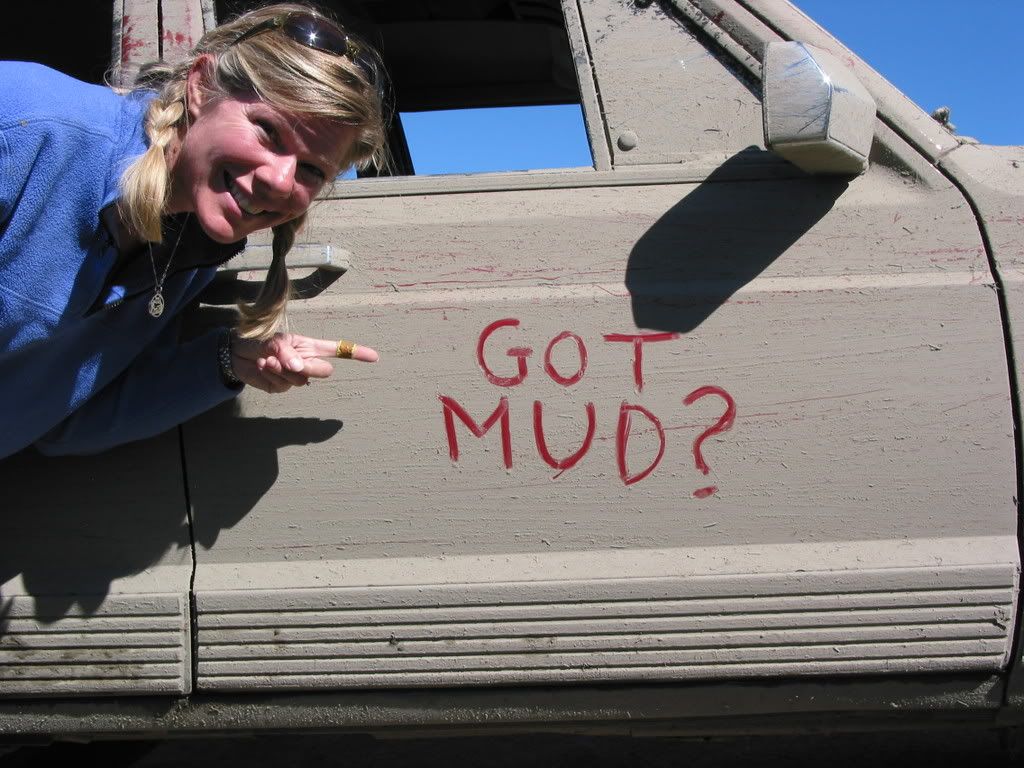
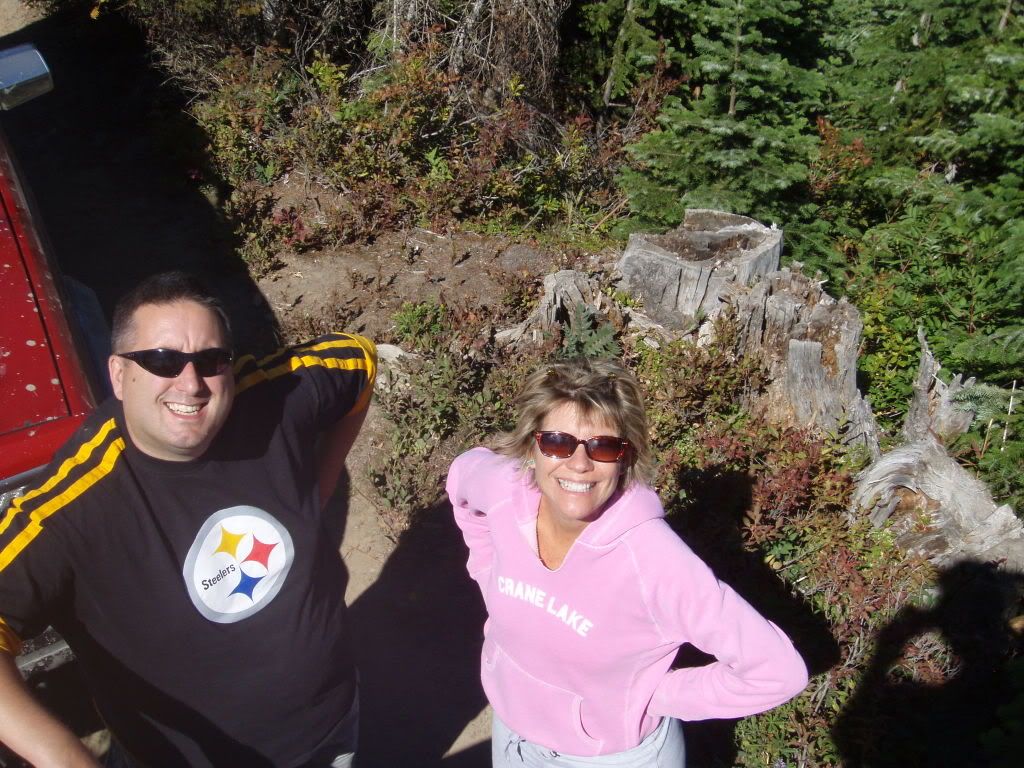
The mud is dry and Heidi points out the handiwork of JD. Yes, in fact, I do have mud.
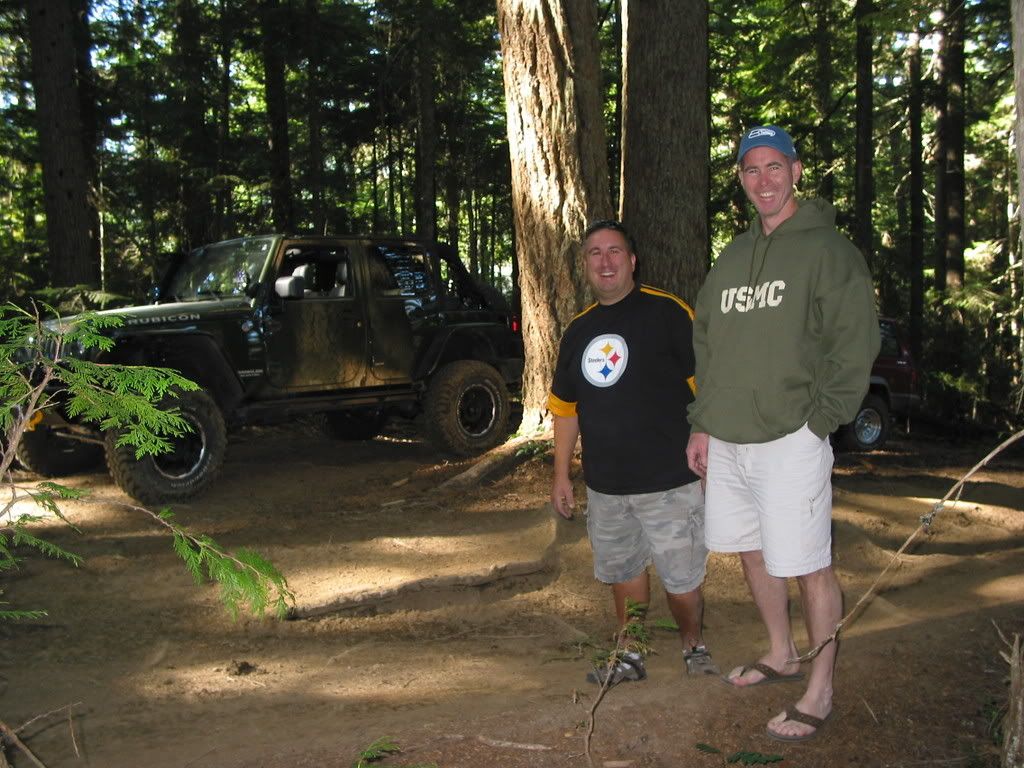
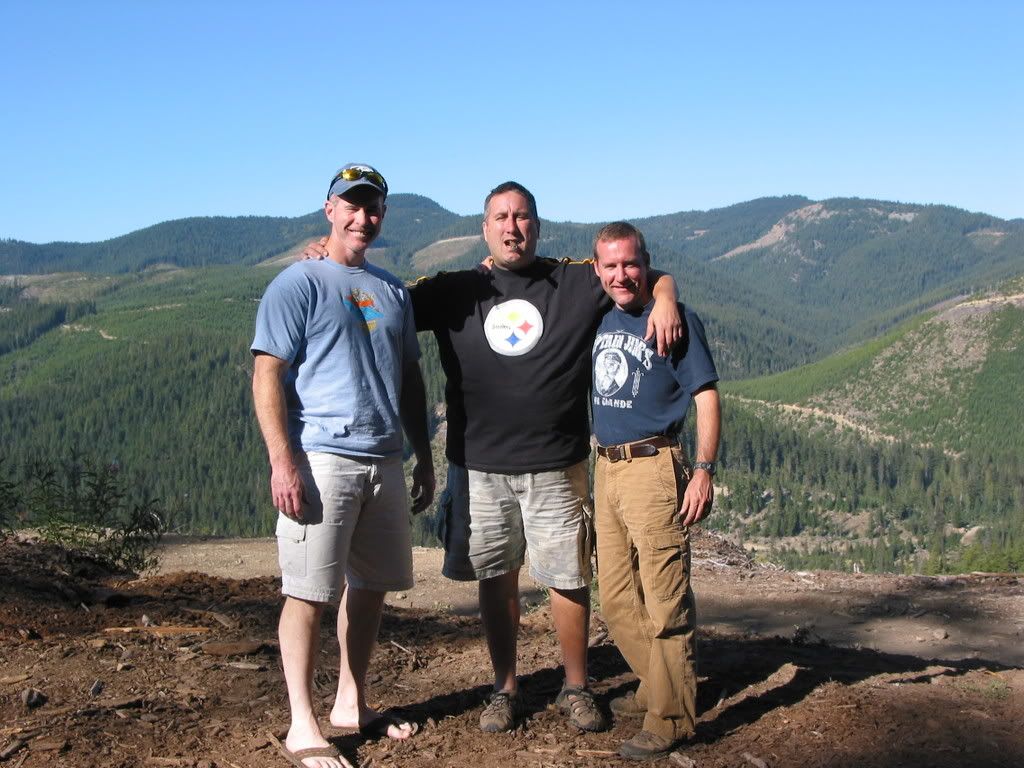
Here is the crew, minus me. From left to right: Gary, Jeff, Heidi, JD, Becky.
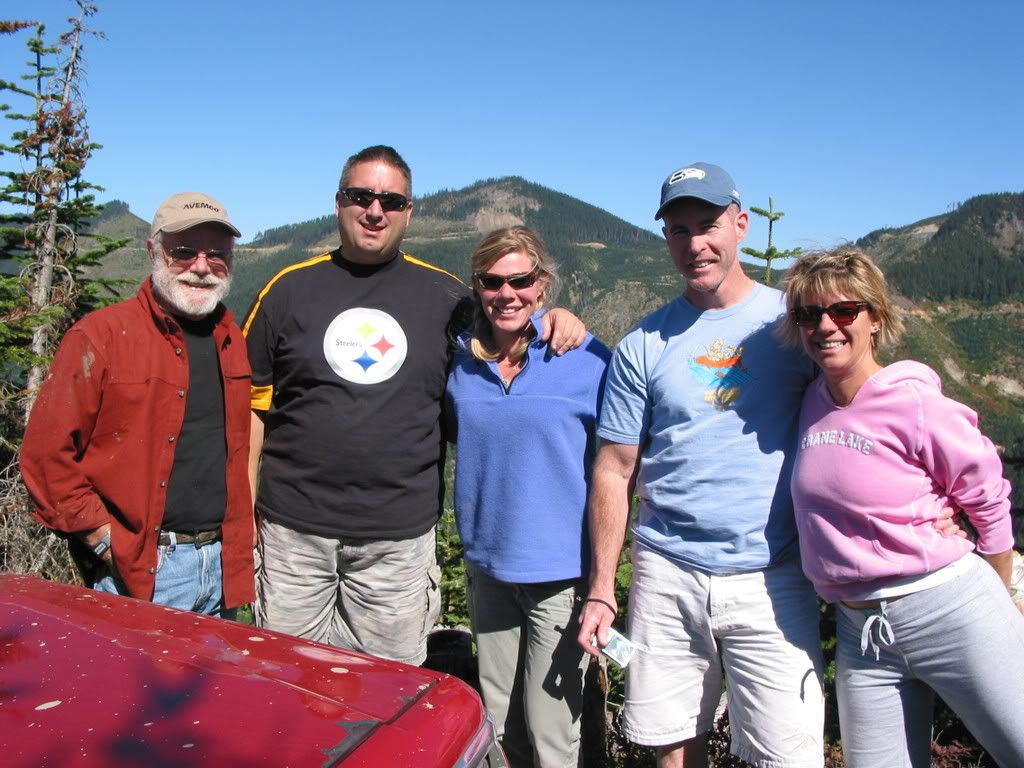
Gary and Heidi.
Jeff and Becky.
JD and Becky.
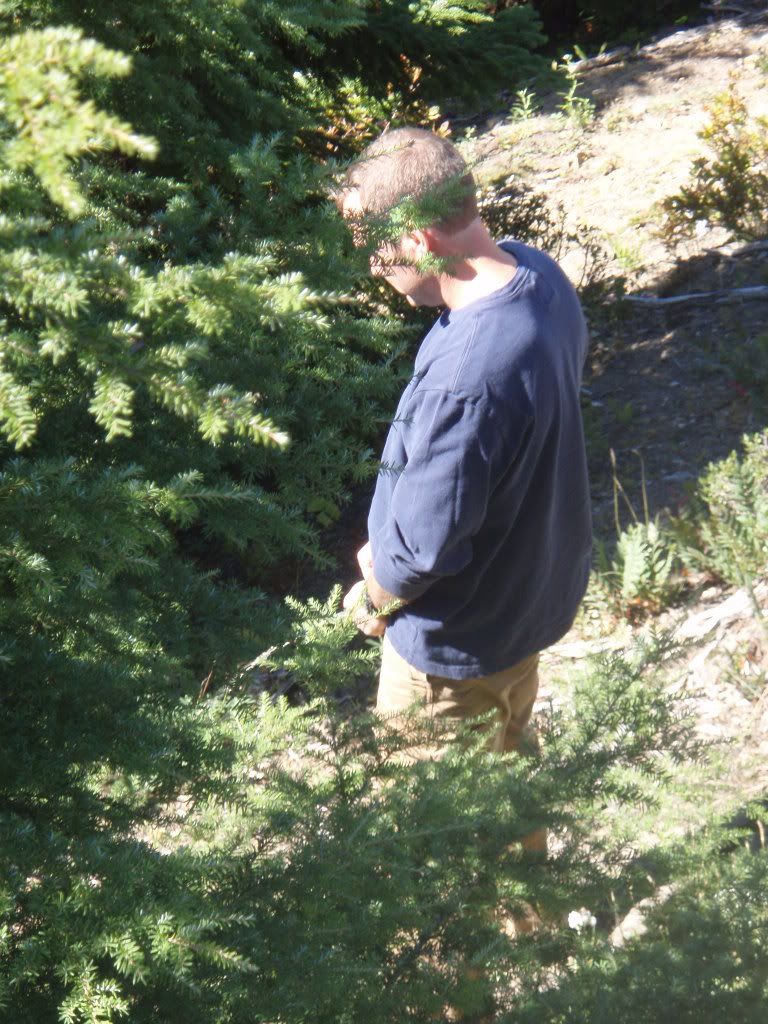
Thanks so much for taking this picture JD:) Really, I'm just doing my part to prevent forest fires.
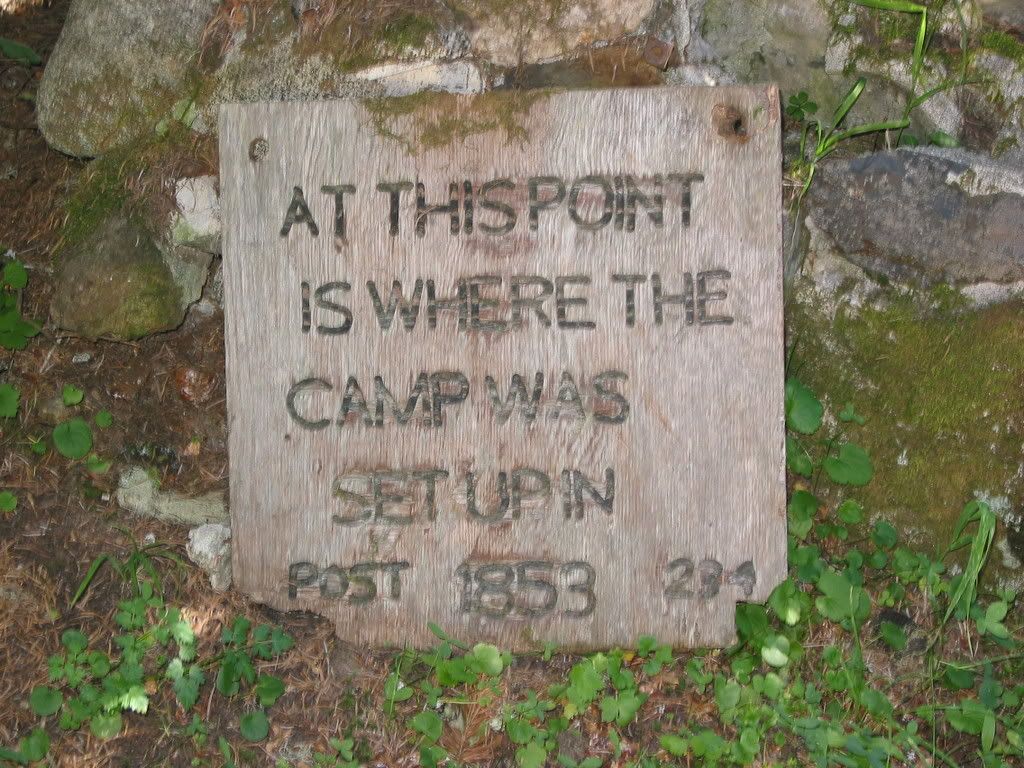
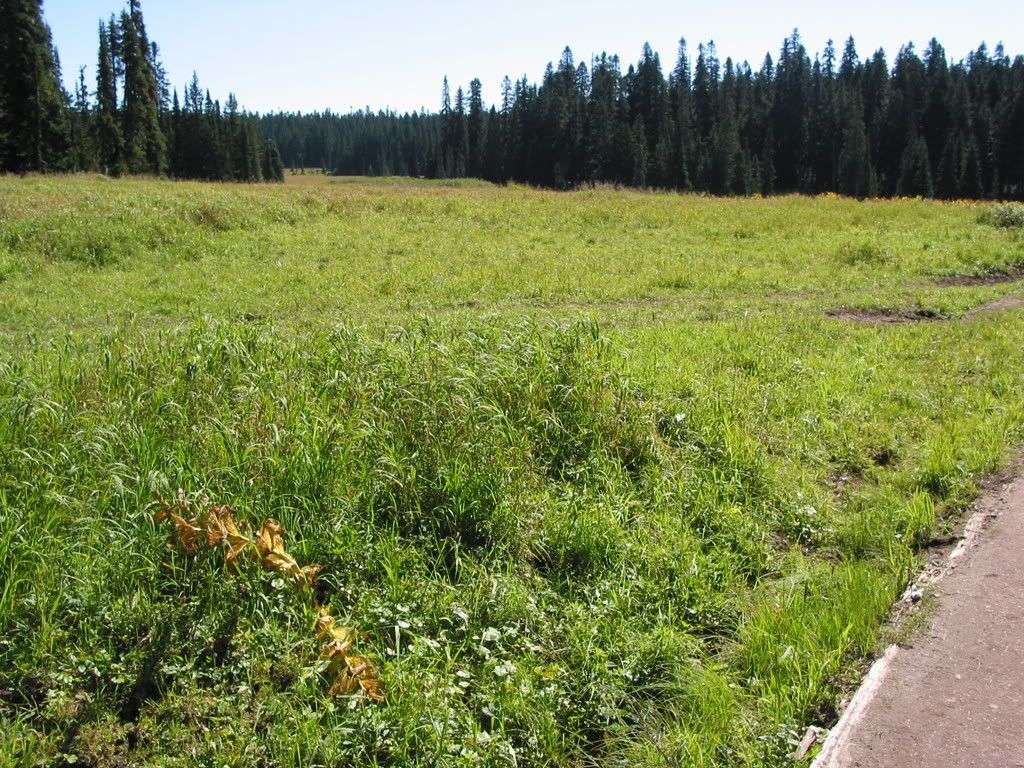
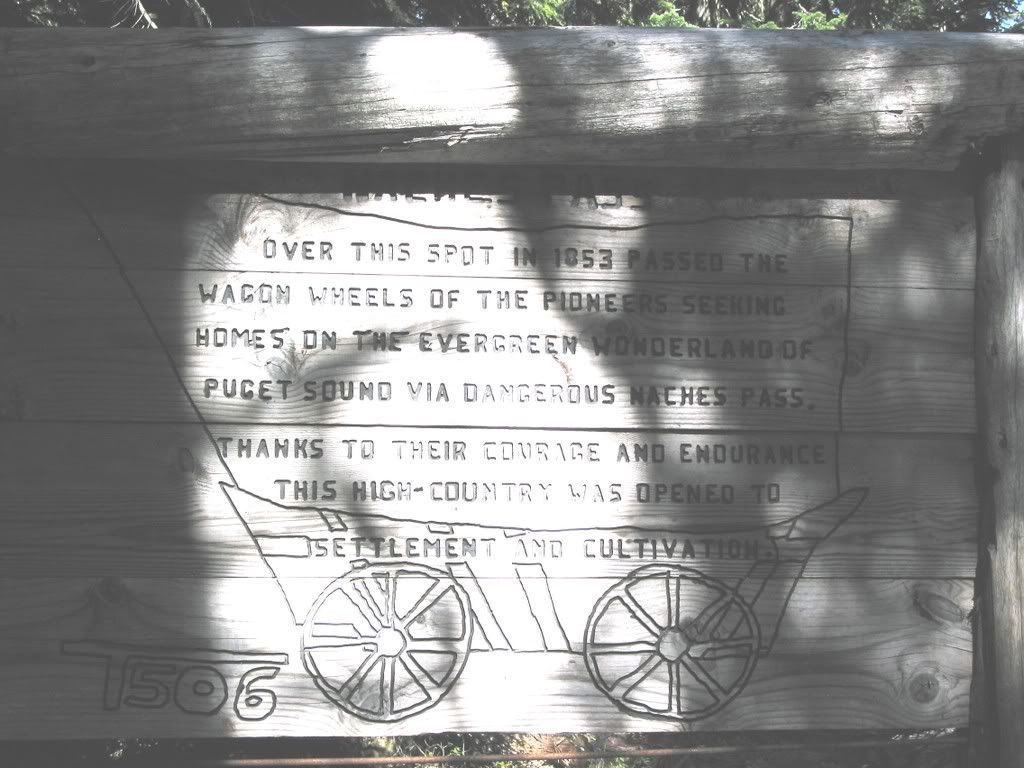
We finally reached Camp Urich and Government Meadows. This is the point where the Pacific Crest Trail crosses the Naches Trail. Government Meadows is where the settlers of the Longmire wagon train rested for two days. I think I would have rested longer considering what they had been through and what they had ahead of them. Heck, I might have just built a cabin and called it good. It is beautiful.
In case you can't read, here is the sign marking the spot where the camp was set up...if you couldn't read, I guess this wouldn't help. Perhaps I will just let the signs speak for themselves.
The Government Meadows sign...I can't help it!

Government Meadows in the flesh.
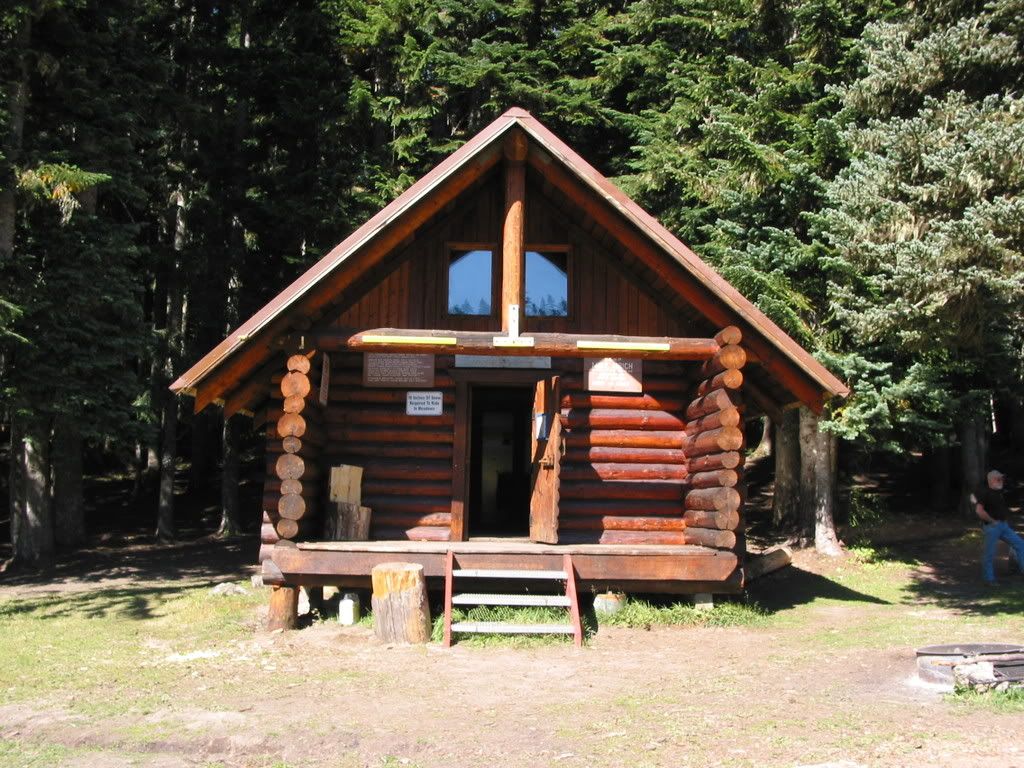
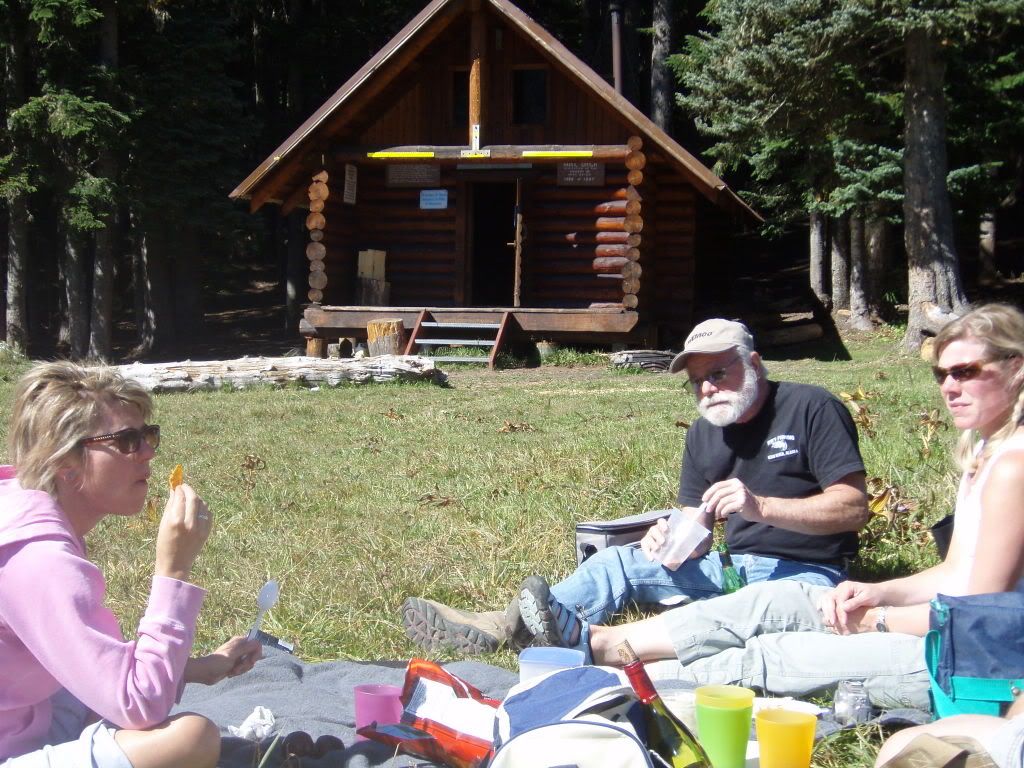
This is the cabin at Camp Urich, about 100 yards south of the Naches Trail on the Pacific Crest Trail.
It's time for lunch!
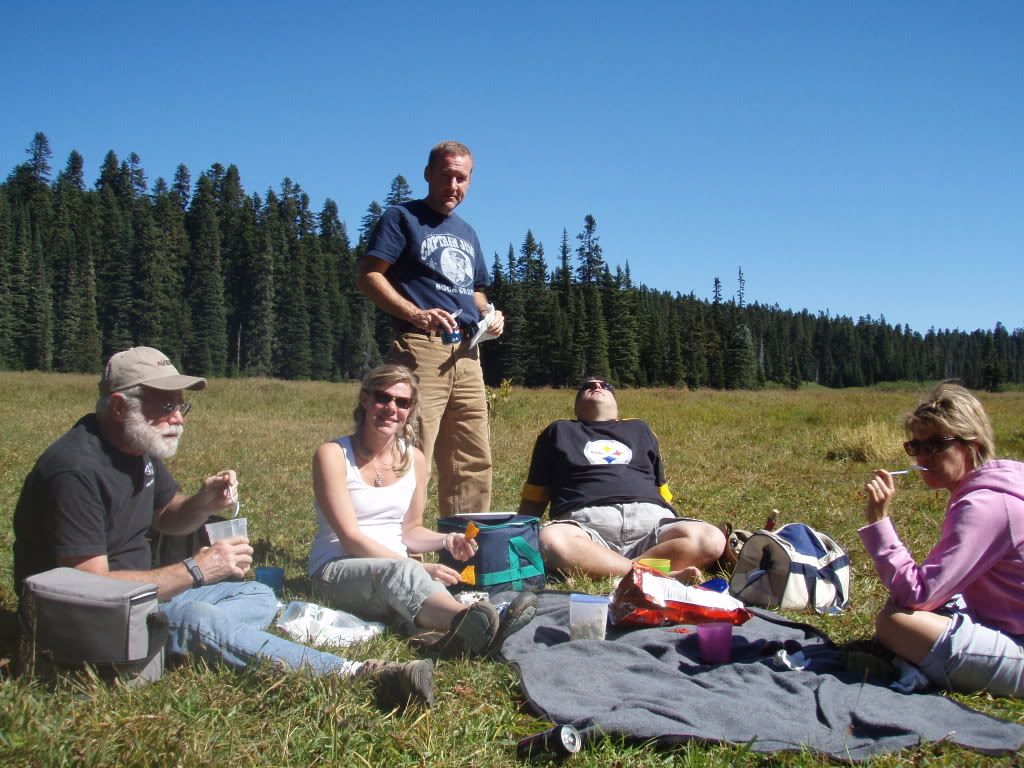
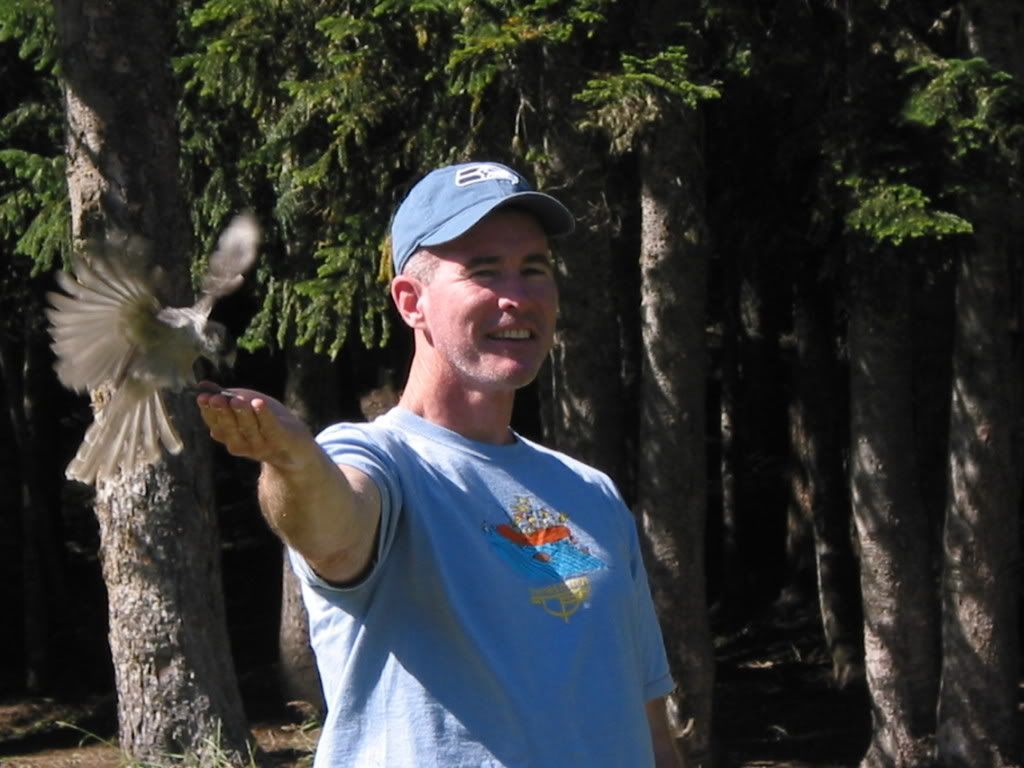
Evidently the birds were hungry too. We made JD smile the whole time because the birds seemed reluctant to approach him when he had his Marine Lieutenant Colonel face on.
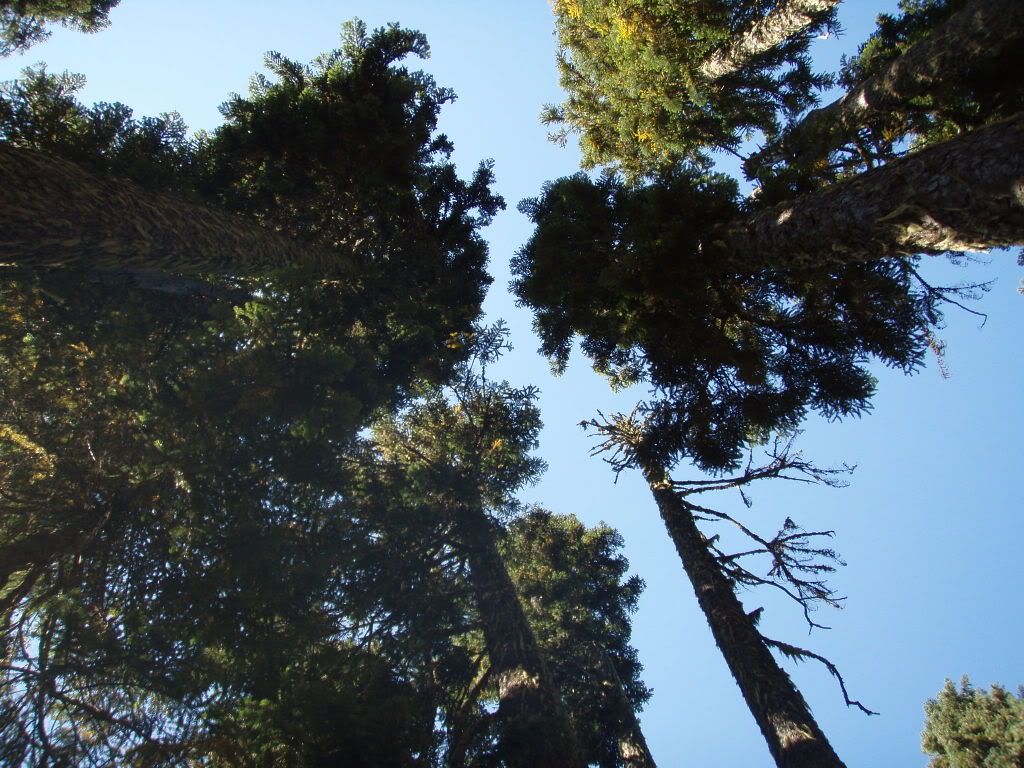
A view through the trees at Camp Urich.
Just east of Camp Urich is the sign indicating the Naches Pass. The trail begins a long descent from here.
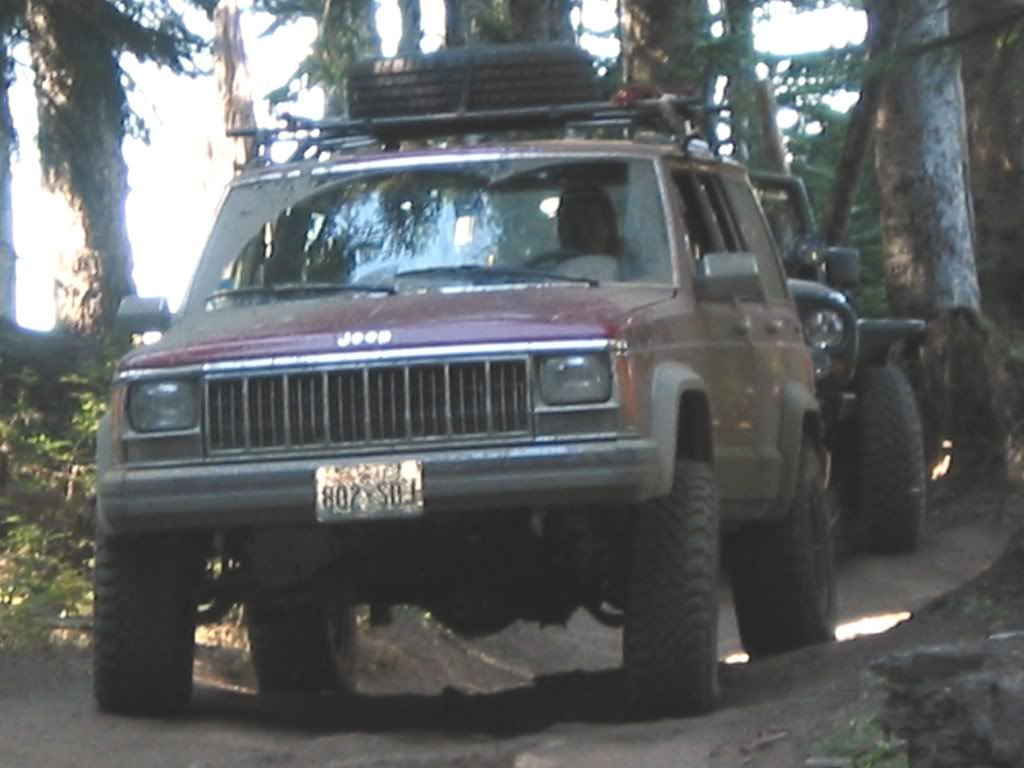
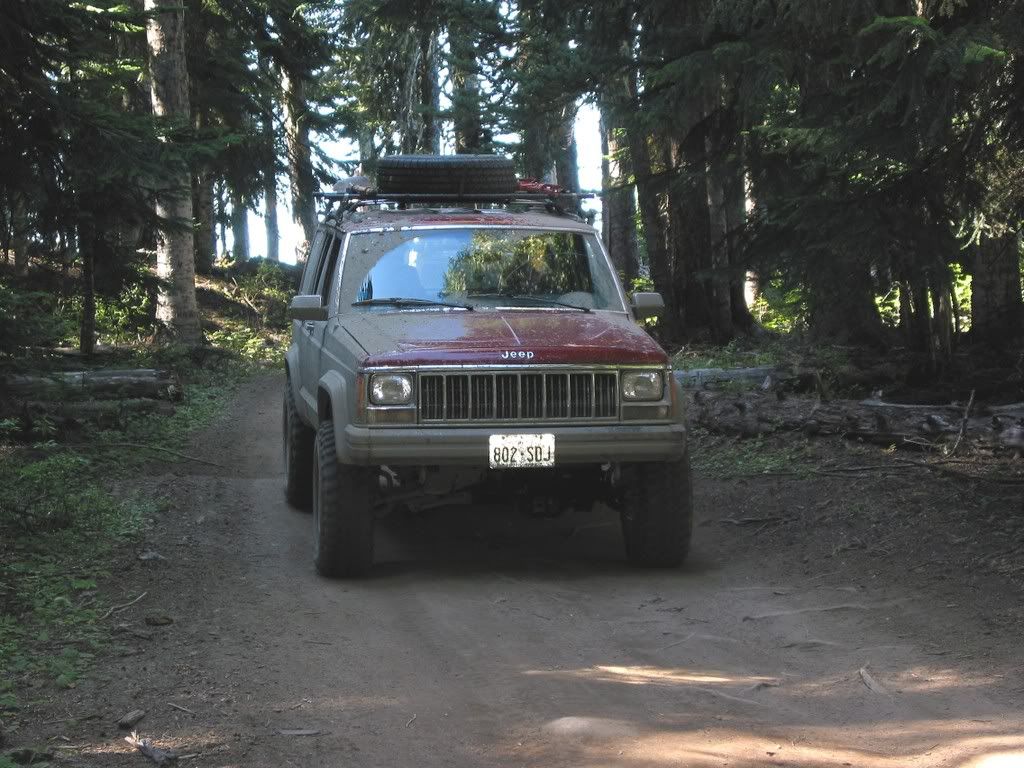
As we continued east from Camp Urich, Heidi wanted a turn at driving. We switched seats and she had some fun! I missed most of the good stuff with the camera but I managed to jump out for a minute and take some pictures on a nice flat part of the trail. She contends that I wanted to be "barking at her" on the more difficult parts, but I don't know what she is talking about. I was perfectly calm:) She also maintains I was squealing like a little girl and saying "you're going to roll it!". I certainly don't remember it that way...
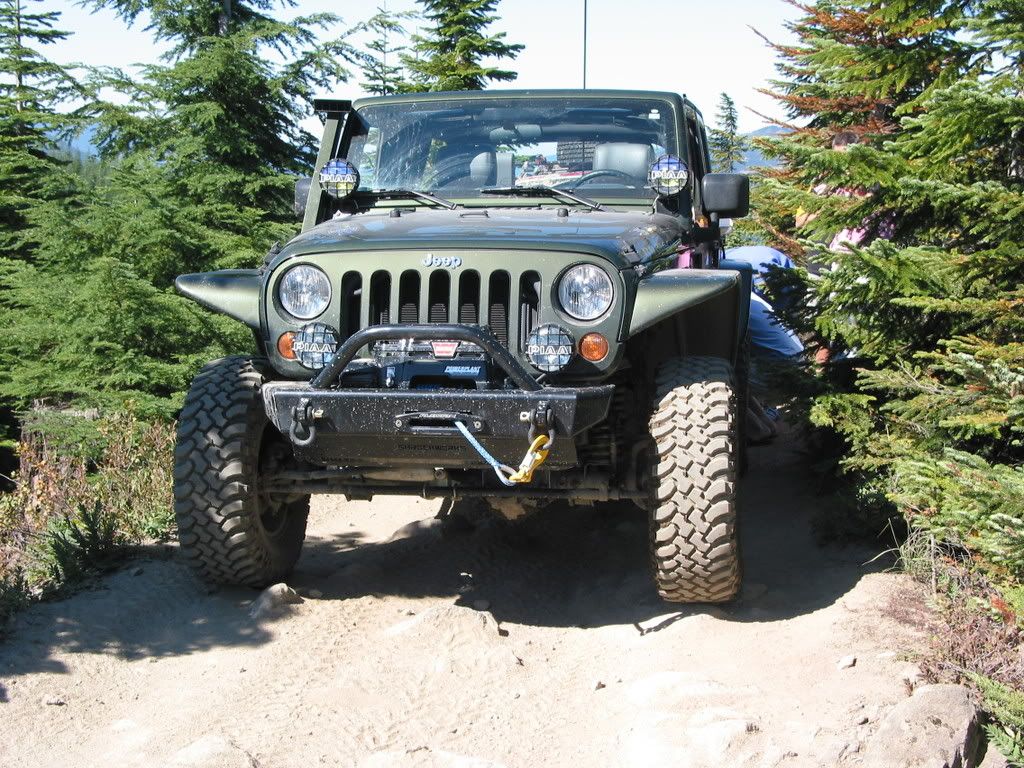
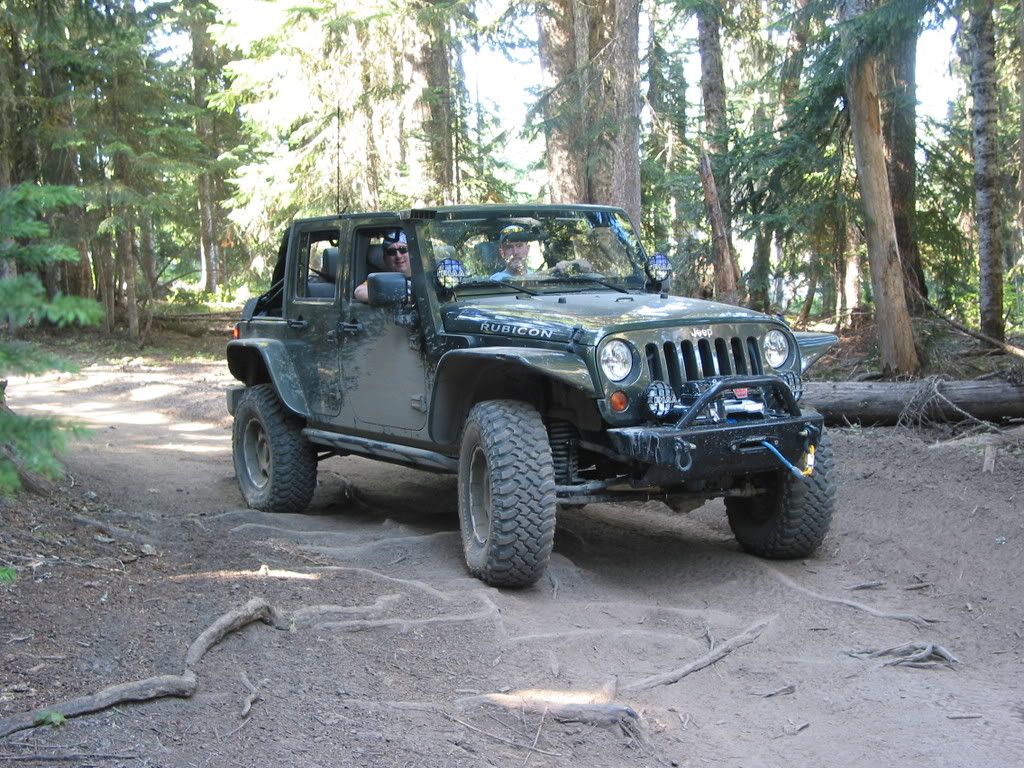
Some pictures of Jeff's JK at the same time. Notice der schnorkel on Korvettenkapitan Jeff's U-boat/Jeep. This is a wise modification from previous misadventures. I won't mention it here to preserve his dignity *cough* hydro-lock *cough* bent connecting rod *cough* Who said that?
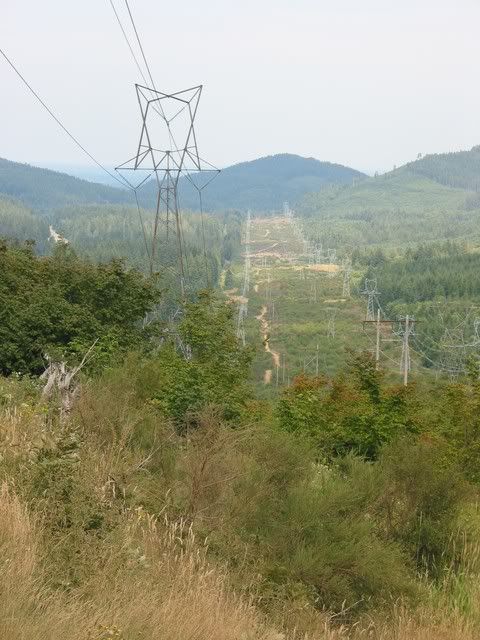
While standing atop this ridge looking at the view we were wondering, with all of the forest roads, why the settlers even bothered using the Naches Trail. Silly pioneers.
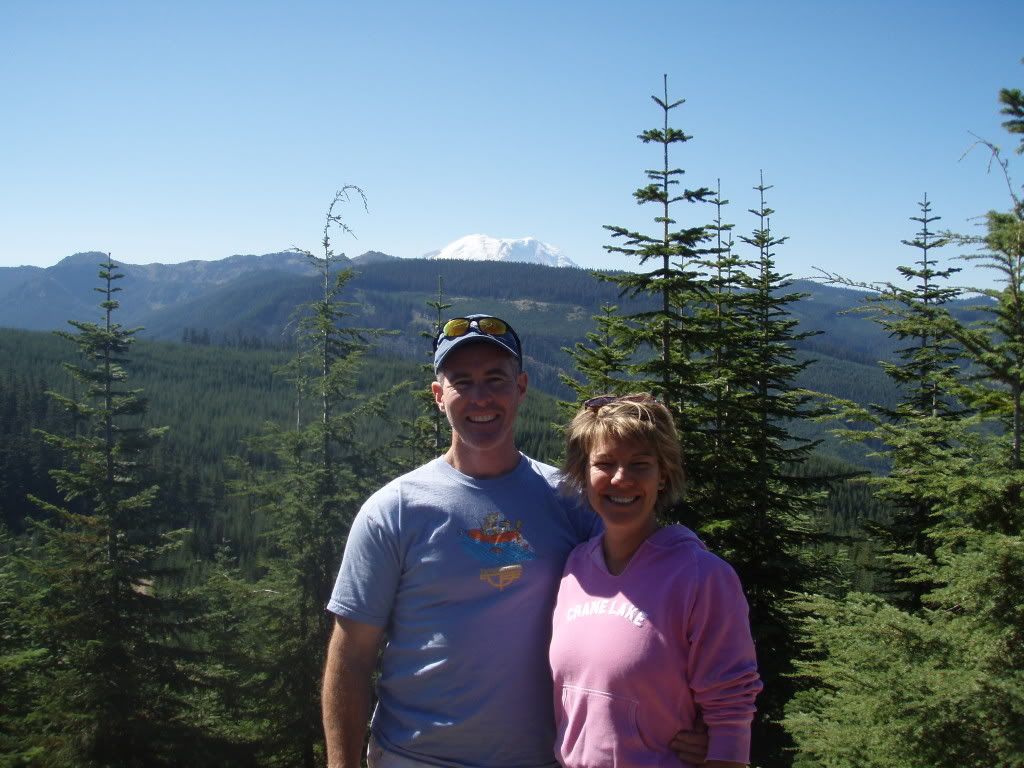
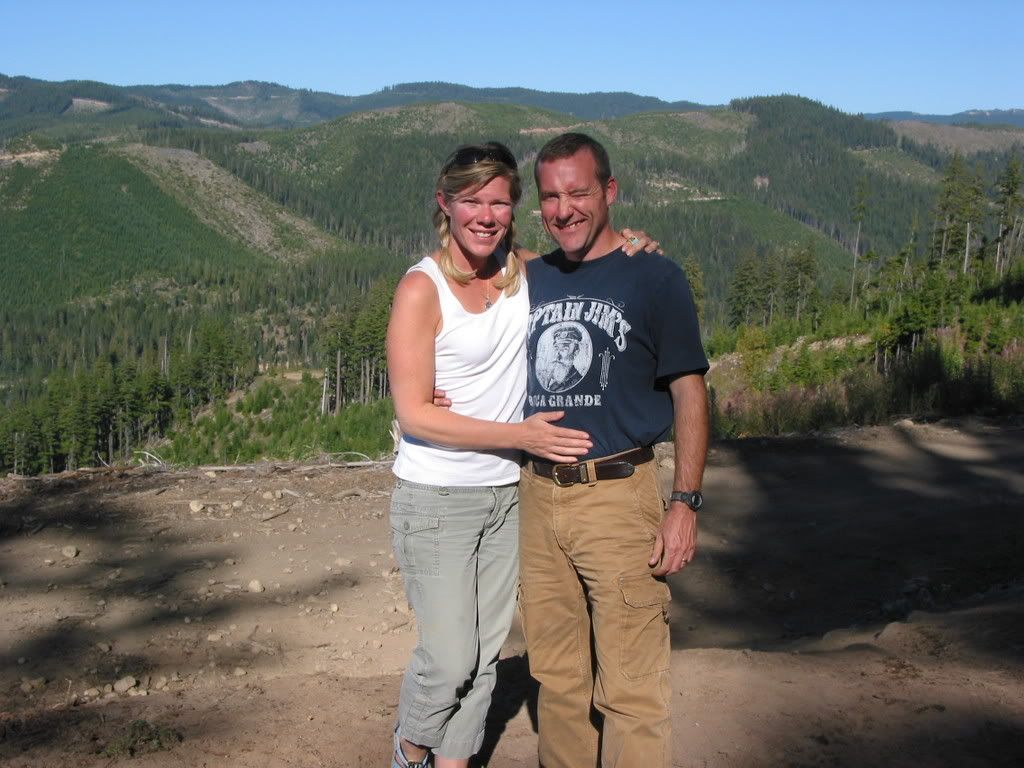
Finally, a picture of my wife and I together.
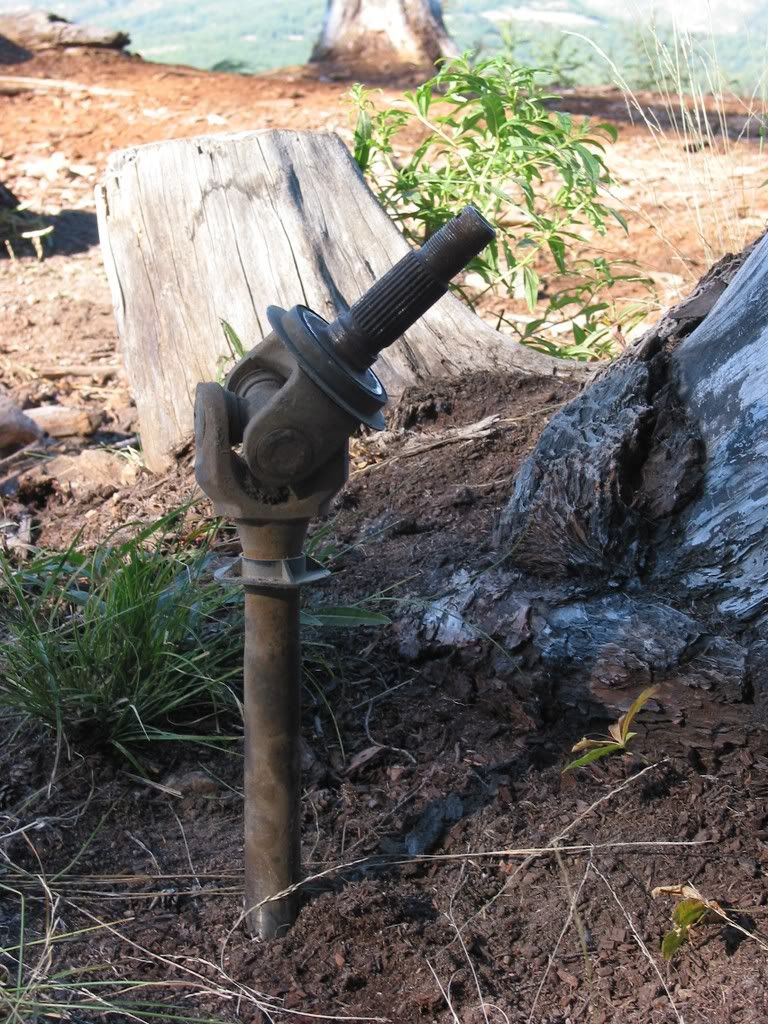
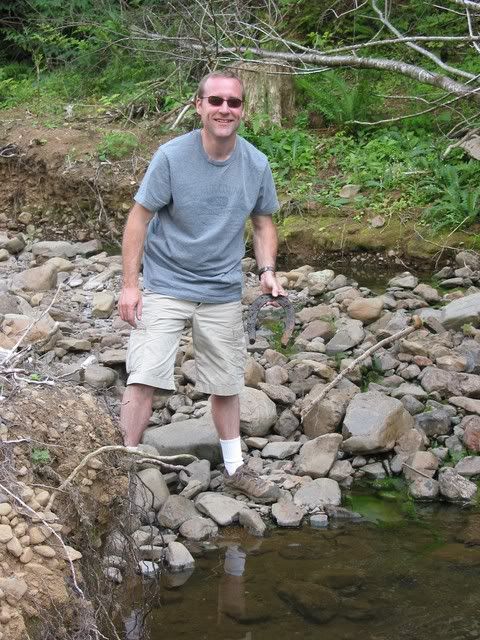
While taking a break we found a remnant of another's misfortune on the trail. It's definitely an axle shaft from a Dana 30.
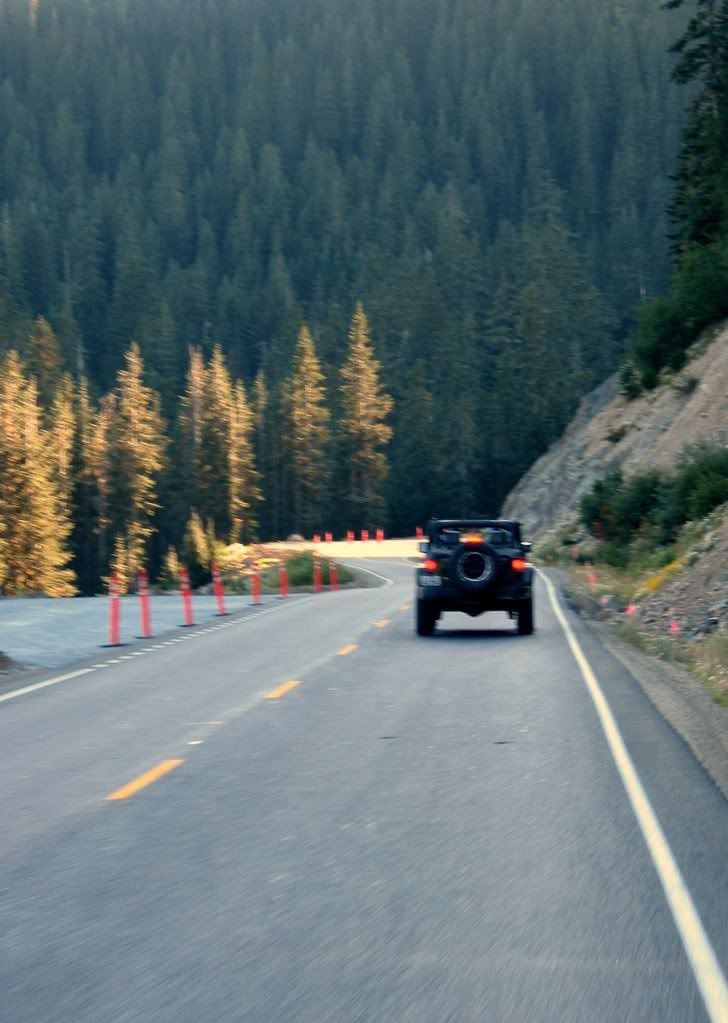
As we progressed further east we became more and more pressed for time. As a result, the pictures decreased at this point. We exited the Naches Trail onto FS19 at the trail's end, just prior to another trail recognized as 'most difficult' by www.nwjeepn.com. Maybe next time for this most difficult trail! We followed FS19 to Hwy 410 near Cliffdell and continued over Chinook Pass back home. The trip was impressive for it's views, the trail, the historical significance, and the company! The trip was quite an experience and I look forward to doing it again next year! Anybody up for round two next season?


 I am pretty handy with a wrench and have been working on vehicles of various types for quite a few years. I hadn't worked on suspensions much at all until this project though. The lift installation didn't look too hard but I hadn't factored in the sheer amount of corrosion that I would run into. I figured that it would take two days...it took six. What a pain in the ass. Honestly, I had a great time doing it but quickly tired of breaking off bolts and getting flakes of rust in my eyes and nose. Even with safety glasses it seemed to find it's way into my eyes!
 One day I noticed that the ol' XJ was starting to leak anti-freeze on the driveway. The anti-freeze was easy to see because the fluid beaded up nicely on the oil slick in my driveway from the various oil leaks from my engine:( The source of the dripping was the water pump. Coolant was leaking out of the little hole on the bottom indicating bearing failure. Great. I limped it along until payday. As I began to look closer at the water pump I noticed that the radiator fins were badly corroded. I ran my finger along some of those fins and they turned to DUST...just disintegrated. After I had a little fun turning 1/3 of my radiator to dust while chuckling to myself, I hit the phone book and started piecing together the parts required to restore the cooling system. The Jeep recieved a complete cooling system makeover for just over $300. While I was doing the work my neighbor, who is a mechanic and owns his own shop, asked me what the heck I was doing to the Jeep this time. I explained and he said, "Why don't you just buy a new car?". I asked him how much his monthly car payment was for both of his brand new Chevy trucks. "I see your point...", he said. The fact is that the Jeep had been largely maintenance free up until this point. I was more than happy to pour some cash into it to keep it going. The brakes would soon wear out...ok, not more than happy to pour some cash into it, but you get the idea.
 I continued my trips to the junk yard, picking up various parts along the way. I added some extra leaves to the rear spring pack for towing our trailer (I later removed them when we no longer towed with the XJ). I added a temperature sensor, which my XJ was missing from day one. The overhead console was there, but the temperature read-out didn't work. Three bucks at the junk yard fixed that problem. I also picked up a replacement tail light box after some idiot kid clipped my rear bumper and cracked it. Five bucks from an '84 XJ...problem solved. I have replacement headlight bezels and just need a grille to finish replacing the peeling front end...5 bucks each for the bezels and 15 for the grille when one shows up. Everybody seems to smash the front end so it will probably be a while before I find one. While looking for a grille with Madeline, we ran across an XJ with a Yakima gutter mount roof rack on it. It included 4 towers and two cross bars. This set up would cost $200 bucks new...I got it for $16! I have plans for this setup in the near future after I get some new keys from Yakima to unlock the towers.
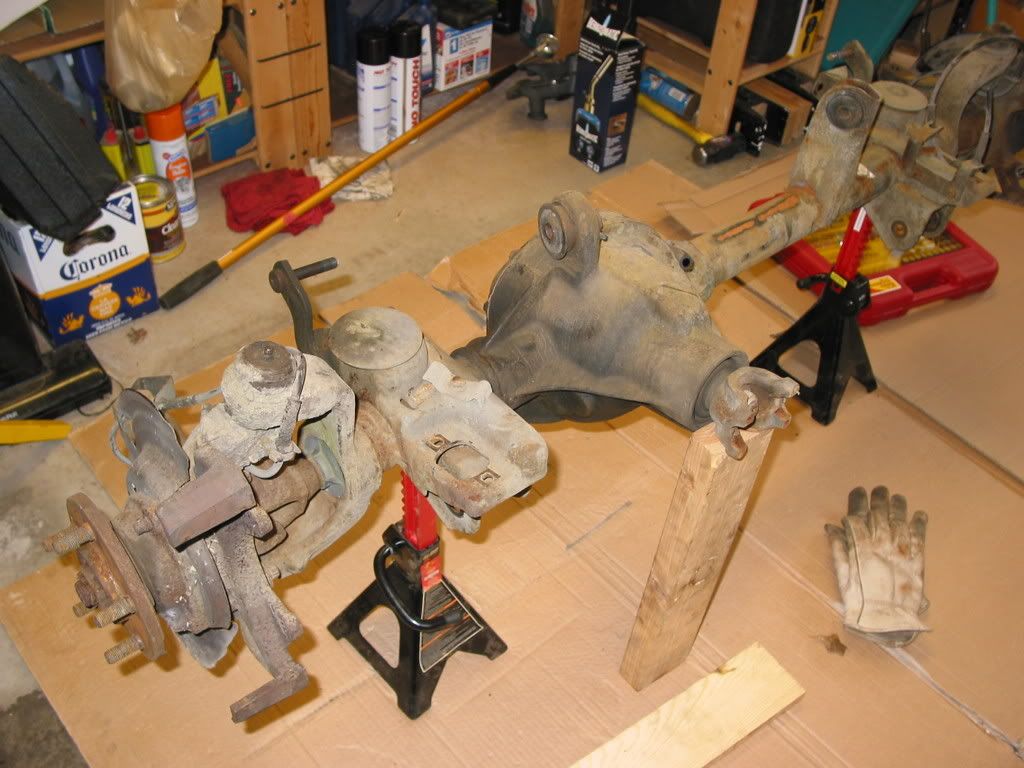
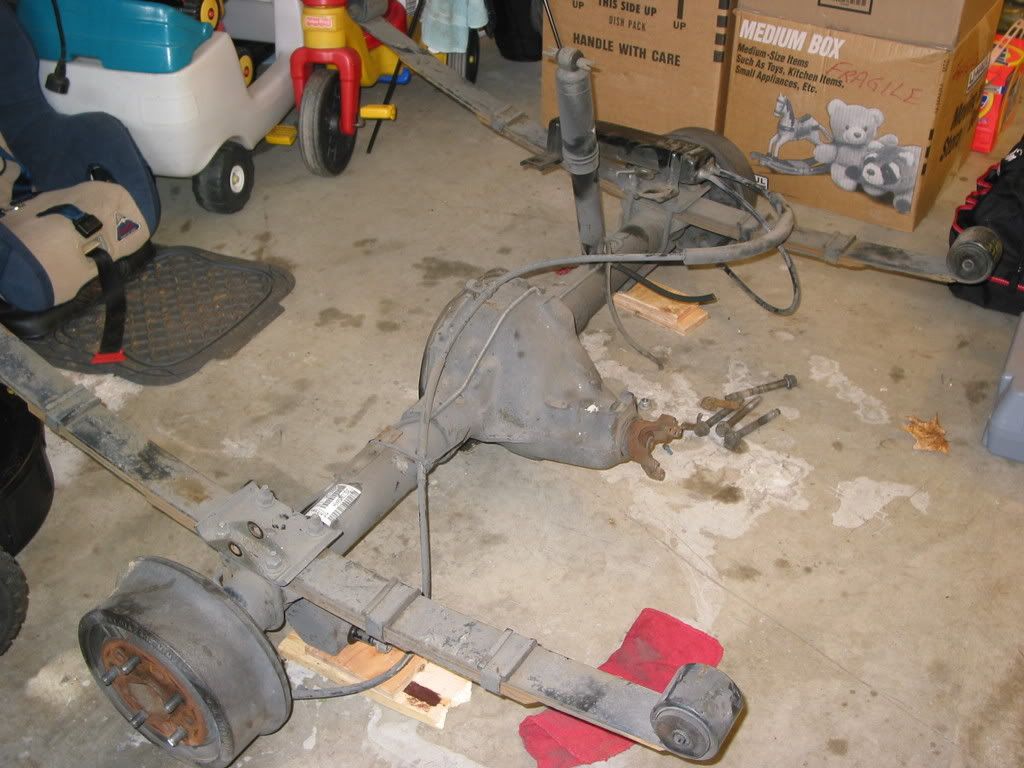
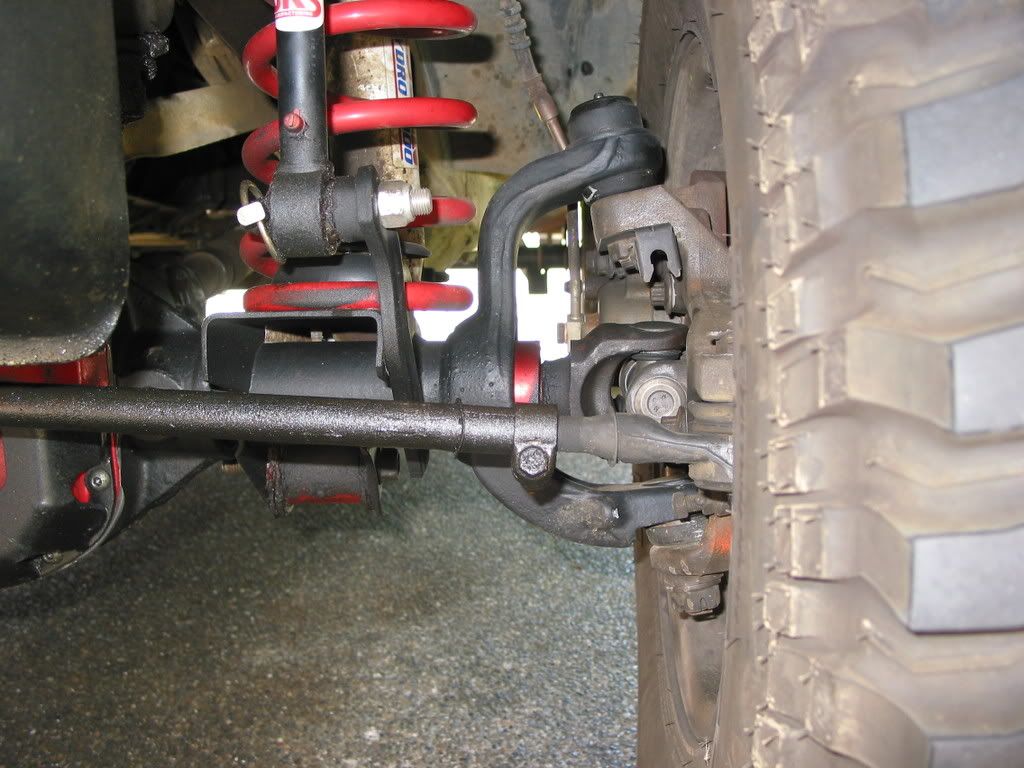
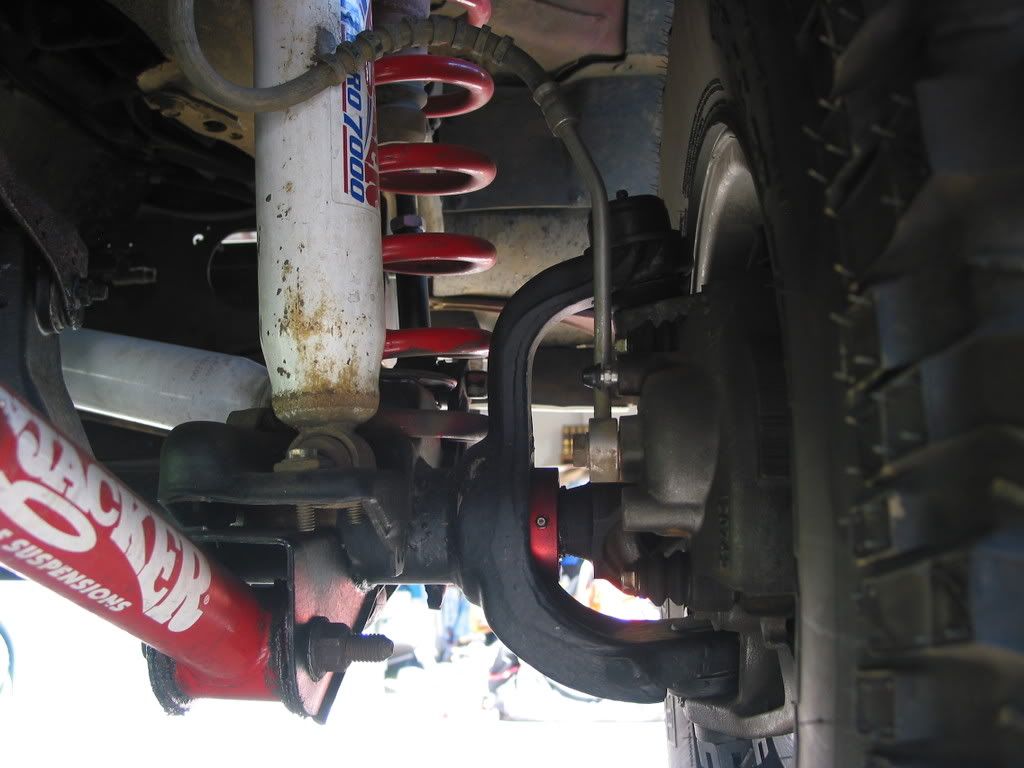
 Every modification is a slippery slope. Upon ordering the JKS quicker disconnects I realized that if the axle will articulate more, then the brake lines will have to be longer lest I pull a brake line out of the caliper and spew brake fluid everywhere...and pick the nearest tree to hit so I can stop. I pulled up some of my favorite websites and quickly discovered that extended steel-braided brake lines for the front end are at least $99 per pair. That wasn't in the budget. I didn't factor this in and now my Jeep is apart with yet another broken link. Yes, the other swaybar end link broke during removal. I wasn't going to replace that one with a junkyard piece just so I could put it back together until I could afford the brake lines. It was time for another plan. With a Google search I discovered more websites with great technical write-ups. MADXJ had already done the homework for me and discovered that brake lines from a '93-'95 Jeep Wrangler YJ were about 3 inches longer but still bolted right up to the XJ brake system. They also had extended metal ends that would protect the lines better than the original XJ brake lines did. I found the brake lines at the local auto parts store for $16 each. Much better than $99! I bolted everything up and am still surprised at the difference this makes in off-road traction.
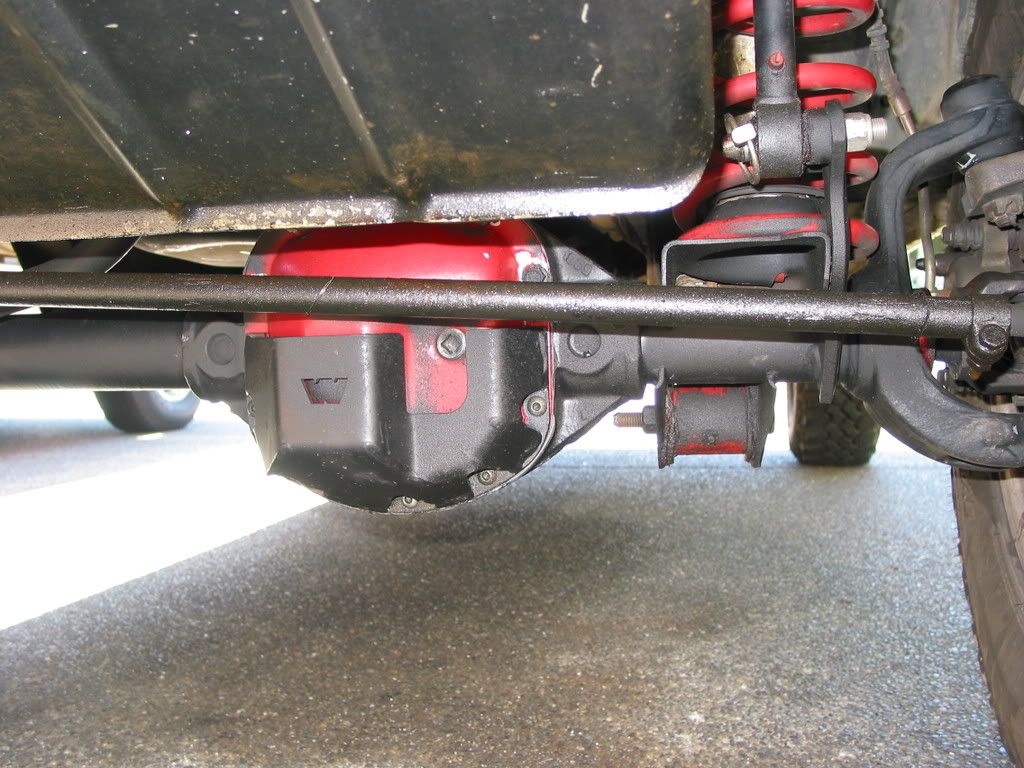

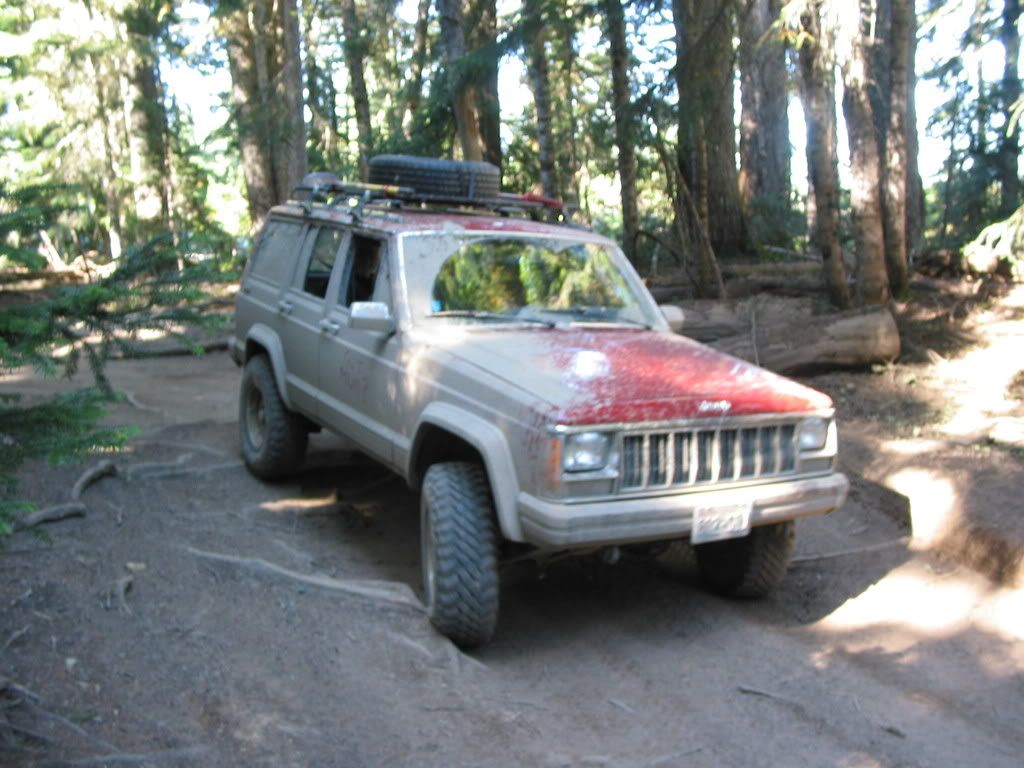
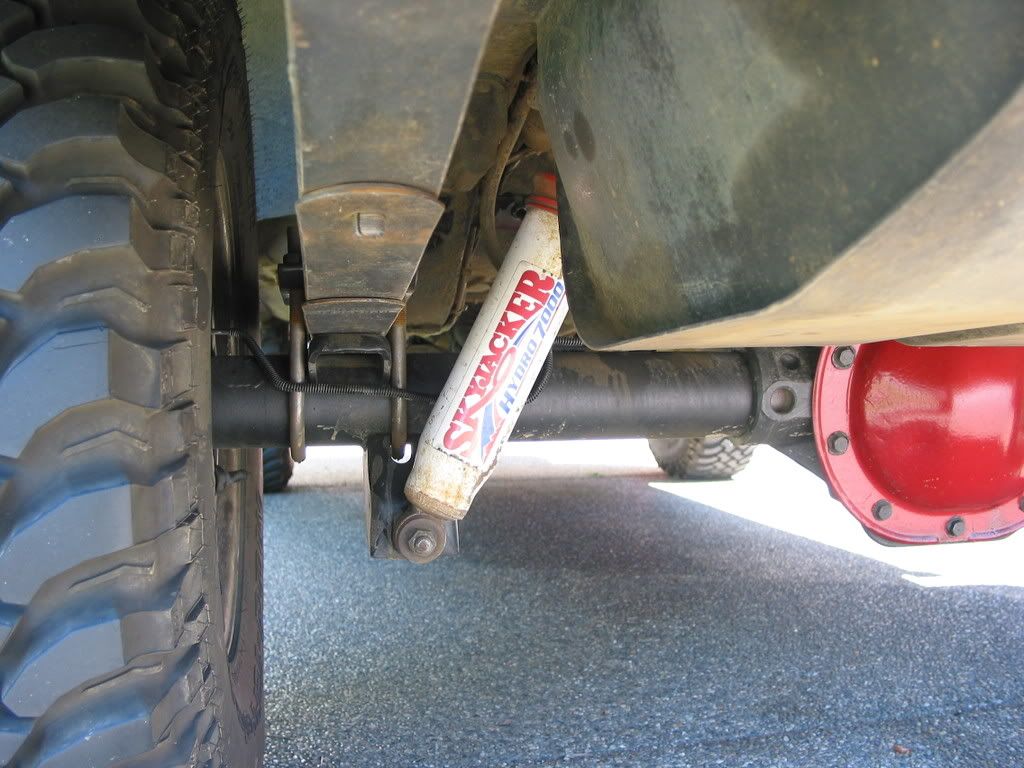
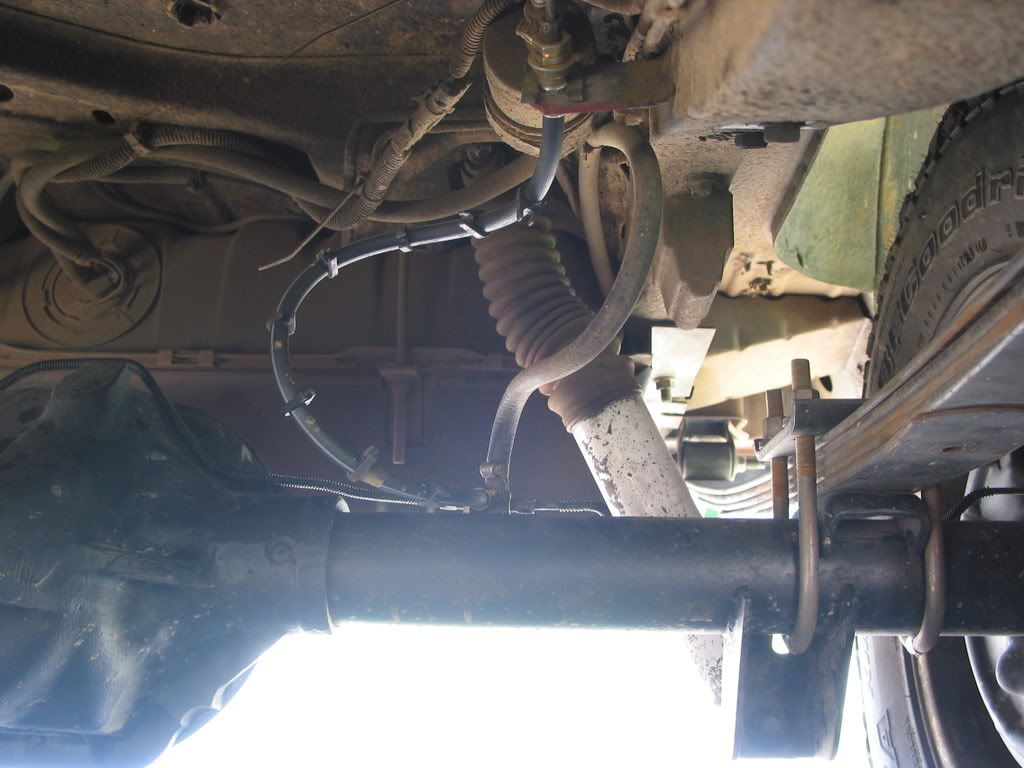
 This is what the Jeep looks like now. It is far from done...definitely a work in progress. At 202,000 miles it is still running well and will get it's upgrades as the checking account allows. It does pretty good "as is", but there are just a few more things I would like to do!:)


