
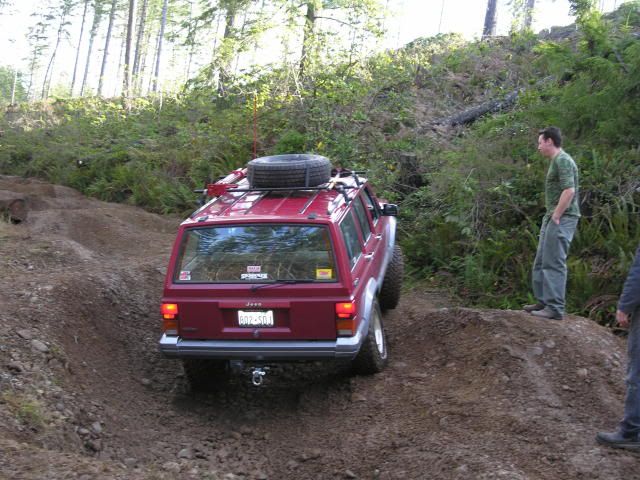
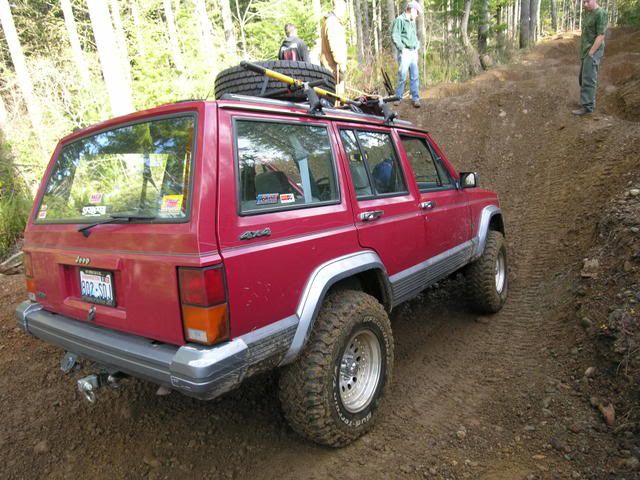
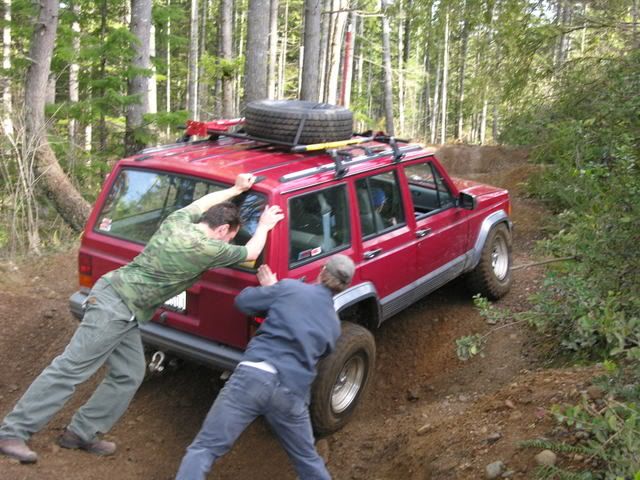
The above captures my feelings concerning this whole clutch replacement and conversion thing I decided to embark on recently. The end result is spectacular but the process was frustrating at times. I would love to say that I am a masterful mechanic and this job was child's play (like some of the guys online) but, alas, it was a pain in the ass. Don't get me wrong. I enjoy working on my Jeep, and I enjoyed this job too. I just didn't think it would take so long.
It all started by necessity, as my internal slave cylinder began leaking rather profusely. The clutch and it's components/hydraulics had accumulated just over 100,000 miles since they had been replaced and the clutch chattered consistently. I elected to replace everything since I would have to pull the transmission to fix the slave cylinder anyway.
I thought that it was really stupid to have an internal slave cylinder in the first place. I had read about others converting the internal system to a late model external setup. This made a whole lot more sense to have the hydraulics on the outside and accessible in the event of leakage or premature failure. With the slave on the outside, I would be able to replace it without removing the transmission again. I embarked on my quest for information concerning the conversion.
My parts list consisted of the following (my XJ is a '91):
'94+ AX-15 bellhousing'94+ AX-15 front bearing retainer and input shaft oil seal'94+ AX-5 or AX-15 shift fork'91 Pilot bearing -Federal Mogul
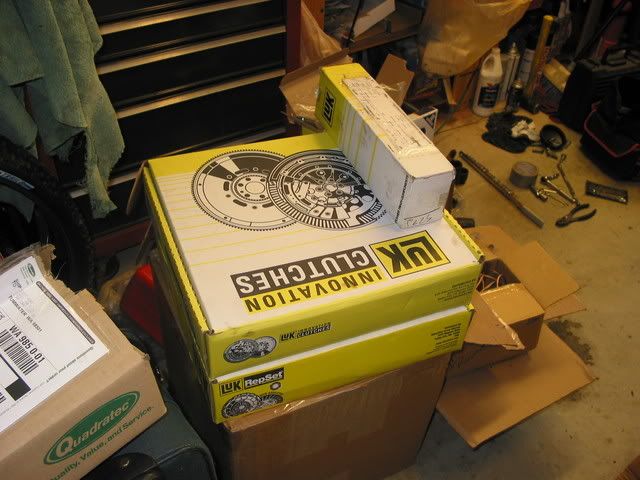
'91 Flywheel -www.dial-a-clutch.com P/N LFW193 - LuK
'94+ Pressure plate/clutch disk/throwout bearing kit -www.dial-a-clutch.com P/N 05-065 - LuK
'91 Master Cylinder -www.dial-a-clutch.com P/N LMC206 LuK/Raybestos
'94+ Slave cylinder (external)
-www.dial-a-clutch.com P/N LSC309 Luk/Raybestos
Advance Adapters TJ Slave Cylinder Hose Replacement -P/N 716130TJH
Advance Adapters YJ Master Cylinder Fitting -P/N 716130
-Plus all of the unknown ancillary BS that always comes with these projects:)
Since I wanted to keep the cost down (best laid plans, of course) I went to the local junkyard to search for the parts I would need to convert my internal slave cylinder to an external type. I was very excited to see a '96 XJ sitting in the yard with the engine missing and the transmission already removed. Without further thought I removed the bellhousing, took the shift fork, and unbolted the front bearing retainer. Unfortunately, the junkyard guys didn't appreciate my removing the front bearing retainer from the transmission...they made me put it back, unless I wanted to buy the whole transmission. Bummer. I was still happy though because I had just scored a bellhousing for twenty bucks and a shift fork for five.
And it begins...
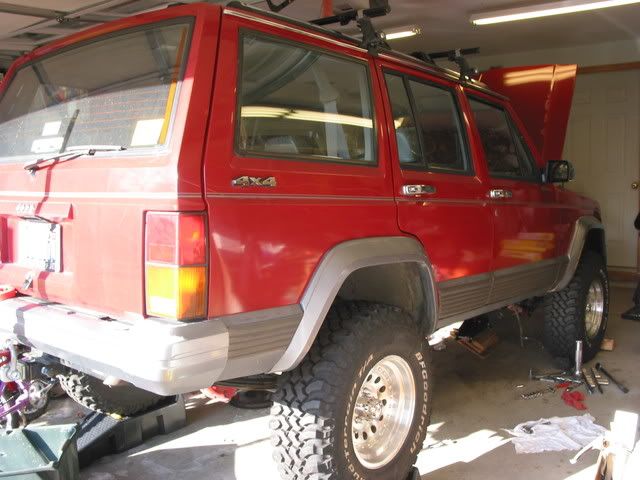
The XJ poised and ready for transmission removal
My victory at the junkyard was short lived. I had removed components from an AX-5, not an AX-15! I had failed to check whether the junkyard XJ was a 4.0L! It was, in fact, a 4 cylinder XJ with it's requisite AX-5 in tow. The bellhousing was useless to me but the shift fork would work just fine. I ended up getting the proper bellhousing from a junkyard in Oregon off of a late model TJ...well they shipped it to me anyway. It was a lot more than twenty bucks. Below is a shot comparing the
three bellhousings I came to own.
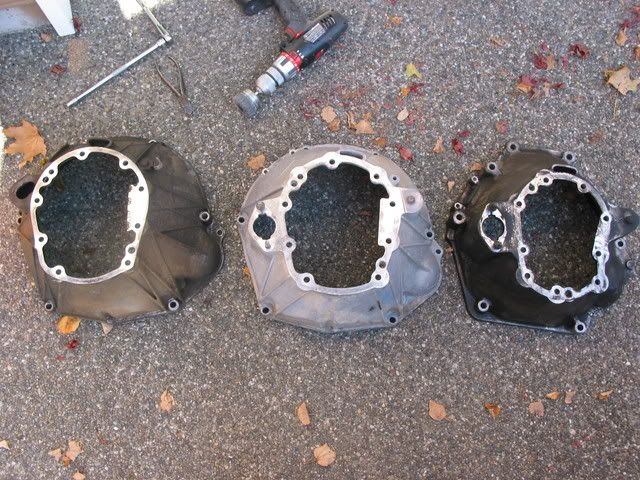
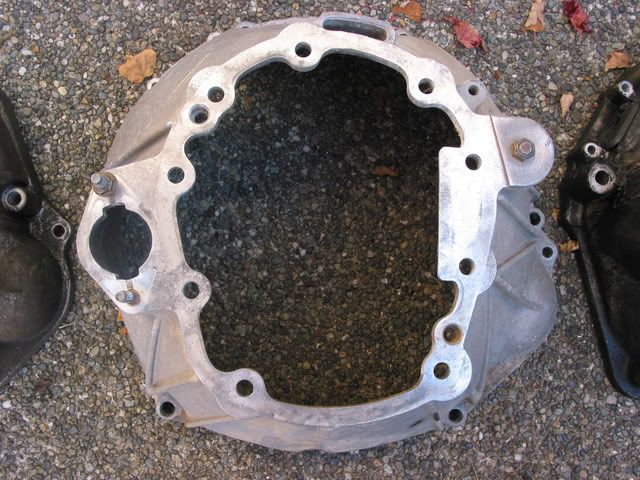
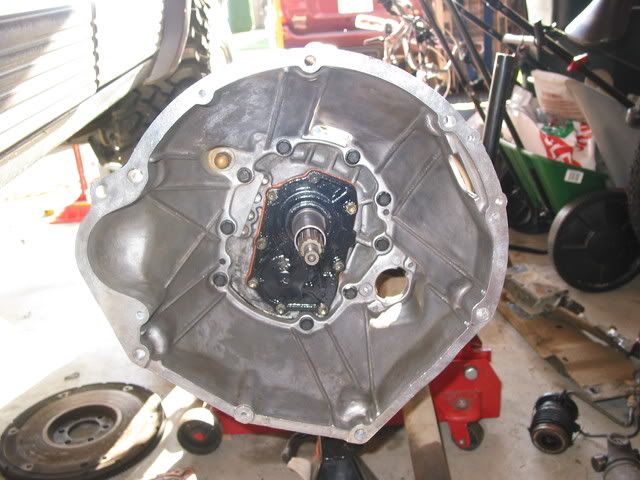
Shown separately, here is my original AX-15 bellhousing. It is missing the required attachment point for an external setup. Instead, it has a hole where the hydraulic lines for the internal slave cylinder pass through.
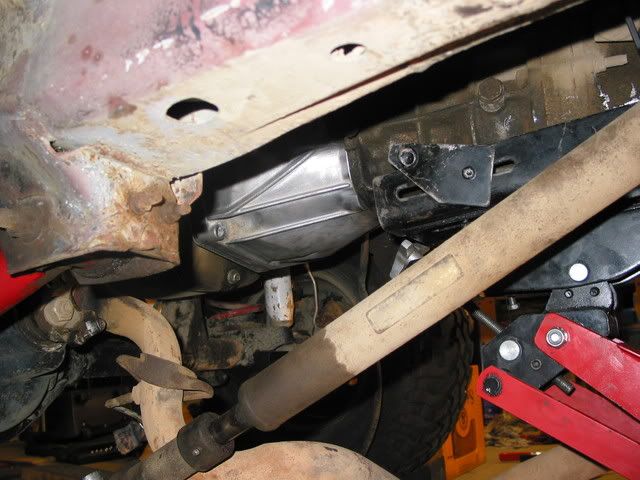
Here is the late model AX-15 bellhousing, complete with the studs to mount the external slave cylinder. On the right side of the picture you can see the back side of the stud that holds the shift fork pivot point.
Here is the AX-5 bellhousing...I am still kicking myself over this one. My wife thinks it's funny. I think the quote went something like, "You mean you don't know
everything about your Jeep???" (Accompanied by giggling) Very funny...
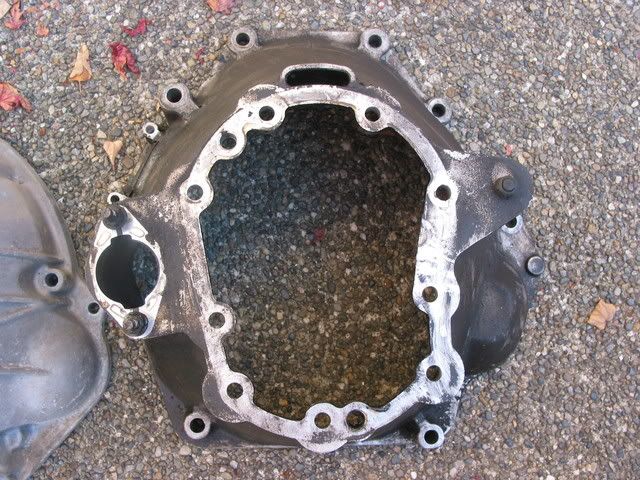
A hint as to why the junkyard was willing to part with this one!
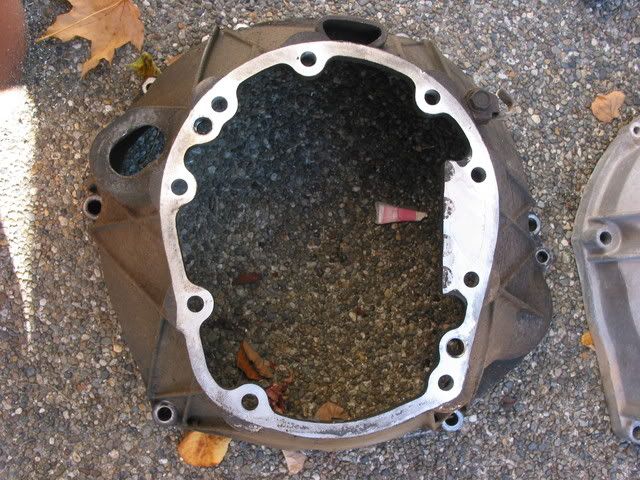
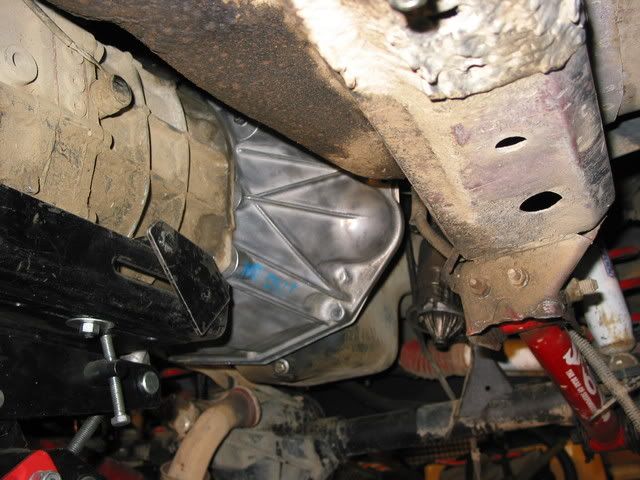
With the proper bellhousing in hand, I anxiously awaited the arrival of my front bearing retainer. It took me quite a while and a lot of phone calls to find one, but I finally had success with Transmission Rebuild Center of Kent, WA. They shipped out a beautifully reconditioned front bearing retainer, complete with new paint and everything. Very impressive for used parts! It also wasn't cheap. I see a trend developing for this project...moving on. Here is a picture comparing my old bearing retainer and the installed long snouted retainer from TRC.
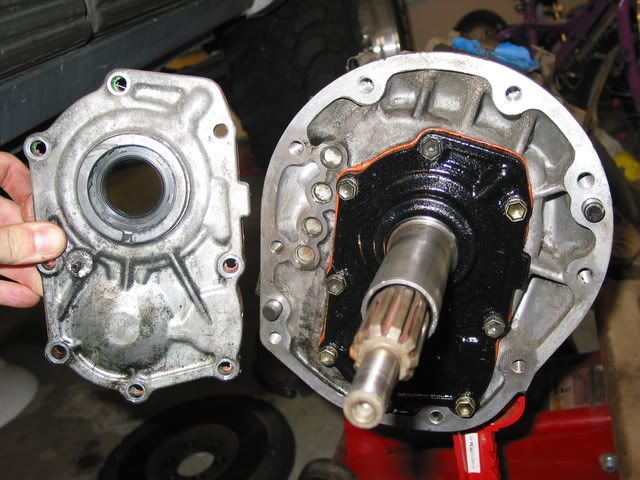
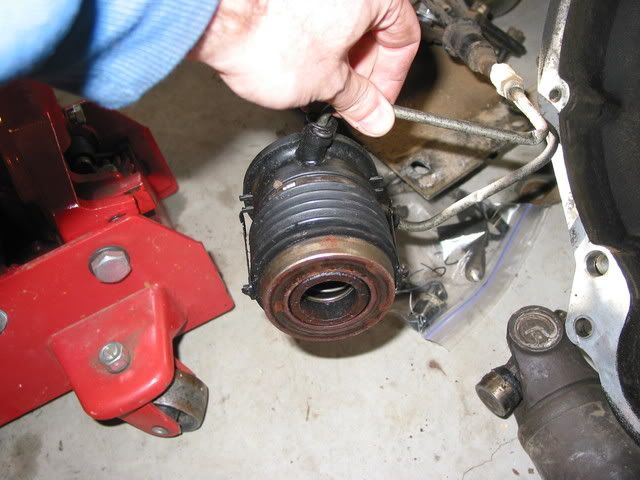
This is the original slave cylinder which sat on top of the short front bearing retainer. The
new throw-out bearing will ride on the long snout to disengage the clutch.
More pictures of the late model front bearing retainer installed
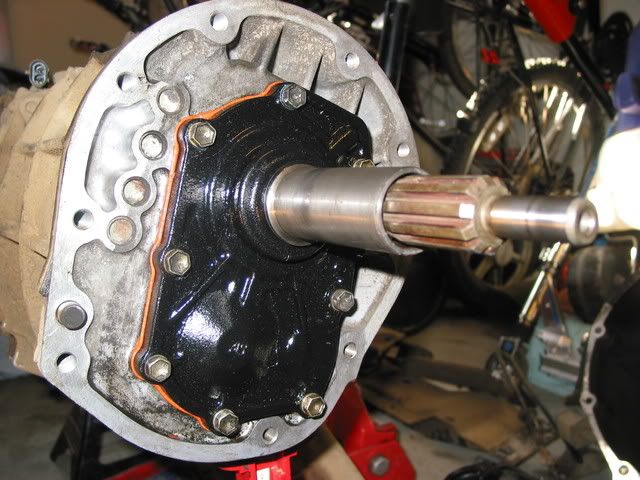
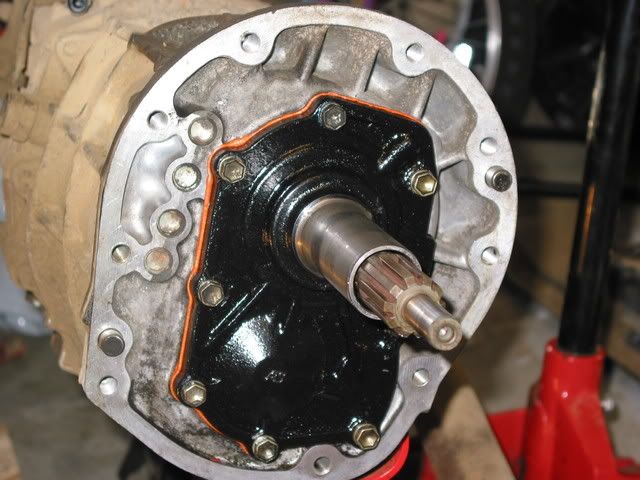
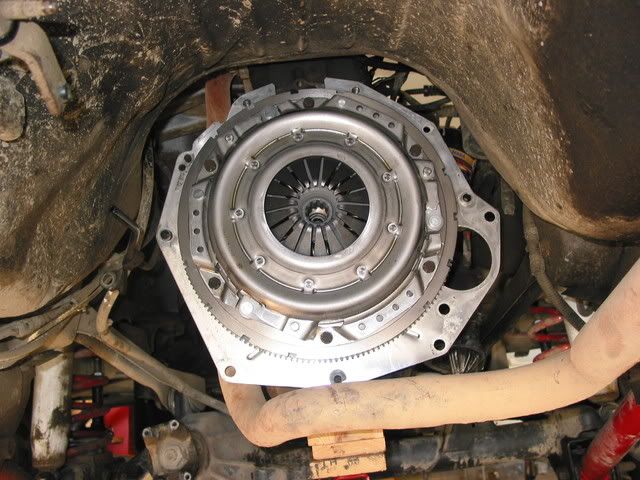
Here, the bellhousing is also installed. Although I don't have a picture of the shift fork and throw-out bearing, the throw-out bearing encircles and slides on the snout of the front bearing retainer and the shift fork spans from the pivot ball on the left, clips on to the throw-out bearing, and continues to the open space on the right where the slave cylinder (not pictured) protrudes into the bellhousing.
With the transmission ready to accept the late model clutch hydraulic system, it was time to replace the flywheel and clutch components. I went with all OEM replacement parts because I don't have substantial engine improvements that would require more clutch clamping force. It turns out that Luk provided the clutch components originally found in the Jeep, so I decided to go with them. I ordered all of my clutch parts, including the master and slave cylinder and flywheel, from dial-a-clutch.com. They had the best prices
and free shipping! In the aftermath, I am very happy with the parts that I received. I compared my new LuK parts with the Sachs parts that came out. The difference in material thickness and overall construction was startling. The LuK components looked like they were a lot more heavy duty and the clutch plate 'fingers' were much more stout along their entire length.
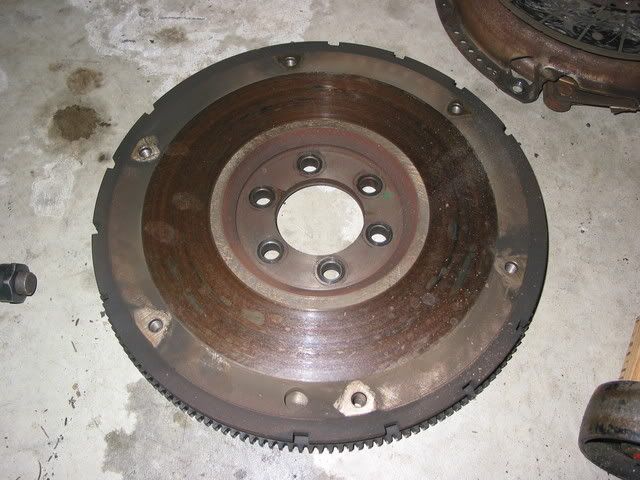
While I was doing the clutch work, I got to thinking about the shop that did my clutch over 100,000 miles ago. I didn't know much about my XJ then, and didn't have anywhere to work on it myself anyway. When I got the Jeep back from the shop, it worked well...for about 20,000 miles. The clutch began to chatter badly and continued to work it's way up to unbearable until this clutch job. Something that I learned while researching for this conversion was that a 4.0L flywheel is not supposed to be resurfaced because of it's convex shape. I dug through my receipts and, sure enough, the flywheel was resurfaced on that clutch job long ago. I don't recall whether it was resurfaced at my suggestion (possible) but it irks me, regardless. Here is a shot of the grisly looking flywheel that came out of my tooth chattering XJ. Notice the large amount of burn marks on the surface. Yes, I know how to drive a stick:)
Here is the new one, bolted on and ready to go. Acheiving proper torque on these bolts was a challenge without a partner preventing the motor from turning over. I ended up wedging a long screwdriver between the frame and the teeth of the flywheel. I thought that torque wrench would
never click!
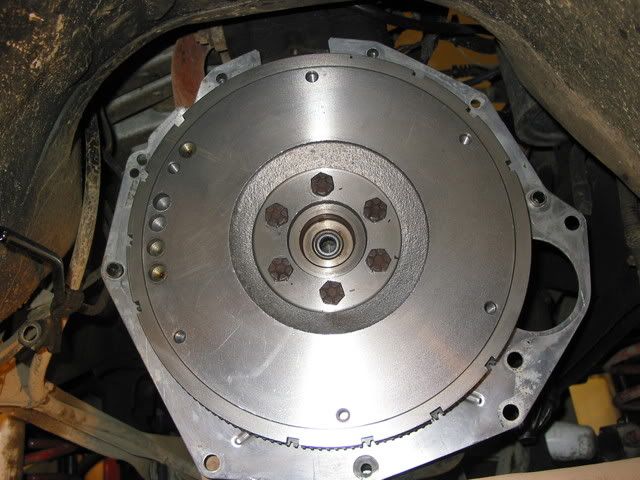
Getting closer...the new pilot bearing is installed in the crankshaft and the pressure plate and clutch disk are bolted on and torqued. I love new parts.
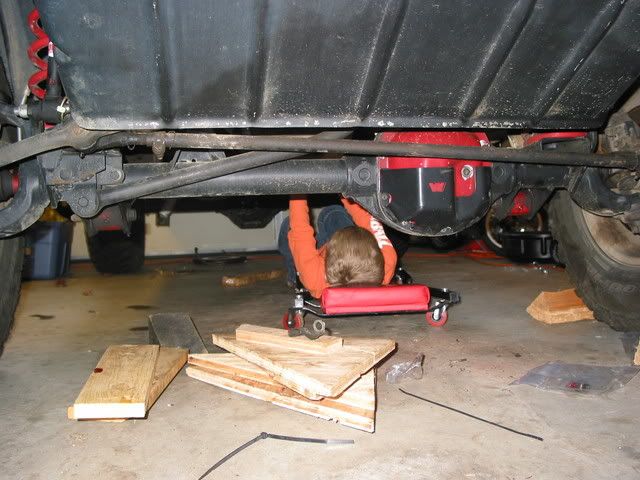
With all of that installed, it was time to return the AX-15 to it's rightful place...and off of my garage floor. I removed the transmission and transfer case (and front driveline, but that's a different story!) as a unit with a transmission jack, so I went back to Lew Rents and rented the jack again. Since I am working alone most of the time, this jack was the only way to go!
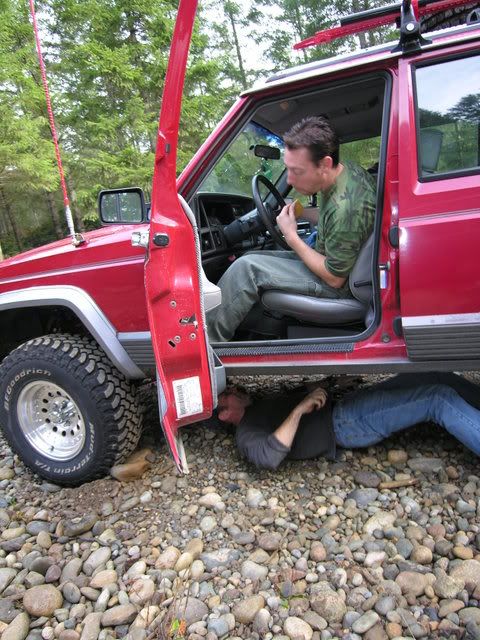
Just getting the engine and transmission engaged took me a long time. Working alone, with a mirror and a flashlight, I thought I had pretty good alignment with the engine and transmission but it refused to budge the last couple of inches. I finally gave up and went inside to have some dinner and simmer down. When I returned I laid down on my back, looked at it for a moment and gave it a shove...it went right in with very little protest. I didn't even have spinach for dinner. Dumb luck, I guess. With the transmission and engine finally engaged, it was time to bolt it back up. This posed it's own little problem. With the removal, my buddy JD came over and helped me access the two hard to reach E-12 bolts on the top of the bellhousing. He turned the wrench from the shifter hole inside the Jeep while I held the socket and 'wobbly' on the bolt head. Peice of cake. I didn't have the help during re-installation, and didn't grow 10 foot articulating arms in the interim. Another plan of attack was required. Drawing from other experiences I had read about online, I made up a long series of extensions so I wouldn't have to use the 'wobbly'. For those of you who don't know what a 'wobbly' is because I don't know what it's
really called, it is at the bottom of the picture below the chain o' extensions.

By using a series of extensions, I was able to make a straight shot to the E-12 bolts from behind the transfer case. Some contend that I should have replaced the E-12 bolts with a regular hex head, but I actually found them to be quite handy. The E-12 socket was easier to keep on the head of the bolt than a regular socket and hex bolt head would have been.
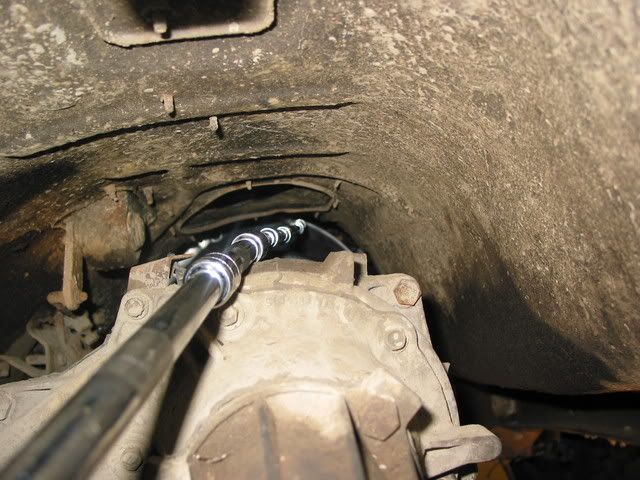
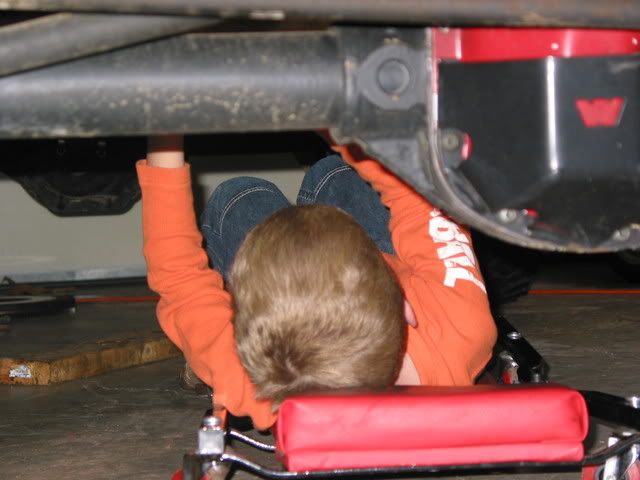
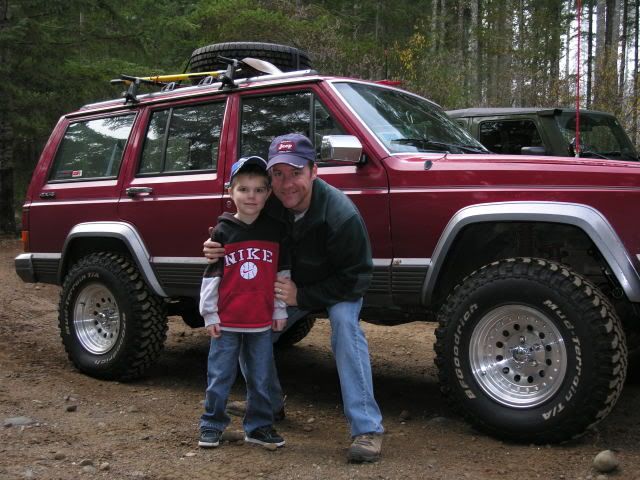
Victory was declared. I now attached the master and slave cylinders to their respective places. I bought separate master and slave cylinders rather than the all-in-one, pre-bled style because I had heard of many instances where the hard plastic hydraulic line would crack and spill the clutch fluid out of the system, rendering the clutch useless in the middle of nowhere. Instead, I called up Advance Adapters and had them send me a steel braided hydraulic line and a YJ master cylinder fitting. Everything went together without drama and it didn't even leak! Advance Adapters rocks, but isn't budget friendly. They sure deliver though, and the brass fittings I received were beautifully made. After bleeding the system, properly on the second try, my son Daniel re-installed the slave cylinder. I got to sit back and take pictures!
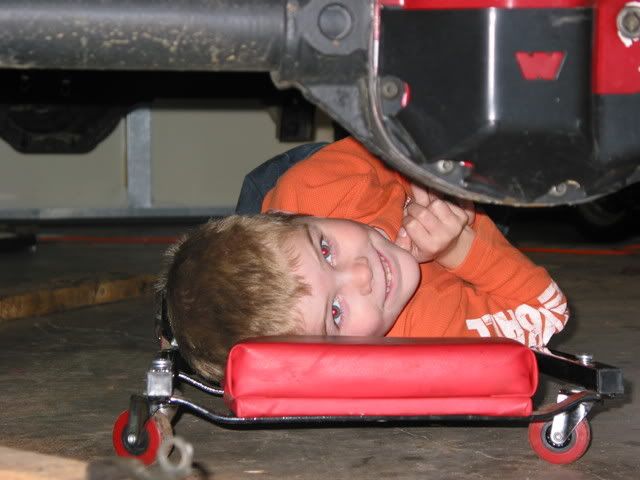
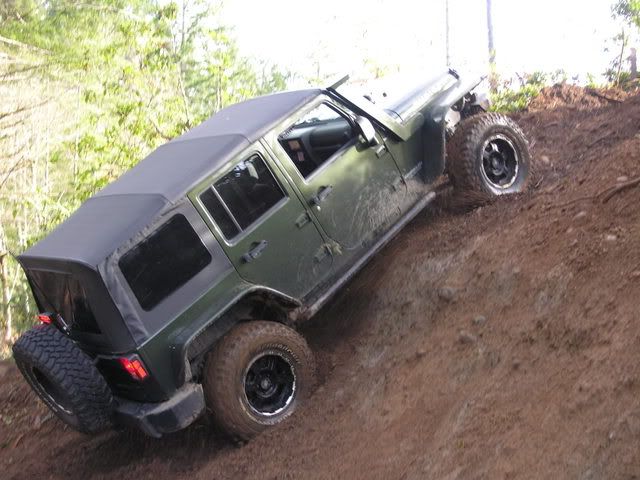
The new clutch works beautifully and has been operating for a few months now, trouble free. I'm pretty sure it is due to the work Daniel did at the end. I am happy again, and not nearly as dirty:) The next post will be the shifter boot fiasco, coming soon...
